Wall panels join seamlessly when the tongue-and-groove edges seat fully, adhesive covers the whole contact face instead of a few dabs, and every joint keeps a small expansion gap that gets hidden behind trim rather than filled with sealant. The step installers skip most often isn't the glue — it's leaving zero gap at corners and ceiling lines, which is exactly where wood movement shows up first as a visible crack in 2026's centrally-heated homes.
- Join wall panels seams gap installation by fitting tongue-and-groove edges first, then gluing the full contact face.
- Leave a 2-3mm expansion gap at every run end and internal corner, covered by end-piece trim, not sealant.
- Aku Woodpanel's 240cm and 300cm formats need matching end pieces where they meet in the same run.
- Cut panels square before fitting — a rushed cut shortens tongue engagement and widens the seam.
Why this matters
A gap at a panel joint isn't cosmetic — it's usually a sign the panel had nowhere to move. Wood veneer panels expand and contract with humidity, and a wall fitted bone-tight in summer can crack open by winter if no allowance was built in.
Getting the seam right the first time also saves a full day of rework. Once adhesive has cured behind a panel, pulling it off to re-cut or re-glue usually damages the veneer face, so the joining method matters more than almost any other step in the fit. Aku Woodpanel's guide on joining wall panels across a long wall covers the same principle for runs over 3 metres, where cumulative gap tolerance stacks up fastest.
How do you join wall panels seamlessly?
Follow this order every time — skipping the dry-fit step is the single most common reason installers end up with visible seams.
- Dry-fit the whole run first. Lay the panels against the wall unglued to confirm the tongue-and-groove edges seat flush and to mark batten or stud positions.
- Check the batch match. Panels from different production runs can show a slightly different veneer tone under side light — sort them before you commit to glue.
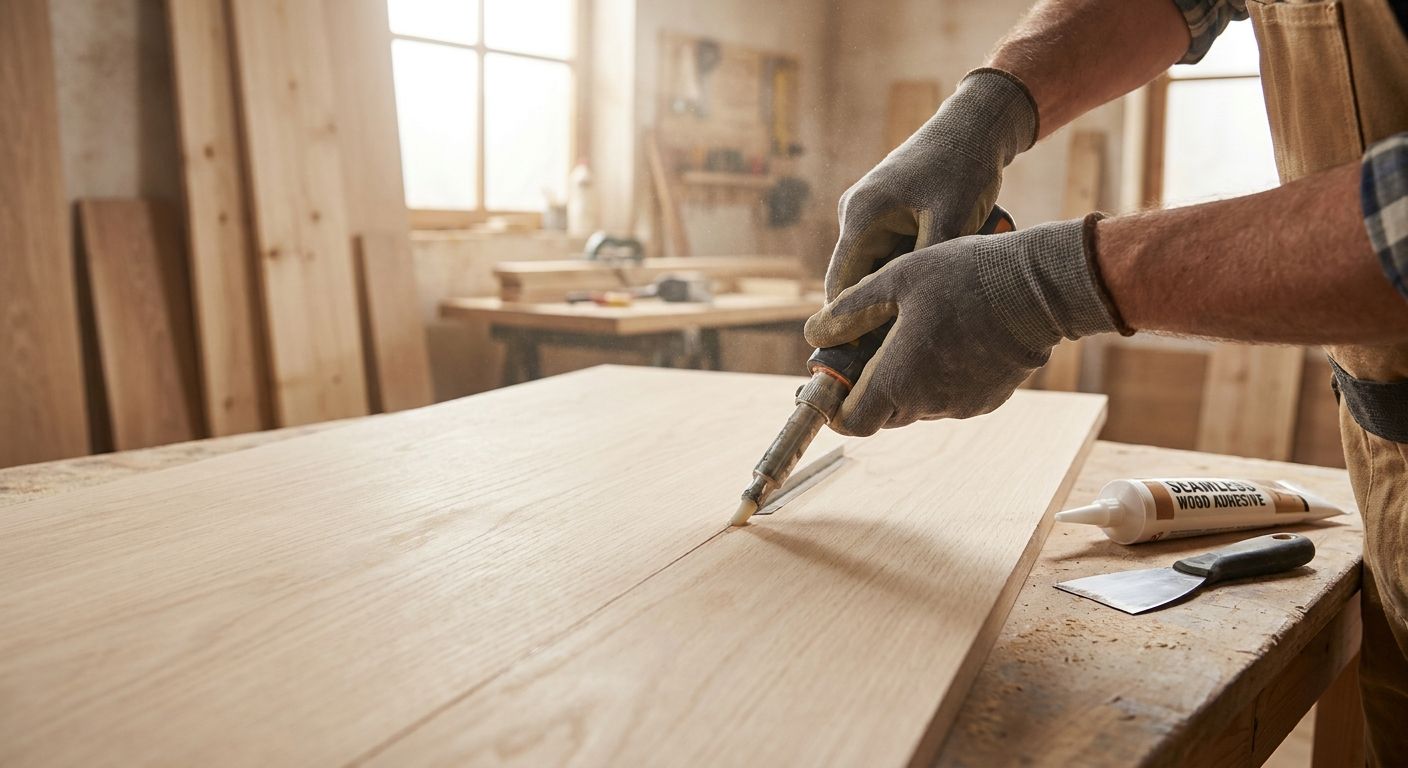
- Apply adhesive to the full groove and the panel back, not just the edge. A bead along the tongue alone leaves the panel free to twist at the seam later. Aku Woodpanel's high-tack panel glue is formulated for full-contact bonding on real wood veneer backs.
- Slide the tongue into the groove and press along the full length, working end to end rather than pushing the middle first.
- Leave 2-3mm at every run end and internal corner for the wood to move with the seasons.
- Cover every exposed edge with end-piece trim. Aku Woodpanel's natural oak end-piece trim closes the gap cleanly at wall returns, door frames, and ceiling lines without sealant.
| Joint type | Fix | Skip this |
|---|---|---|
| Panel to panel | Full-contact adhesive on tongue and groove | Dabs of glue at intervals |
| Panel to corner | 2-3mm gap plus matching end-piece trim | Sealant bead |
| Panel to ceiling | Gap covered by trim, not forced flush | Cutting panel to exact height |
| Mixed 240cm/300cm run | End piece at the transition | Butting two lengths raw |
Aku Woodpanel's own end-piece trims are the fastest fix for a wall panel joint that won't close cleanly — they're built to the same finish as the panel range, so the seam disappears rather than standing out as a repair.
Why gaps appear at wall panel joints
Most visible seams trace back to one of these:
- No expansion allowance was left — panels installed edge-to-edge with zero clearance have nowhere to move as humidity shifts through 2026's heating season.
- The wall wasn't level before fitting — panels follow the wall, so a bowed or out-of-plumb surface forces gaps open at alternating joints. Level the wall first before any panel goes up.
- Battens are spaced inconsistently, so the panel flexes between fixing points and the tongue never fully seats.
- Panels were cut short of square, reducing tongue engagement in the groove — a rushed cut is the most common cause of a joint that never quite closes.
- Different veneer batches were mixed mid-run, which shows as a colour break at the seam even when the physical joint is tight.
- 240cm and 300cm formats were butted directly instead of meeting at a proper end piece, leaving a mismatched edge where the two lengths don't share a groove profile.
Do you need glue to join wall panels?
Yes — glue is what keeps a tongue-and-groove wall panel joint tight over time; the interlocking edge alone won't stop the panel shifting as the wall settles. Full-contact adhesive on the groove and panel back also stops the panel bowing away from the wall at the seam, which is the most common reason a previously tight joint opens up months after fitting.
What gap should you leave between wall panels?
A gap of 2-3mm at every run end and internal corner gives the wood room to expand without buckling the panel face. This gap gets hidden behind end-piece trim, not filled with sealant — sealant cracks as the panel moves, while trim simply sits over the movement.
Can two different wood finishes be joined on the same wall?
Yes, but the joint needs a deliberate break rather than a butt seam — most installers run a straight vertical trim or a change in panel orientation at the point where finishes switch, for example from natural oak to black oak on the same wall. Trying to butt two different veneer finishes edge-to-edge without a break line makes any small colour mismatch far more obvious than it would be with a clean transition trim.
FAQ
Do you need glue to join wall panels?
Yes, glue keeps a tongue-and-groove wall panel joint tight over time because the interlocking edge alone doesn't stop the panel shifting as the wall settles. Full-contact adhesive on the groove and panel back also prevents the panel bowing away from the wall at the seam.
What gap should you leave between wall panels?
Leave 2-3mm at every run end and internal corner so the wood can expand without buckling. Cover this gap with end-piece trim rather than sealant, which cracks as the panel moves.
Can you join two different wood finishes on the same wall?
Yes, but use a deliberate break such as a vertical trim or a change in panel orientation at the transition point. A raw butt seam between two finishes makes any colour mismatch far more visible.
How do you hide the seam where a wall panel meets the ceiling?
Leave a small gap rather than cutting the panel to an exact tight fit, then cover the gap with trim. Forcing a panel flush to the ceiling with no clearance is what causes the seam to open as the panel settles.
Do tongue-and-groove panels need extra fixings at the joint?
The joint itself relies on adhesive and the interlocking edge, but the panel still needs to sit on level battens or studs at the fixing points either side of the seam. Inconsistent batten spacing lets the panel flex and the joint open.
What causes gaps to open up after installation?
The most common cause is zero expansion allowance during fitting, followed by an unlevel wall or a panel that was cut short of square. Humidity swings through the heating season widen any gap that was already borderline.
Should you join wall panels vertically or horizontally?
Vertical joints are the default for most acoustic wood panel installs and align with the tongue-and-groove edge design. Horizontal joints are used far less often and need extra care at the seam since the panel's groove profile runs the long edge.
Can you join 240cm and 300cm panels on the same wall?
Yes, but they need to meet at a proper end piece rather than being butted directly, since the two lengths don't share a matching groove profile at a raw edge. Planning where the transition falls before cutting avoids an awkward seam mid-wall.
One last thing
The seam nobody plans for is the one at the very top of the wall, where the last panel meets the ceiling line — cut that panel a hair short rather than forcing it flush, because a forced-tight fit at the ceiling is the seam most likely to crack open first as the panel settles into the room in 2026. If you're mixing 240cm and 300cm formats on the same wall, decide the transition point on paper before any adhesive goes down; moving it after cutting means starting the run over.