Fitting wood wall panels onto a wall that isn't flat gives you shadow gaps, visible joints, and click-fit edges that won't sit tight. Levelling the wall first — not the panels — is the step most DIY guides skip, and it's the one that decides whether the finished wall looks factory-straight or amateur.
- Check flatness with a 1.2m straightedge before buying panels — anything over 3mm of dip per metre needs correcting first.
- Plasterboard and stud walls need packers or a batten grid; solid brick or block walls usually need filler and a scrape.
- AKU Woodpanel's 3-sided veneer panels are rigid — they show every ripple in an unlevelled wall, unlike foam-backed alternatives.
- High-tack panel glue only bonds properly to a flat, dust-free surface — skipping prep is the top cause of panel failure in 2026 installs.
Why this matters
A wood wall panel is a rigid sheet, not a flexible skin. Push a 3-sided veneer panel against a wall with a 5mm hollow behind it and the panel bridges the gap — the glue can't grip, the seam gapes, and within weeks the edge lifts.
This is different from painting or wallpapering, where a slightly uneven wall just reads as texture. Acoustic wood panels sit flush against each other in a run, so one out-of-true section throws off every panel after it. Get the wall flat first and the rest of the install goes fast.
What you'll need
- 1.2m spirit level or straightedge
- Pencil and masking tape for marking high/low spots
- Filler (plaster-based for solid walls, flexible caulk for plasterboard joints)
- Sandpaper (120 grit) or a hand plane for high spots
- 3mm-6mm packers or shims if you're battening
- Timber battens (18mm-25mm) for stud or badly out-of-true walls
- A tube of high-tack panel glue — one 290ml tube covers roughly 4-5 standard panels depending on wall porosity
- Dust sheet, vacuum, damp cloth for final cleanup
If you're panelling a whole wall in 2026, buy the filler and battens before you order panels — you'll know exactly how much prep the wall needs once you've run the level over it.
The steps
1. Run a straightedge across the whole wall
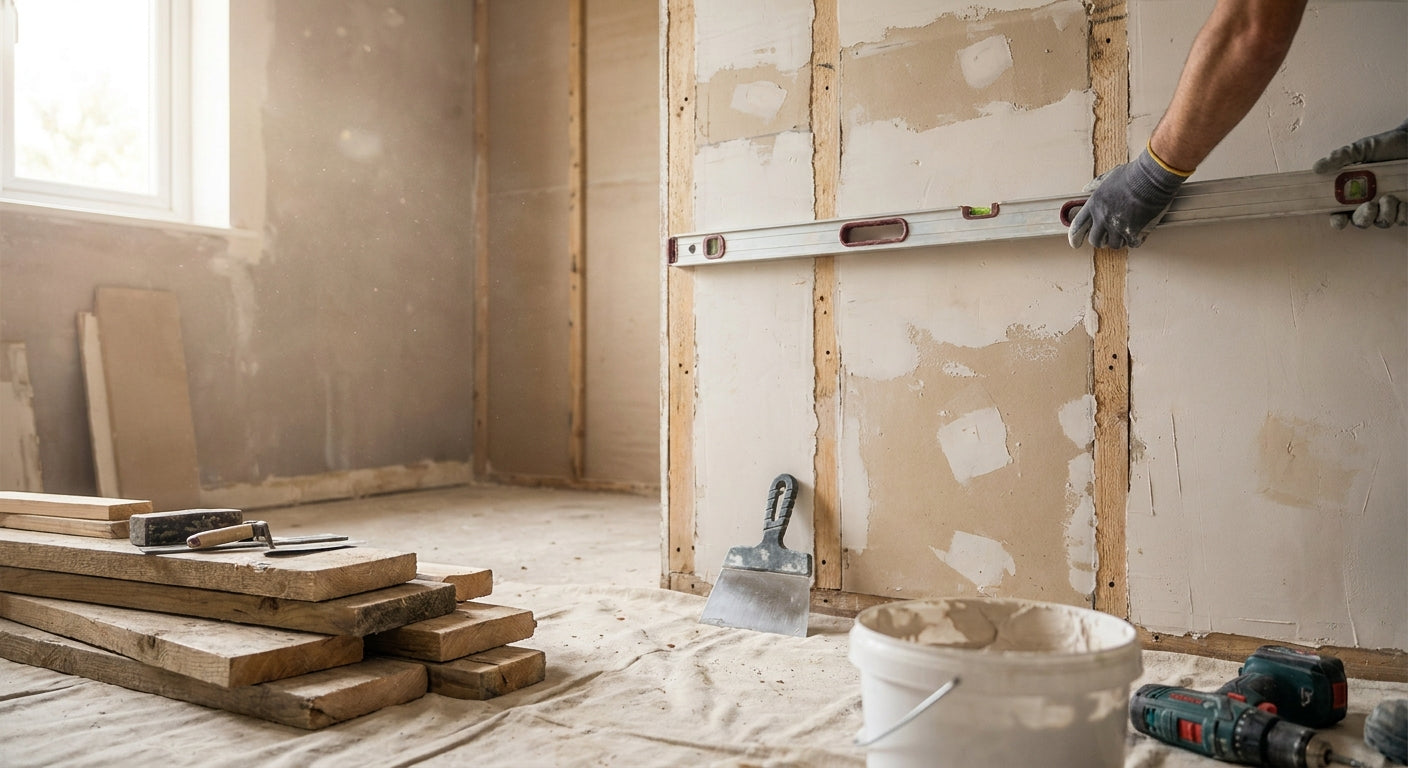
Hold a 1.2m level horizontally, then vertically, then diagonally in at least four zones of the wall. Mark every point where you see daylight under the edge — that's a hollow — and every point where the level rocks — that's a high spot.
Why it matters: panels are rigid, so the wall's flatness becomes the panel's flatness. A hollow you can't see with your eyes shows up instantly once a flat veneer sheet sits over it.
Common mistake: checking only at eye height. Corners and skirting lines are where old plaster dips the most.
2. Decide between direct-fix and battening
If deviation across the wall stays under 3mm per metre, you can fill and fix panels directly with glue. If you're seeing more than that — common on older plaster or block walls — plan for a batten grid instead of chasing every dip with filler.
Why it matters: over-filling a badly bowed wall wastes days on drying time between coats. Battens correct the whole plane in one pass.
See choosing the right fixings for your wall type for which fixing suits brick, block, stud and plasterboard differently.
Common mistake: mixing glue-only fixing with occasional screws through hollows — this creates uneven pressure points that telegraph through the veneer.
3. Fill hollows and let them cure fully
Apply filler in thin layers rather than one thick pass — a single 10mm-deep fill can take 24-48 hours to cure through, and panelling over a soft, still-curing patch traps moisture behind the veneer.
Why it matters: AKU Woodpanel's indoor panels have a real wood veneer face over acoustic felt backing — trapped moisture behind them can cause the veneer to lift at the edges months later.
Expected outcome: filled areas should be touch-dry and hard, not just surface-dry, before you sand.
4. Sand or plane down high spots
Work high spots back with 120 grit paper or a hand plane until the straightedge sits flush without rocking. On old paintwork, a light key-sand also helps glue adhesion later.
Why it matters: a high spot pushes one edge of the panel forward, which throws the whole horizontal run out of plumb by the third or fourth panel.
Common mistake: sanding only the peak of the high spot instead of feathering it out 10-15cm either side, which leaves a visible ridge under the panel.
5. Build a batten grid on badly out-of-true walls
Fix vertical battens at 40-60cm centres using 3-6mm packers behind each fixing point to bring every batten face into one flat plane. Check with the level after every third batten, not just at the end.
Why it matters: this is the single fix that rescues a genuinely wonky wall — old stud partitions, uneven block work, or a wall that's been re-plastered in patches over the years.
Common mistake: packing the top and bottom of a batten but not the middle, leaving a bow that only shows once panels go on.
6. Prime bare or patched plaster
New filler and bare plaster are porous and will drink glue unevenly. A coat of diluted PVA or a proper plaster primer stops the surface pulling moisture out of the adhesive too fast.
Why it matters: uneven glue absorption is a quiet cause of panels lifting at one corner within the first month.
Expected outcome: the wall should have a slight sheen, not a chalky matte surface, once primer is dry.
7. Dry-fit before gluing
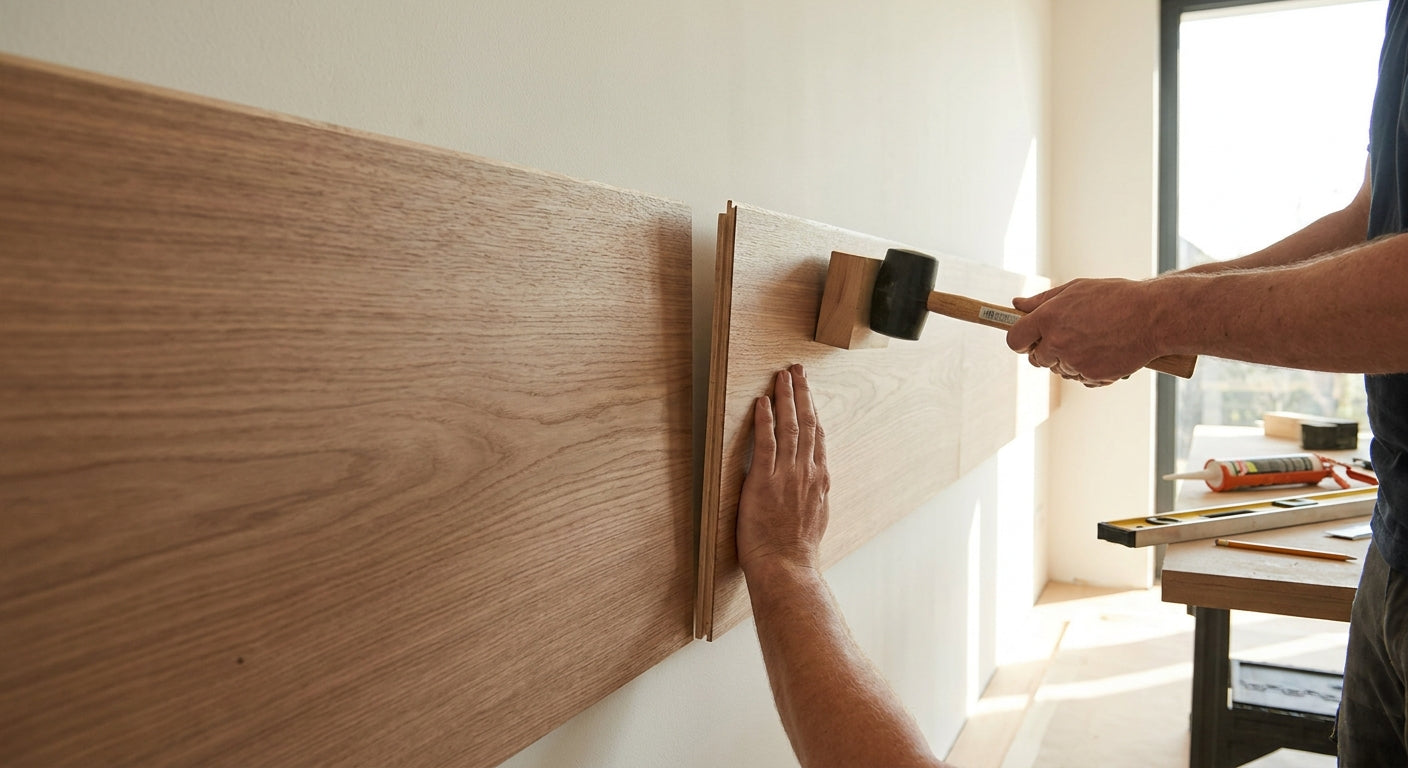
Stand your first two panels against the wall without adhesive and check plumb with the level, and check the joint line with a straightedge held across both panels.
Why it matters: this is your last chance to catch a levelling miss before it's permanent. Adjusting a dry-fit panel takes seconds; adjusting a glued one means removing it and re-prepping the wall.
Common mistake: dry-fitting only the first panel and assuming the rest will follow — always check at least two panels together to catch cumulative drift.


Troubleshooting
- Panel edges won't sit flush after gluing — the wall still has a hollow behind the joint line. Pull the panel while the glue is fresh, fill the hollow, and re-glue.
- Veneer looks slightly wavy under raking light — this is almost always a high spot that was sanded but not feathered wide enough. Re-sand 20cm either side of the original mark.
- Panel won't stay flush on plasterboard — plasterboard joints are usually the culprit. See fitting panels on plasterboard for joint-taping before panelling.
- Filler cracked overnight — it was applied too thick in one pass. Rake it out and reapply in two thinner coats.
- Batten grid still rocks at the level check — a packer has compressed under fixing pressure. Add a second thin packer rather than over-tightening the screw.
- Glue won't grip at all — the surface is dusty or still slightly damp from filler. Wipe down with a dry cloth and wait another few hours before retrying.
Tools and resources
- 1.2m spirit level, straightedge, pencil, masking tape
- Filler, sandpaper, primer, timber battens, packers
- High-tack panel glue for the final fix once the wall reads flat
- A helper for holding panels during the dry-fit stage on runs longer than 2m
What to do next
Once the wall passes the straightedge test, work out exactly how many panels the run needs before you order — running short mid-install means a possible dye-lot mismatch on a repeat order in 2026. A flat, primed wall is also the point to pick your finish: darker veneers like smoked oak show glue lines less than pale natural oak, which is worth factoring in if the prep wasn't perfect everywhere.
FAQ
What's the best way to check if a wall is level before fitting panels?
Run a 1.2m spirit level or straightedge horizontally, vertically and diagonally across the wall and mark every point of daylight or rocking. Check at least four zones, including corners and near the skirting, since old plaster dips most there.
How much wall deviation is acceptable before fitting wood wall panels?
Keep deviation under 3mm per metre for direct glue-fix panelling. Anything beyond that calls for a batten grid rather than repeated filler coats, since rigid veneer panels show every ripple behind them.
Do I need to level a plasterboard wall before fitting panels?
Yes — plasterboard joints and screw dimples are the most common hidden hollows behind lifted panel edges. Tape and fill joints, then re-check with a straightedge before gluing.
Can I fit wood panels directly onto an uneven brick or block wall?
Only if deviation is under 3mm per metre after filling. Badly out-of-true brick or block work needs a timber batten grid packed to one flat plane instead.
What tools do I need to level a wall for panelling?
A spirit level, filler, sandpaper, primer, and either shims or battens depending on how uneven the wall is. A tube of high-tack panel glue finishes the job once the surface is flat.
Is skim plaster necessary before fitting acoustic wall panels?
Not always — a well-filled and sanded surface is enough for most installs. Full re-skimming is only worth it when the wall has widespread cracking or more than a few millimetres of variation across most of its face.
How long does levelling a wall take before panelling?
Minor filler and sanding work can be done in a single day, but deeper fills need 24-48 hours to cure fully before you sand or glue over them. Batten grids typically take a weekend for a standard room wall.
Should I use battens on an unlevel wall instead of filler?
Use battens when deviation exceeds roughly 3mm per metre across large sections, since packing battens to one plane corrects the whole wall in a single pass. Filler alone is better suited to isolated small hollows.
One last thing
Most lifted-panel complaints trace back to one thing: gluing over a surface that looked flat to the eye but failed the straightedge test. The 1.2m level check takes five minutes and catches the exact problem that ruins a wood panel install weeks after the glue's gone off.