

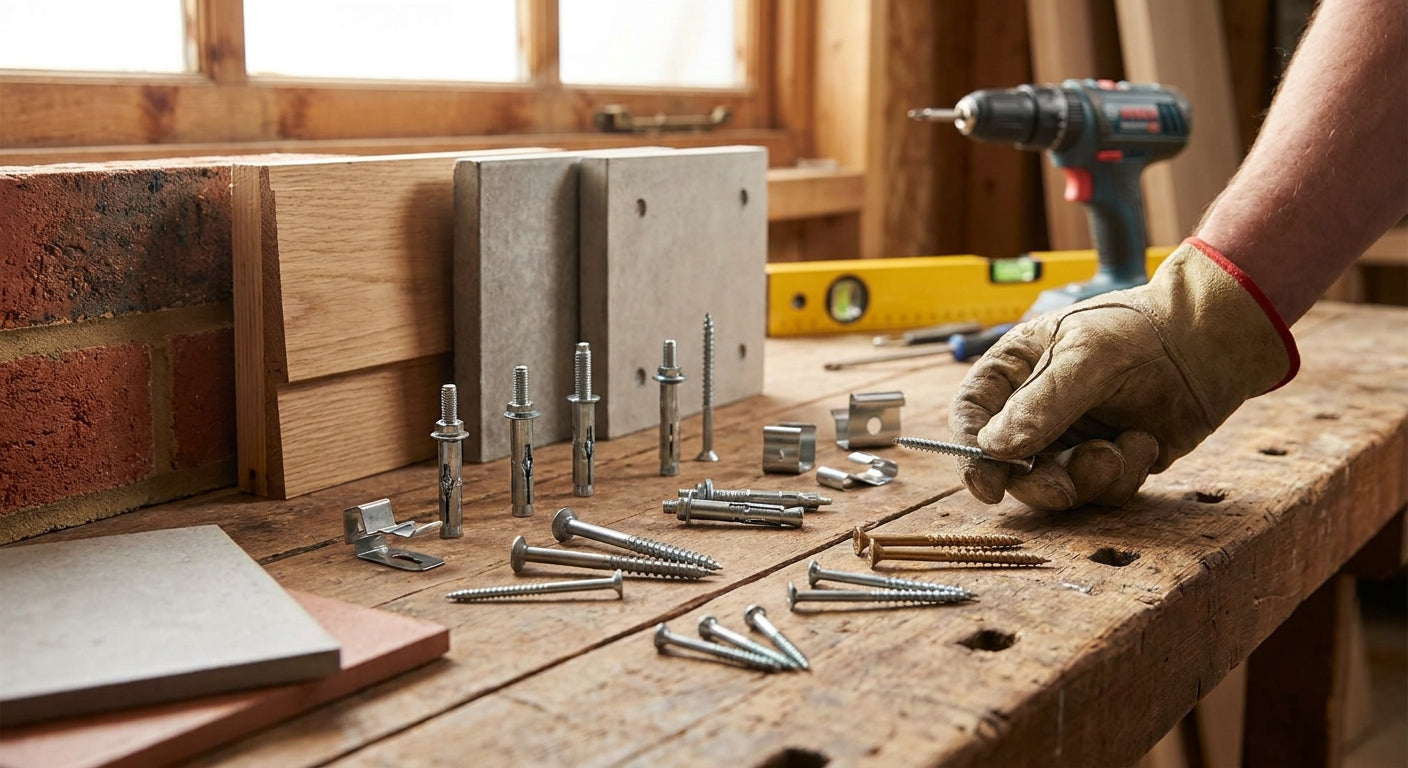
Getting cladding fixings wrong is the single biggest reason exterior panels fail early — screws pull out of render, battens rot behind solid brick, or panels rattle loose within a year because the fixing never reached solid material.
TL;DR
Cladding fixings for different wall types come down to matching the screw and fixing method to what's actually behind the surface: masonry needs plugged frame fixings into brick or block, rendered facades need fixings that bite past the render into the structural wall behind, timber frame takes direct wood screws into studs or battens, and cavity walls need a batten system anchored to the inner leaf. Akuwoodpanel.uk's exterior wall cladding screws in oak, birch, black and stone grey finishes are colour-matched for a clean fixing on any of its cladding ranges, and getting the fixing depth and spacing right in 2026 matters more than picking a premium panel finish. Skip generic interior screws on an exterior wall — that's the fastest way to see rust streaks and loose boards within a UK winter.
Why this matters
A cladding panel is only as good as what's holding it up. Exterior cladding sits through freeze-thaw cycles, wind loading, and constant moisture movement, and the fixing is doing all the structural work while the panel just looks good.
Get the fixing wrong for the wall type and you're not looking at a cosmetic fault — you're looking at a panel that comes away from the wall. Most call-outs for failed exterior cladding in the UK trace back to fixings that never reached load-bearing material, not to the panel itself.
The first internal link worth following here is Akuwoodpanel.uk's guide on how to fit exterior cladding on a cavity wall, which covers the cavity-specific batten detail referenced in step four below.
What you'll need
- Impact driver or combi drill with a clutch setting
- Masonry drill bit (6mm-8mm) for brick, block or render
- Spirit level and chalk line for batten runs
- Treated timber battens (25mm x 38mm minimum for most UK exterior panel systems)
- Exterior wall cladding screws in oak, birch, black or stone grey matched to your panel finish
- Wall plugs rated for the substrate (brick, block, or dense concrete)
- A finishing trim to close edges cleanly
- Roughly one full day per 15-20m² of wall for a two-person team
The steps
1. Identify your wall type before you drill anything
Tap the wall and check what's behind the visible surface — solid masonry sounds dense and dull, a rendered wall over blockwork sounds similar but the render layer adds 10mm-20mm of dead material before you reach anything structural, and a timber frame wall sounds hollow with studs at roughly 400mm or 600mm centres. Get this wrong and every step after it is guesswork. The common mistake is assuming render means brick behind it — plenty of 2000s-era new builds render over lightweight block, which needs different plug lengths.
2. Fix directly into solid masonry with plugged frame fixings
On solid brick or dense block, drill a 6mm pilot hole 5mm deeper than the fixing length, insert a wall plug rated for masonry, and drive the fixing in with a steady torque rather than full speed. This is the most forgiving wall type for cladding fixings because you've got consistent density the whole way through. Expect roughly one fixing point every 400mm along each batten run for standard exterior panels.
3. On rendered facades, fix past the render into the structural wall
Render is not structural — it's a 10mm-15mm coating over block or brick, and a fixing that only grips the render will fail within months as it's exposed to thermal movement. Drill through the render and at least 40mm into the masonry behind it, using a longer fixing than you'd need on bare brick. The common mistake here is over-tightening, which cracks the render in a ring around the screw head; stop the driver the moment resistance builds.
4. On timber frame walls, screw straight into the studs
Timber frame construction gives you the easiest fix of all four wall types — locate the studs with a detector or by tapping, then drive exterior wall cladding screws directly into solid timber at 50mm-60mm depth. No plugs needed. The mistake to avoid: missing the stud and fixing only into the sheathing board, which holds for a few months and then works loose under wind load.
5. On cavity walls, anchor battens to the inner leaf and bridge the gap
A cavity wall has an outer leaf (often brick) with an air gap behind it before the structural inner leaf. Cladding fixings here need to run through the outer leaf and into the inner leaf using extended fixings, or use a batten system that bridges the cavity properly rather than relying on the outer skin alone. This is the wall type most often fixed incorrectly, because the outer brick looks solid but isn't load-bearing on its own for cladding weight.
6. On dense concrete or blockwork, step up to heavy-duty fixings
Concrete and dense block need a hammer drill setting and a masonry bit rated for the material, with pilot holes drilled to the full fixing depth rather than estimated. Standard timber-frame screws will snap or strip in concrete — this wall type is the one place where undersizing the fixing causes the most failed installs. Expect the slowest drilling time of any wall type here, often double the time per hole compared with brick.
7. Space and stagger fixings for wind load, not just aesthetics
Every wall type needs fixing points spaced consistently — roughly every 400mm vertically along a batten and staggered horizontally so no single row carries the full wind load. Skipping a fixing point to save time on a run is the single most common shortcut that leads to panel movement in gusts above 40mph, which is common on exposed UK coastal and hillside sites.
Troubleshooting
- Fixing spins without gripping (masonry or render): the pilot hole is oversized or the plug is undersized — step up one plug size and redrill.
- Screw head snaps off in concrete: you're driving too fast on too small a bit; slow the driver and pre-drill the full depth, not a starter hole.
- Panel sits proud at one edge: the batten run isn't level — recheck with a spirit level before fixing the panel, not after.
- Render cracks around the fixing: over-tightening or drilling too shallow into the structural wall behind it — back the screw off and refix 50mm to one side.
- Cladding rattles in wind within weeks: fixing spacing exceeded 400mm or a fixing missed the stud/masonry entirely — add intermediate fixing points rather than replacing the whole run.
- Rust streaks appear after one UK winter: the wrong fixing grade was used for an exterior application — swap to the colour-matched exterior screws rated for outdoor use.
Tools and resources
- Exterior wall cladding screws in stone grey for a finish-matched fix on stone grey panels
- Exterior wall cladding finishing trim in oak to close panel edges once fixings are set
- A cordless impact driver with adjustable clutch, non-negotiable for concrete and masonry work
- A stud detector for timber frame walls, cheaper than guessing and redrilling
What to do next
Once fixings are sorted, the next decision is layout — read Akuwoodpanel.uk's guide on how to install exterior wall cladding panels for the full panel-by-panel sequence, from first course to trim finish.
FAQ
What's the best fixing for cladding on a rendered wall? A fixing long enough to pass through the render and grip at least 40mm into the structural masonry or block behind it — render alone won't hold a fixing long-term.
Do I need different screws for exterior cladding versus interior panels? Yes — exterior fixings need weather-rated coatings to resist rust, while interior panel fixings don't need to withstand UK weather at all.
How far apart should cladding fixings be spaced? Roughly every 400mm along a batten run, staggered between rows, is standard for exterior wall cladding in 2026 UK installs.
Can I fix cladding directly to a cavity wall's outer brick? Not recommended on its own — bridge to the inner leaf or use a proper batten system, since the outer leaf isn't reliably load-bearing for cladding weight.
What drill bit size do I need for masonry fixings? A 6mm-8mm masonry bit covers most standard exterior cladding fixings into brick or block, matched to the plug size you're using.
Is timber frame easier to fix cladding to than masonry? Yes — direct screw fixing into studs at 50mm-60mm depth needs no plugs, making it the fastest of the common UK wall types to work with.
How much does it cost to fix exterior cladding badly the first time? The real cost is redoing the work — failed fixings mean stripping the run and refixing, which typically doubles labour time versus getting wall-type identification right from step one.
Do stone grey and oak cladding need different fixings? No — the fixing choice depends on the wall type behind the panel, not the panel finish, though colour-matched screws in oak, birch or stone grey keep the fixing visually consistent.
One last thing
The wall type test most installers skip is the simplest one: tap three separate spots across the same wall before you commit to a fixing plan, because renders over lightweight block and renders over solid brick sound almost identical to the untrained ear but need completely different fixing depths.
Share:
Acoustic Panels for Village Hall: 2026 Buying Guide
Wooden Wall Panels for Beauty Salon: 2026 Verdict