

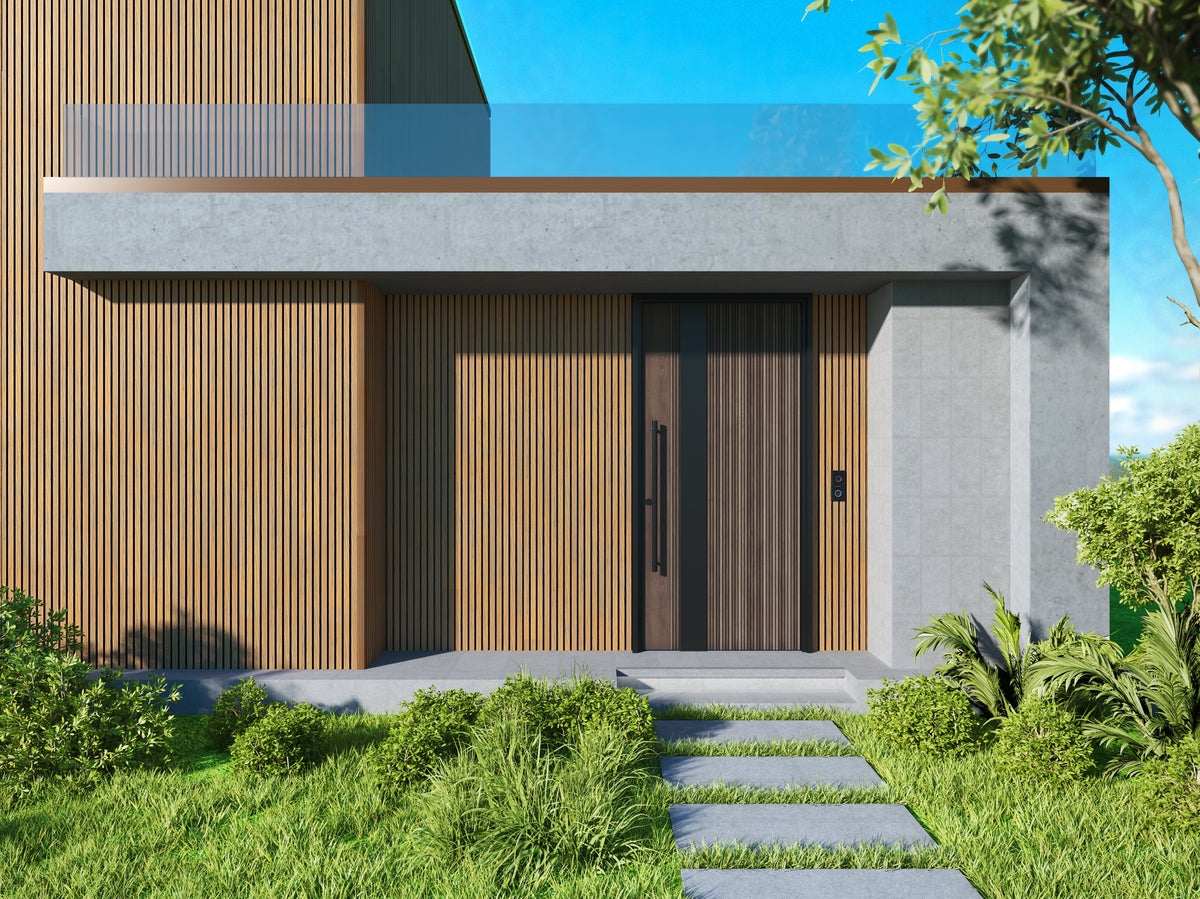
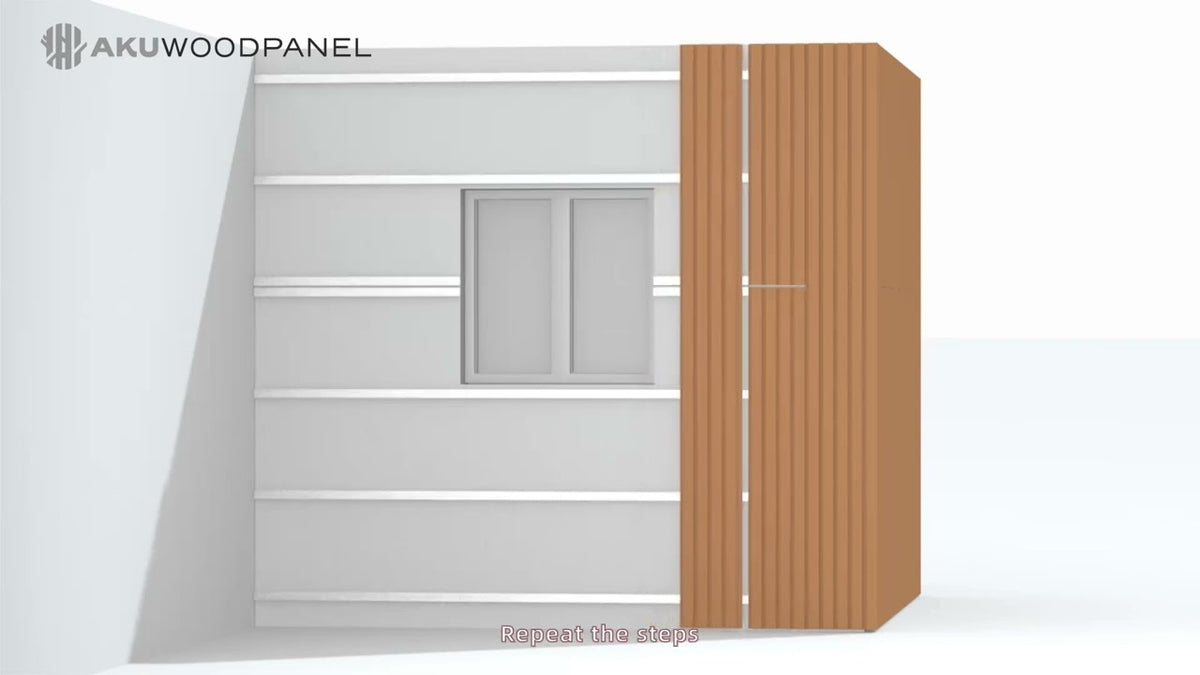
Installation instructions
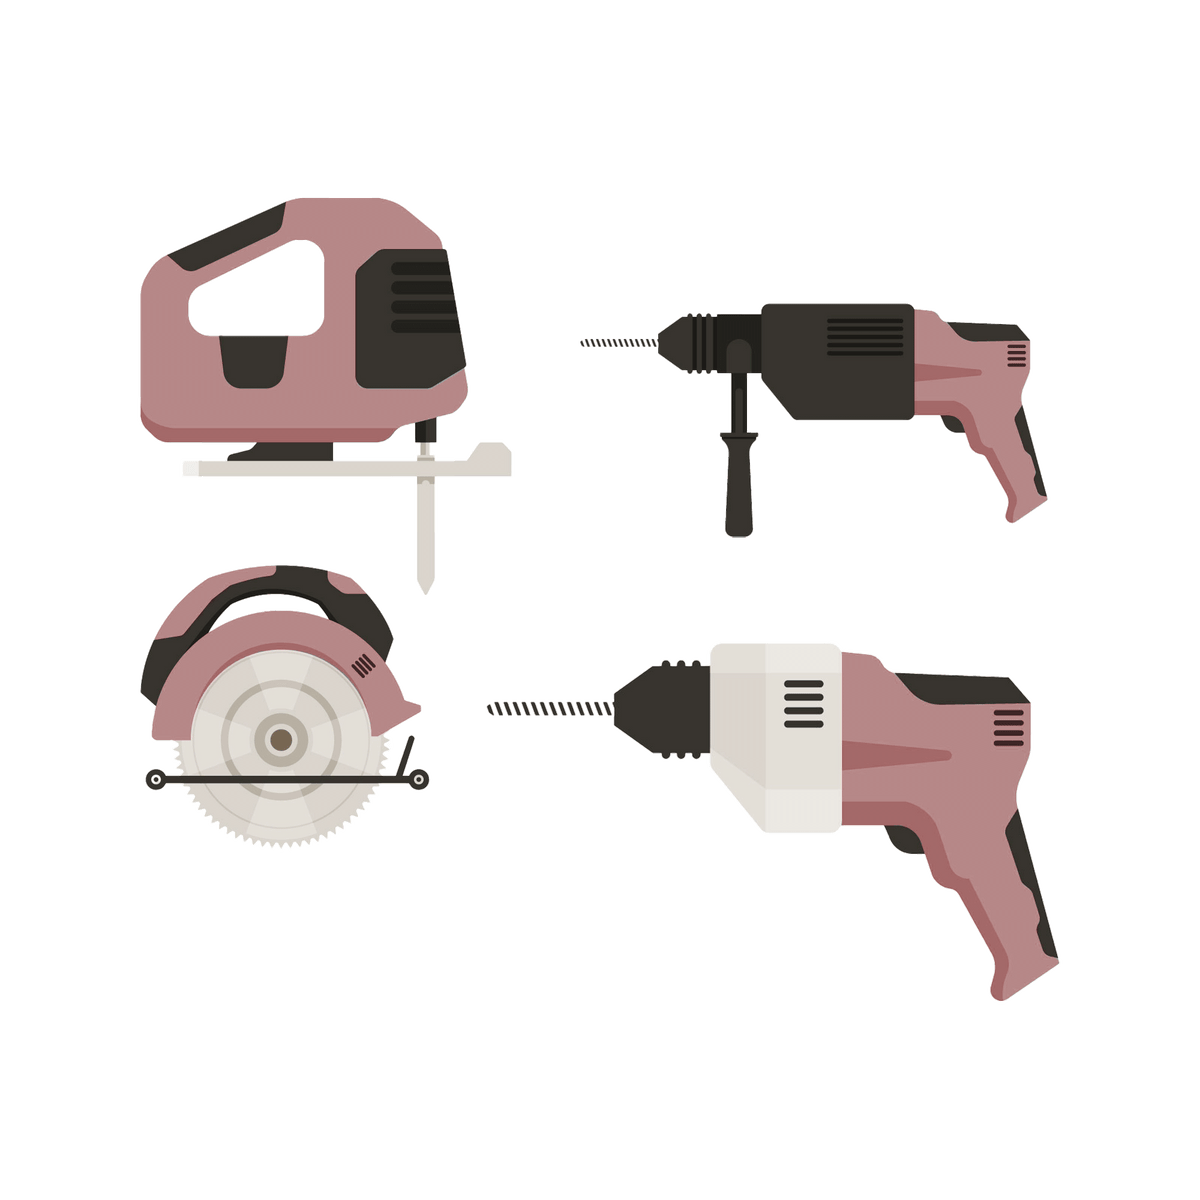
What you need
- Tape measure and pencil
- Spirit level
- Drill
- Circular saw or handsaw
- Gloves and safety glasses
- Screws and wall plugs
Step-by-step guide
Installation with screws
Step 1 - Preparation: Make sure the surface is clean and solid. Measure the space and plan the layout.
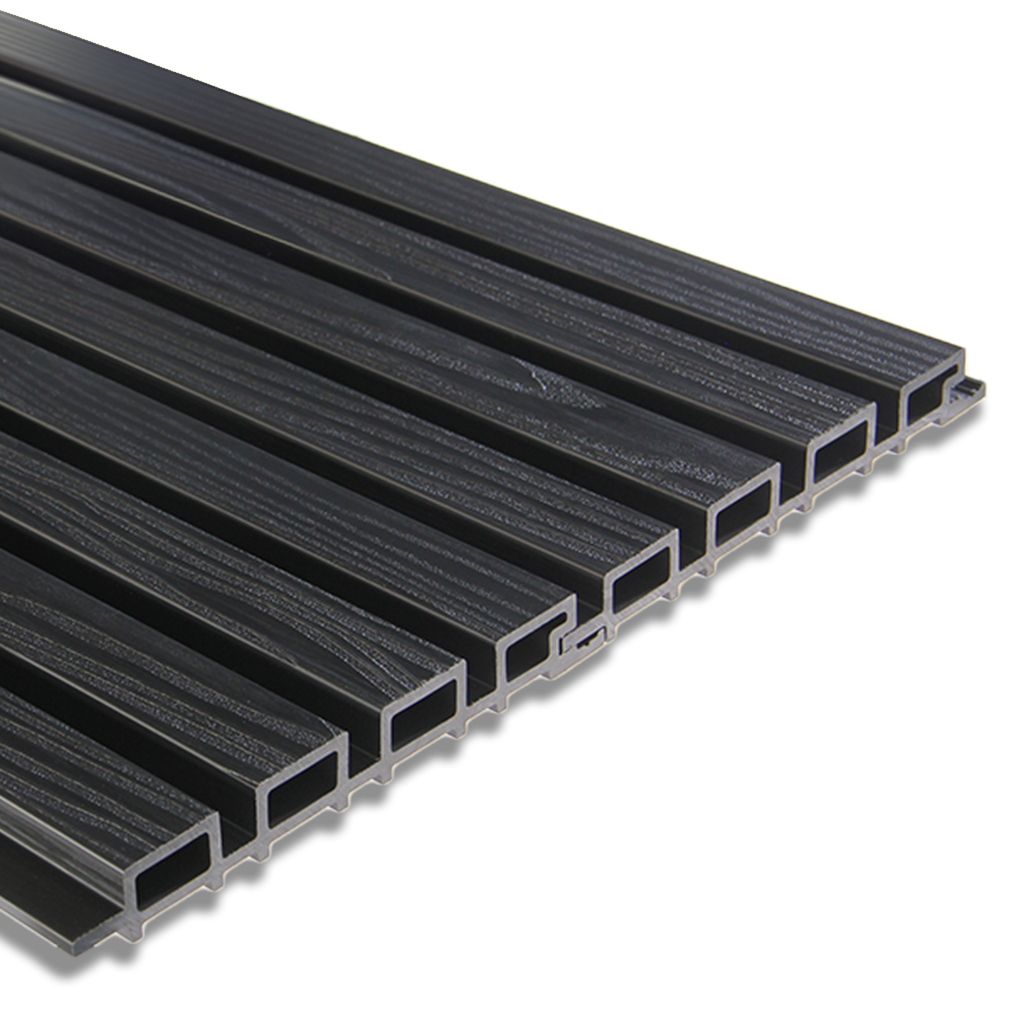
Step 2 - Installation: Start at the bottom. Leave at least 10 mm to the ground for ventilation. Click the panels together and fix with self-tapping screws.
Step 3 - Corners: Finish outside corners with L-profiles.
Step 4 - Check: Check the ventilation openings and clean the panels after installation.
Questions? Feel free to contact us.