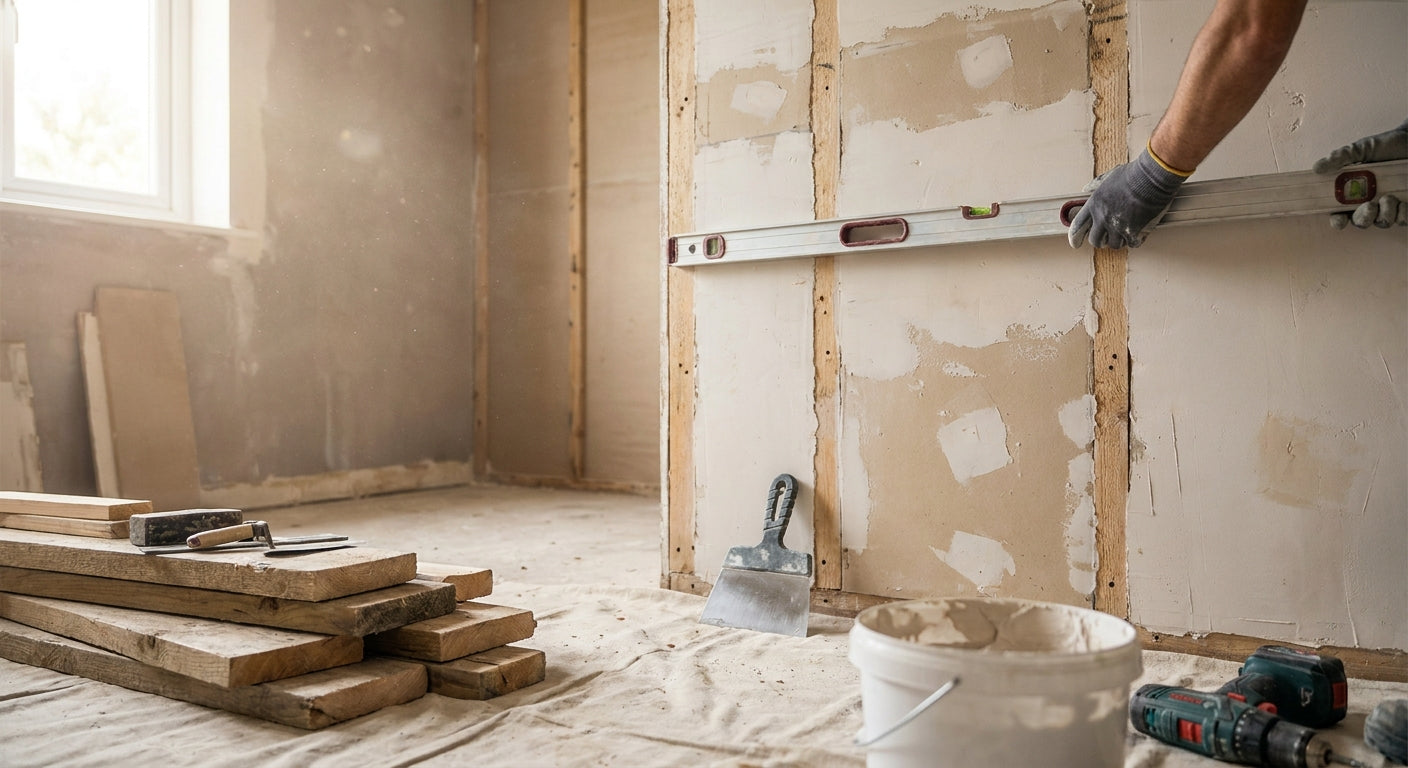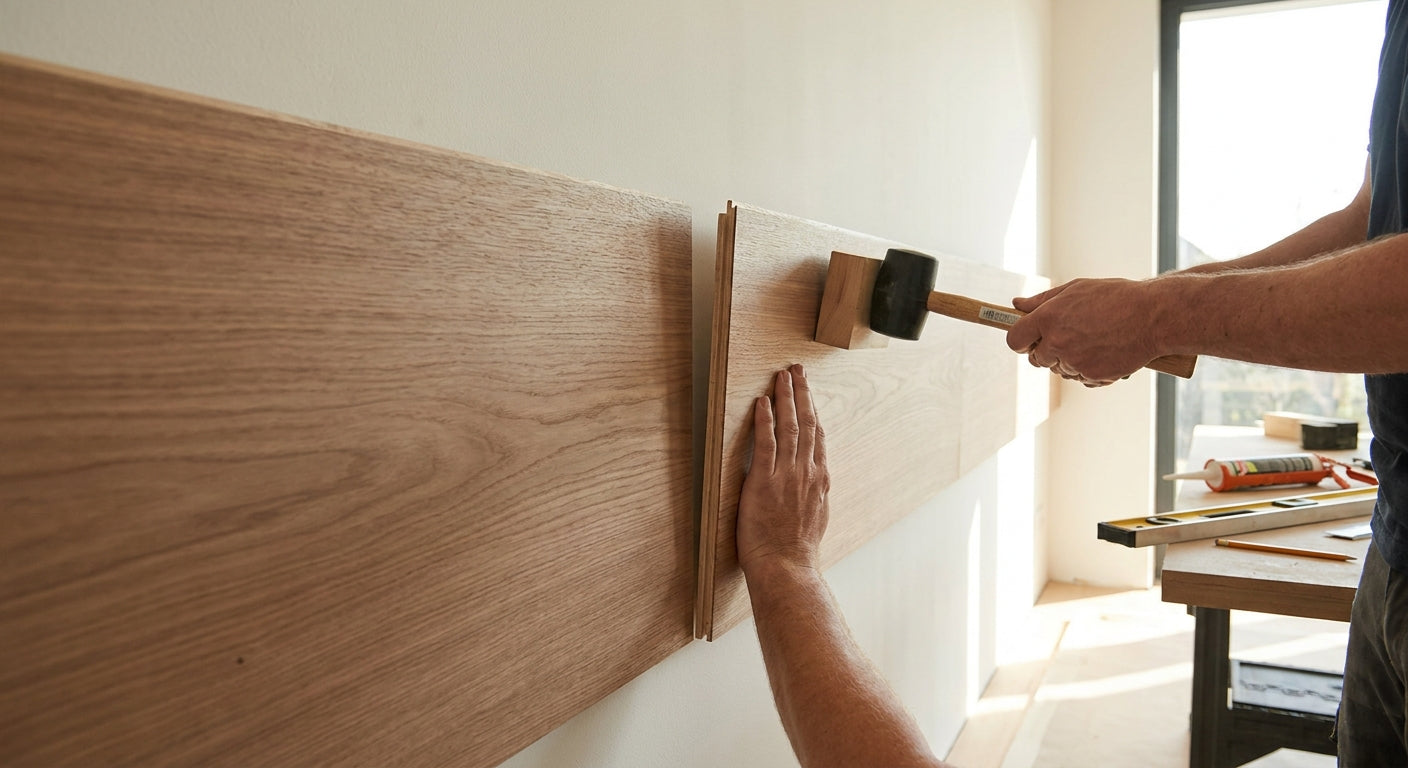
Joining acoustic wood panels across a long wall so the seams disappear takes more than glue and patience — it takes a layout plan before the first panel goes up. This guide walks through the exact sequence for a seamless run, from batch-matching timber to finishing every joint with the right trim.
- Buy one wood batch and cut end pieces from the same run — mismatched grain is the #1 reason a join reads visible in 2026 installs.
- High-tack panel glue plus 30cm-staggered vertical seams beats contact adhesive for how to join wall panels on runs over 3 metres.
- Leave a 5mm expansion gap at every wall-to-wall joint; wood slats move seasonally even indoors.
- Akustiq UK panels ship in 240cm and 300cm lengths — pick the length that lands your last seam at a corner, not mid-wall.
Why this matters
A long wall exposes every mismatch a short feature wall hides. Two panels off by even half a shade of stain read as a stripe from across the room, and a badly placed vertical seam catches side-light from any window or downlight.
The fix isn't a special product — it's sequencing. Panels bought from the same production run, glued with the correct pattern, and staggered across the wall behave as one continuous surface rather than a row of tiles. The Natural Oak wall panel range from Akustiq UK ships in 240cm and 300cm lengths specifically so a run over 3 metres can be planned to land its last joint at a corner instead of mid-wall.
What you'll need
- Panels from a single batch or delivery — mixed batches shift tone even within the same finish name
- High-tack panel glue — one 290ml tube covers roughly 4-5 standard panels depending on wall flatness
- A spirit level and a chalk line for marking batten or stud positions
- A tape measure and pencil for dry-fit marking before any glue goes on
- Wood glue-safe clamps or masking tape to hold panels flat during the 24-48 hour cure
- A fine-tooth saw for trimming the final panel in the run to width
- A 5mm spacer (an offcut works) for expansion gaps at wall junctions
The steps
1. Plan the full run before touching a panel
Measure the wall's total length and divide by the panel width — 60cm per standard panel — to work out how many pieces you need and where the last, cut piece falls. A 4.2 metre wall needs 7 full panels, leaving a narrower final piece; plan for that narrow piece to sit in a corner or behind furniture, never centred where it draws the eye. Skipping this step is the single biggest cause of an awkward sliver panel landing dead centre on the wall in 2026 installs Akustiq UK sees reported most often.
2. Dry-fit the whole batch first
Lay panels out on the floor in delivery order and check the grain flows in one direction before you commit glue to anything. Wood veneer varies panel to panel even within one finish, and dry-fitting lets you rotate or reorder pieces so darker and lighter boards don't cluster on one side of the wall. Expect this step to take 20-30 minutes for a typical living room wall — it's the cheapest insurance in the whole job.
3. Mark stud, batten, or level lines
Use a spirit level to mark a true vertical at your starting edge, since walls are rarely square, and a horizontal line at panel-top height if you're running a single row. On stud or batten walls, mark fixing centres so the glue pattern lines up with solid backing rather than plasterboard voids. A joint that lands off a stud is a joint that eventually opens.
4. Apply glue in a zigzag, not a grid
Run high-tack panel glue in a zigzag bead roughly 3cm from each edge, with an extra line down the centre of wider panels. A grid pattern traps air pockets that cause the seam edge to lift slightly after a few weeks, which is exactly what makes a joint catch light and become visible. The zigzag lets air escape toward the panel edges as you press it flat.
5. Set the first panel dead against your marked line
Press firmly from the centre outward to bed the glue evenly, then hold or clamp for the first 60 seconds while initial tack sets. Every panel after this one references off this first piece, so get it plumb now — errors compound down the wall.
6. Butt the next panel tight, then check the seam by eye
Slide the second panel in until it touches the first with zero visible gap, then step back 2 metres and check the join under raking light from a window or lamp. If you can see a line, the panels aren't fully flush — press again before the glue skins over, which typically happens within 8-10 minutes.
7. Stagger vertical joints if you're running more than one row
On a floor-to-ceiling install with stacked rows, offset the vertical seams between rows by at least 30cm. A repeating joint pattern reads as a grid of tiles rather than one panelled surface, which defeats the point of matching grain in the first place.
8. Finish every exposed edge with an end piece
Uncapped panel edges show the acoustic felt backing and raw MDF core, which breaks the seamless effect instantly. Fit an end piece wooden wall panel at every wall return, window reveal, and door frame so the finished veneer wraps the edge cleanly. Clamp or tape the whole run for 24-48 hours while the glue fully cures before removing supports.
“If the seam catches light at an angle, the join isn't finished yet.”
Troubleshooting
- Seam visible under side-light — the panels aren't fully flush. Re-press within the glue's open time (8-10 minutes) or, if cured, add a thin bead of glue at the exact seam and clamp overnight.
- Colour mismatch between panels — this comes from mixing production batches. There's no fix once fitted; the only prevention is ordering the full run's panels together, not in stages.
- Panel bowing after gluing — usually a wall that isn't flat behind the panel. Shim the low spots with thin packers before gluing rather than forcing the panel flat, which stresses the joint.
- Slats not lining up horizontally across a joint — panels weren't dry-fitted in the correct orientation. Check the slat direction arrow (if present) on the panel back before final placement.
- Gap opening at a joint months later — wood moves with humidity even indoors. A 5mm expansion gap at wall-to-wall junctions, hidden behind trim, absorbs this movement instead of the panel splitting the seam.
- Glue squeeze-out staining the felt — wipe excess immediately with a dry cloth; once high-tack glue skins over on felt backing it's very difficult to remove cleanly.
Tools and resources
- High-tack panel glue — sold in a 290ml tube, roughly enough for 4-5 panels
- End pieces in matching finish for every exposed edge and corner
- Spirit level, chalk line, fine-tooth saw, and clamps or masking tape
- For gap consistency across a run, the even-gap fitting method covers spacer techniques that carry over from cladding to interior slat panels
What to do next
Before you order, work out the exact panel count for your wall length and height rather than estimating — over-ordering wastes money, under-ordering means a mid-project delay waiting on a matching batch. The panel quantity calculation guide walks through the maths for standard 240cm and 300cm panel lengths across 2026 room dimensions.
FAQ
How do you join wall panels seamlessly across a long wall?
Order panels from one batch, dry-fit the run to match grain direction, then glue with a zigzag pattern and butt each panel tight against the last. Stagger vertical joints by at least 30cm on multi-row installs and cap every edge with a matching end piece.
What glue should I use to join acoustic wood panels?
A high-tack panel glue, applied in a zigzag bead rather than a grid, holds panels flat without trapping air pockets that lift the seam later. A 290ml tube typically covers 4-5 standard panels.
How long does panel glue take to cure?
Initial tack sets within 8-10 minutes, but full cure takes 24-48 hours. Clamp or tape the panels in place for the full cure window before removing supports.
Do I need a gap between wall panels?
Yes — leave roughly 5mm at wall-to-wall junctions and hide it behind trim or an end piece. Wood slats expand and contract with humidity even in climate-controlled rooms.
Why does the seam between two panels show a line?
A visible seam usually means the panels weren't pressed fully flush before the glue skinned over, or the two panels came from different production batches with slightly different tone. Re-pressing within the open time fixes the first cause; the second has no fix once installed.
Can you mix panel finishes on the same long wall?
You can, but it breaks the seamless effect this guide is built for. If you want intentional contrast, plan a deliberate break point like a corner rather than mixing finishes randomly along a run.
How many panels do I need for a long wall?
Divide the wall length by the 60cm standard panel width, then round up and account for the narrower final cut piece. A 4.2 metre wall needs 7 full panels plus one cut piece.
Should vertical joints line up between rows?
No — stagger them by at least 30cm on multi-row installs. Aligned joints between rows create a repeating grid pattern that reads as tiling instead of one continuous panelled wall.
One last thing
The detail most people skip is checking the seam under raking light before the glue fully cures, not after. Once high-tack panel glue has set for 24-48 hours, correcting a lifted edge means cutting the joint open again — check it in the first 10 minutes while the glue is still workable, and the rest of the job across even a long wall goes from visible seams to one continuous surface.