Bare plasterboard and painted brick throw sound straight back into a room, and a stud wall with no insulation behind it does nothing to stop noise moving between rooms — acoustic wood panels fix both problems at once, adding a felt-backed sound-absorbing layer and a real wood veneer finish in a single fitting job.
- Akustiq UK's Natural Oak panel with grey felt backing insulates a stud or plasterboard wall in a weekend. Buy.
- High Tack Panel Glue handles plasterboard and battened walls; masonry needs plugs and screws instead of glue alone.
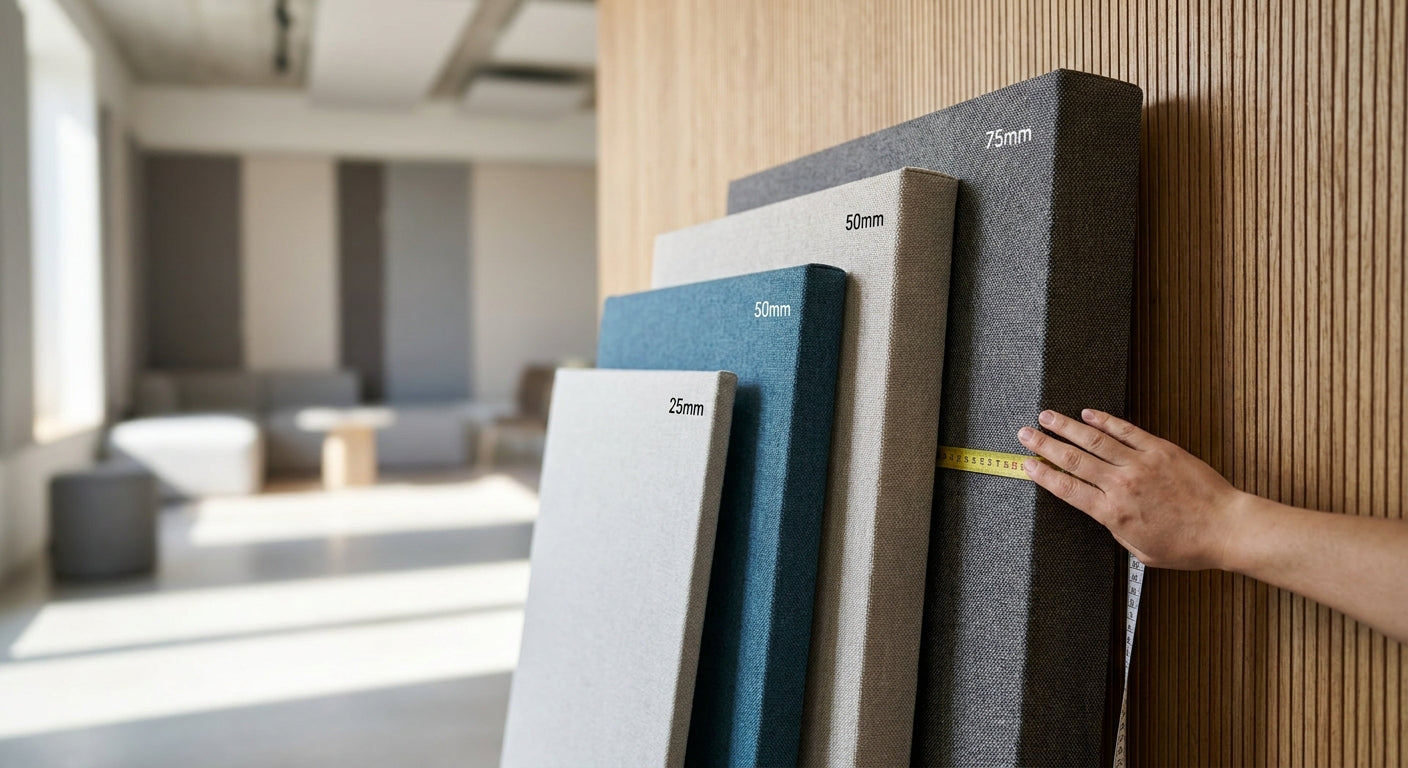
- Panels ship in 240cm and 300cm formats in 2026 — measure your ceiling height before you order.
- Painting over the veneer face kills the acoustic benefit and voids the point of buying felt-backed panels.
- Budget one full day for a single feature wall, two days for a full room in 2026.
Why this matters
Echo isn't a paint problem, it's a surface-area problem. Hard, flat walls reflect mid and high frequencies back into the room, which is why open-plan kitchens and stripped-back living rooms sound harsher than a furnished one with rugs and curtains.
Acoustic wood panels solve this without giving up a minimalist look. The felt backing behind the wood veneer absorbs sound energy instead of bouncing it, and because the panels also sit slightly proud of the wall, they add a thin air gap that helps with insulation too. You get the acoustic fix and the finished feature wall in one job, which is the whole reason homeowners reach for this over foam tiles or fabric panels in 2026.
What you'll need
- A tape measure and spirit level
- Natural Oak wall panel with grey felt backing or another finish in the same felt-backed range
- Panel adhesive rated for interior use, plus a caulking gun
- Battens if the wall is uneven, damp-prone masonry, or you're panelling over tiles
- A fine-tooth saw or track saw for cutting panels to size around sockets and corners
- Wall plugs and screws if you're fixing into brick or block rather than plasterboard
- Half a day for a single wall, a full day if you're doing a room with corners and trims
Plan the layout before you buy. Panels come in 240cm and 300cm size formats in 2026, so measure your wall height and width first — buying the wrong length means extra offcuts and visible seams.
The steps
1. Measure the wall and work out panel count
Measure width and height in centimetres, then divide the usable wall area by the panel width to get a rough count, adding 10% for cuts around sockets, corners, and skirting. Getting this wrong is the single biggest cause of mid-project delays, because reordering the same finish can take days.
Expected outcome: a panel count and a rough layout sketch before anything touches the wall.
2. Check the wall type and prep the surface
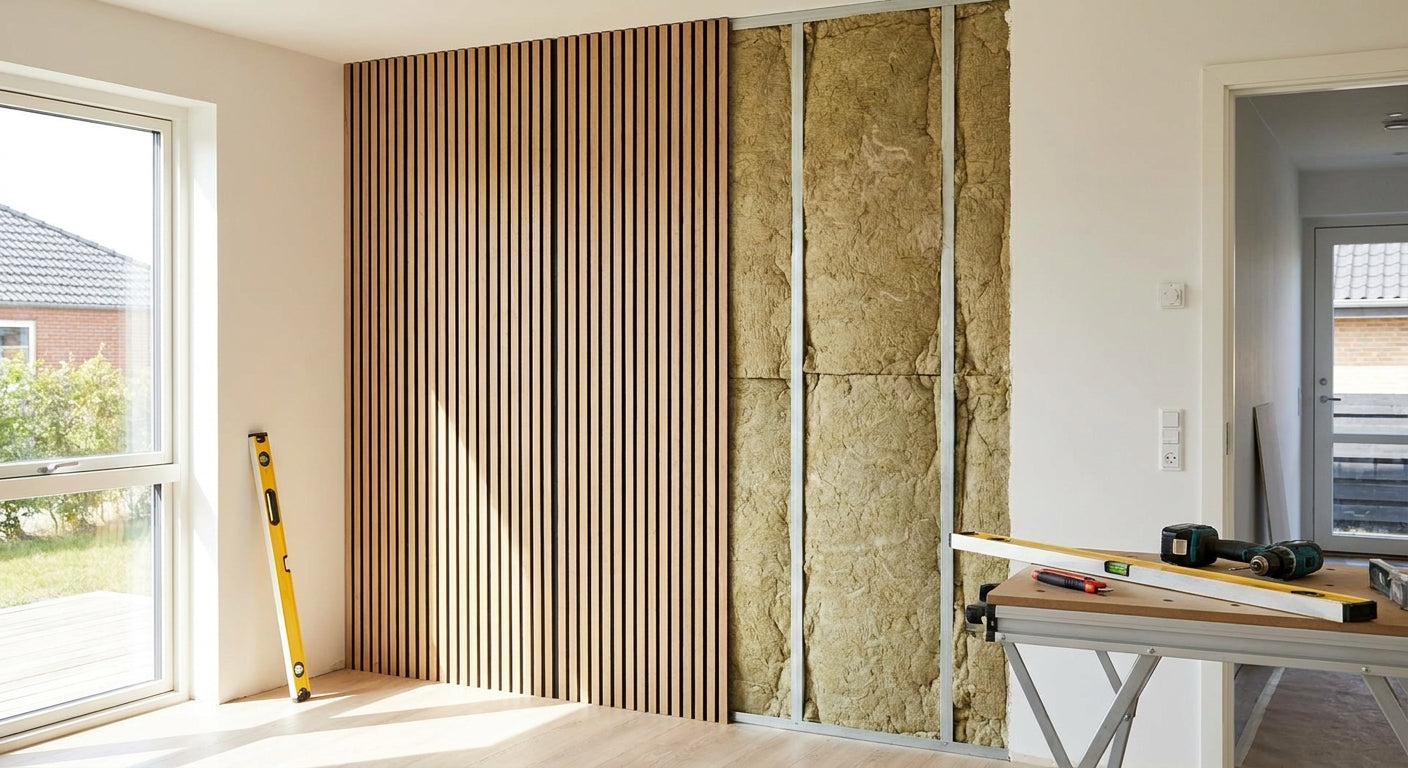
Plasterboard, brick, block, and rendered walls all need slightly different fixing approaches. Plasterboard and dry, flat masonry can usually take panel adhesive directly; uneven brick or damp-prone walls need battens fixed first so the panels sit flat and dry.
Wipe down dust, grease, and old wallpaper residue — adhesive won't grip on a dirty surface, and that's the most common reason panels come loose in month two, not month one.
Common mistake: skipping the wall-type check and gluing straight onto a wall that's actually damp or uneven behind the surface layer.
3. Mark your reference lines
Use a spirit level to mark a plumb vertical line where your first panel will sit, and a horizontal line at floor or skirting height. Every panel after the first one follows these lines, so an error here compounds across the whole wall.
Expected outcome: panels run true and level, with no visible drift by the time you reach the far end of the wall.
4. Apply adhesive or fix battens
For adhesive fixing, run a bead in a zigzag pattern across the back of each panel rather than a single line down the middle — full coverage stops the panel bowing away from the wall over time. For a full walkthrough on battened installs over uneven or older walls, Akustiq UK's guide to fixing wall panels to a plasterboard wall covers the batten spacing and fixing points in more detail.
Common mistake: using too little adhesive at the edges, which is where panels lift first.
5. Install panels bottom-up, working outward
Start at your reference line and press each panel firmly for the full manufacturer-recommended hold time before moving to the next. Working bottom-up keeps weight off the panels below and stops slippage while adhesive cures.
Expected outcome: a tight seam between panels with no visible gap, and each new panel supported by the level line rather than the last panel's edge.
6. Cut around sockets, corners, and trims
Mark socket and switch positions on the panel before cutting, then use a fine-tooth saw for a clean edge that won't splinter the veneer. Corners and end pieces finish the job cleanly rather than leaving a raw edge exposed.
Common mistake: cutting freehand without marking first — a slightly wrong cut on a felt-backed panel can't be un-cut.
7. Let adhesive cure before loading the wall
Leave the finished wall alone for the manufacturer's stated cure time, typically 24 hours, before hanging anything on or near it or subjecting it to heavy vibration. Curing time is the step most DIYers skip, and it's the reason panels that looked perfectly installed come loose within a fortnight.
Expected outcome: a wall that's fully bonded, insulated for sound, and ready for normal room use.
Troubleshooting
- Panel edges lifting after a few days: usually insufficient adhesive coverage at the edges — remove, reapply a full zigzag bead, and re-press with even pressure.
- Visible gap between panels: the reference line wasn't plumb, or panels weren't pressed for the full hold time — check level before continuing the run.
- Wall still echoes after installation: you've likely only covered one wall in a large room — acoustic wood panels absorb sound where they're fitted, so a single feature wall in a big open-plan space won't fix reverberation across the whole room.
- Panel bowing away from a damp wall: the wall wasn't dry enough before fixing, or battens weren't used on a masonry wall that needed them — battens create the air gap that protects against residual moisture.
- Saw cuts splintering the veneer: blade wasn't fine enough, or the cut was made face-up instead of face-down — always cut with the finished veneer face against the base to protect the surface.
- Colour mismatch between panels from different batches: natural wood veneer varies batch to batch — order all panels for one wall in a single purchase rather than topping up later.
Tools and resources
- Panel adhesive: High Tack Panel Glue, 290ml is sized for standard panel runs and works on plasterboard and primed masonry
- Felt-backed panels in Natural Oak, Mocca, Black Oak, Smoked Oak, Rustic Oak, Walnut, and Grey Oak finishes, in 240cm and 300cm formats
- End pieces and corner trims for a clean finish where panels meet a wall edge or window reveal
- A spirit level, tape measure, and fine-tooth or track saw
- Wall plugs and screws for masonry fixing where battens are needed
What to do next
Once you know your wall dimensions, work out exact panel quantity before ordering rather than estimating on site — running short mid-installation means a delivery wait with a half-finished wall. Akustiq UK's guide to calculating how many wall panels you need walks through the maths for standard room sizes.
FAQ
Do acoustic wood panels actually insulate a wall or just look decorative?
Felt-backed acoustic wood panels absorb sound energy through the felt layer behind the veneer, reducing echo and reverberation in the room. They add a thin insulating air gap too, but they're not a substitute for cavity wall insulation against outdoor cold.
How long does it take to install acoustic wood panels on one wall?
A single feature wall takes half a day to a full day including measuring, cutting, and fitting in 2026. A full room with corners and trims usually needs two days including adhesive cure time.
Can you fit acoustic wood panels on a plasterboard wall without battens?
Yes, dry and flat plasterboard usually takes panel adhesive directly without battens. Uneven, damp-prone, or masonry walls need battens first so the panels sit flat and stay dry.
What size do acoustic wood panels come in?
Akustiq UK panels come in 240cm and 300cm formats in 2026, covering standard and floor-to-ceiling wall heights. Measure your wall before ordering to match the format to your ceiling height.
Do acoustic panels stop noise from next door or just echo in the room?
Acoustic wood panels reduce reflected sound and reverberation inside the room they're fitted in. They do very little for airborne noise transferring through a shared wall, which needs mass and decoupling rather than surface absorption.
Can you paint over acoustic wood panels after installing them?
Painting over the veneer face seals the wood grain and reduces the acoustic absorption the felt backing is designed to provide. If you want a specific colour, choose from the existing wood finishes rather than painting afterward.
How many panels does an average living room wall need?
A typical 3.5m by 2.4m feature wall needs roughly 12 to 15 panels depending on the size format chosen, plus a 10% allowance for cuts. Exact counts depend on socket positions and corner returns.
Do you need a professional to install acoustic wood panels?
Most homeowners fit acoustic wood panels themselves using adhesive or battens and basic tools in a weekend. Larger commercial installs or unusual wall types benefit from a fitter, but a single domestic wall is a standard DIY job.
One last thing
The air gap behind the panel matters more than most people expect — a panel glued flat against a dead-flat plasterboard wall still absorbs sound, but the same panel fixed over battens with even a small cavity behind it performs noticeably better against low-frequency reverberation, which is why commercial fit-outs almost always batten rather than glue direct.