

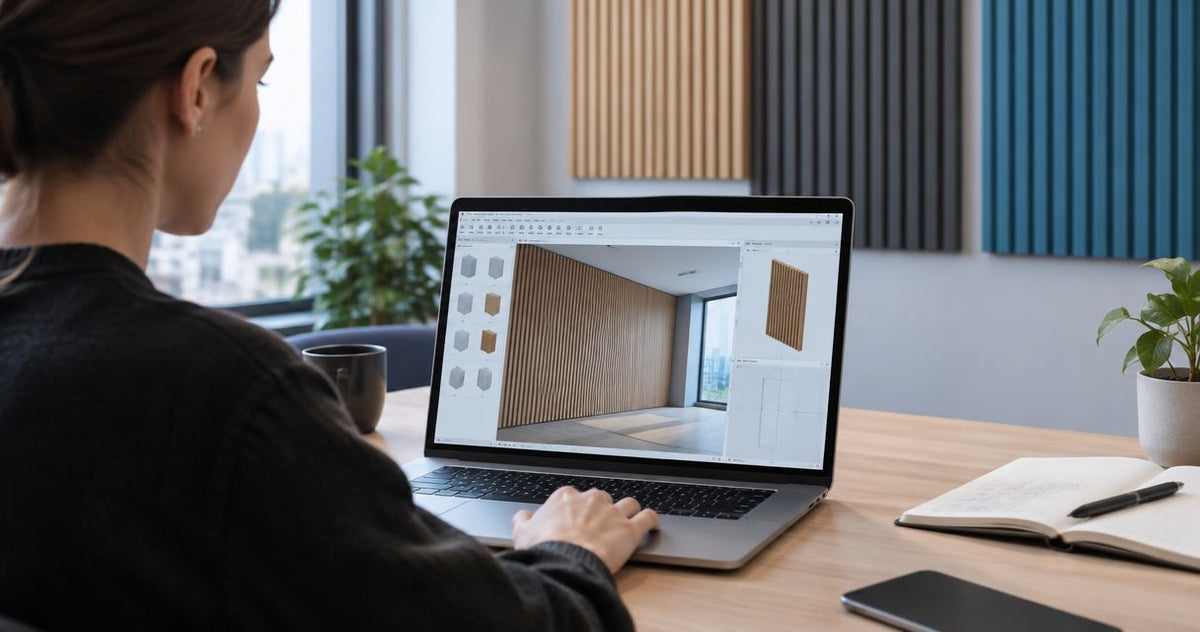
Instead of redrawing acoustic panels for every room, load a compatible Revit family, check its dimensions and hosting, then place and schedule it in your project. For Akustiq UK acoustic wooden wall panels, use verified product information to populate the object; a generic model represents your design, not manufacturer-approved BIM content.
- For acoustic wall panels revit bim workflows, load a compatible RFA family, verify hosting, then place and schedule it.
- Akustiq UK suits homeowners and businesses specifying acoustic wooden wall panels for interior projects.
- Use a simple project-authored family when you do not have a verified manufacturer object.
- Revit geometry and material settings do not prove sound absorption, fire performance or installation suitability.
Why this matters
A panel that looks correct in a render can still have the wrong depth, host or schedule category. Those errors affect wall junctions, socket positions and quantities. Check the object before repeating it across the building.
For a 2026 fit-out, keep the physical product, model representation and performance evidence separate. Akustiq UK indoor acoustic wood panels feature a three-sided real wood veneer finish and acoustic felt backing, but those features alone do not establish a numerical absorption rating or a fire classification.
The aim is a repeatable workflow: one checked family, clearly named types and quantities you can reconcile with drawings. Start with a test wall rather than the entire office, living room or meeting suite.
Before you start
- Revit and project access: Open the project in the agreed Revit release, with permission to load families and edit the relevant model elements. Use a working copy for initial checks.
- Object and product information: Gather an RFA file, if you have one, plus verified dimensions, finish information and installation details. The guide to getting CAD and BIM drawings for acoustic wall panels explains the documentation topic.
- The compatibility gotcha: Revit cannot open a family saved in a newer release. Also check hosting before loading: a wall-hosted family needs a wall, while a face-based family needs a suitable face.
Do not treat a product photograph, PDF or DWG as a ready-to-place Revit family. A PDF provides reference information; a DWG provides CAD geometry. Neither automatically creates the parameters, hosting behaviour or schedule structure required for a usable BIM object.
Product data and family configuration
Choose the modelling route
Use an existing family only after checking what it represents. If you create the object yourself, identify it as project-authored so another designer does not mistake it for manufacturer-issued content.
| Modelling route | Best for | Benefit | Limitation |
|---|---|---|---|
| Verified manufacturer family | Product-specific coordination | Connects geometry and data to an identified product | Still needs version, hosting and parameter checks |
| Project-authored generic family | Layout work without a verified product family | Gives you control over dimensions and scheduling | Requires manual verification and does not establish product performance |
- Check the RFA file's source, intended product and Revit release. For a Revit 2026 project, confirm that the file opens in that release before introducing it into the live model.
- Open the family separately and inspect Family Category and Parameters. Record its category and whether it is wall-hosted, face-based or unhosted.
- Open Family Types and compare the geometry-driving dimensions with the product documentation. Check the actual geometry as well: a text parameter labelled as a dimension does not necessarily control the model.
- Decide whether each placed instance represents a whole panel, a cut panel or a continuous treatment area. Keep that convention consistent throughout the project.
Expected result: You know what the object represents, where it can be placed and which category will contain its schedule entries.
Create a simple family when needed
Start from a metric face-based Generic Model template if your intended placement requires a wall face. In the Family Editor, establish reference planes for the panel boundaries, add a rectangular extrusion and constrain it to those planes. Use Family Types to add your own dimension parameters and test them before loading.
Suggested custom names are Panel Width, Panel Height and Panel Depth. These are project-defined parameters, not universal Revit fields. Make dimensions type parameters when they describe a repeatable product format; use instance parameters for genuinely variable geometry only when your modelling convention requires it.
Akustiq UK lists indoor panel size formats of 240 cm and 300 cm. These convert to 2,400 mm and 3,000 mm respectively; confirm the selected product's complete dimensions before setting a type. Do not infer its width or depth from those heights.
Expected result: Changing a dimension in Family Types changes the intended geometry without breaking its constraints.
Family loading and material configuration
- In the project, open Insert, select Load Family, choose the checked RFA file and select Open. Alternatively, use Load into Project from the Family Editor when the target project is open.
- Find the family under Families in the Project Browser. Expand its category and confirm that the expected types are present.
- Select a placed instance or begin placement, then open Edit Type. Use Duplicate before creating a different product format or finish so you preserve the original type.
- Assign the appropriate material through the family's material parameter, if one exists. If no material parameter controls the geometry, open Edit Family and associate the geometry's Material property with a material parameter.
- Open Manage and Materials to inspect the material's Graphics and Appearance settings. Use graphics for drawing representation and appearance settings for visual presentation.
Expected result: The correct family type is selectable, its dimensions remain intact and its material displays as intended in the relevant views.
Separate appearance from evidence
A wood texture is a visual choice, not an acoustic calculation. Likewise, felt-coloured geometry does not establish an absorption coefficient. Leave unverified performance values blank rather than filling them with an assumed rating.
For a 2026 specification package, record the source and revision of any performance information you enter. Check that the evidence covers the proposed installation build-up, including backing and cavity arrangements where relevant.
Use a simplified panel body for general coordination. Model individual slats only where the required drawing or junction detail needs them; repeated detailed geometry increases the model's workload without automatically improving the specification.
Panel placement and wall coordination
- Open an interior elevation and a suitable 3D view. Keep both visible so you can check alignment and projection from the wall.
- Open Architecture, select Component, then Place a Component. Choose the checked panel type in the Type Selector.
- For a face-based family, use Place on Face and select the intended interior wall face. For a wall-hosted family, select a valid wall host instead.
- Place the first panel near a clearly defined setting-out point. Use Align to align its edge with a reference plane or another suitable reference; lock the alignment only when that relationship should remain fixed.
- Inspect a section through the panel. Confirm which face the family uses as its origin and whether its geometry projects into the room or into the wall.
- Use Copy or Array to extend the layout after the first placement passes those checks. Review the final panel at each end of the run rather than assuming every wall accepts full modules.
Expected result: The first panel sits on the intended wall face, and repeated panels follow a checked setting-out line without overlapping adjacent construction.
The placement sequence is simple, but its order matters. Validate the host and depth before repetition; otherwise, the same error travels along the entire wall.

Check the room, not just the panel
Look at sockets, switches, skirtings, door architraves and ceiling junctions in elevation and section. Panel depth changes the finished wall position. Coordinate those interfaces before issuing the drawing.
A face-hosted generic component does not automatically cut around a door or window. Represent those interruptions using a tested family arrangement or separate panel pieces, and keep the cut-panel convention clear in the schedule.
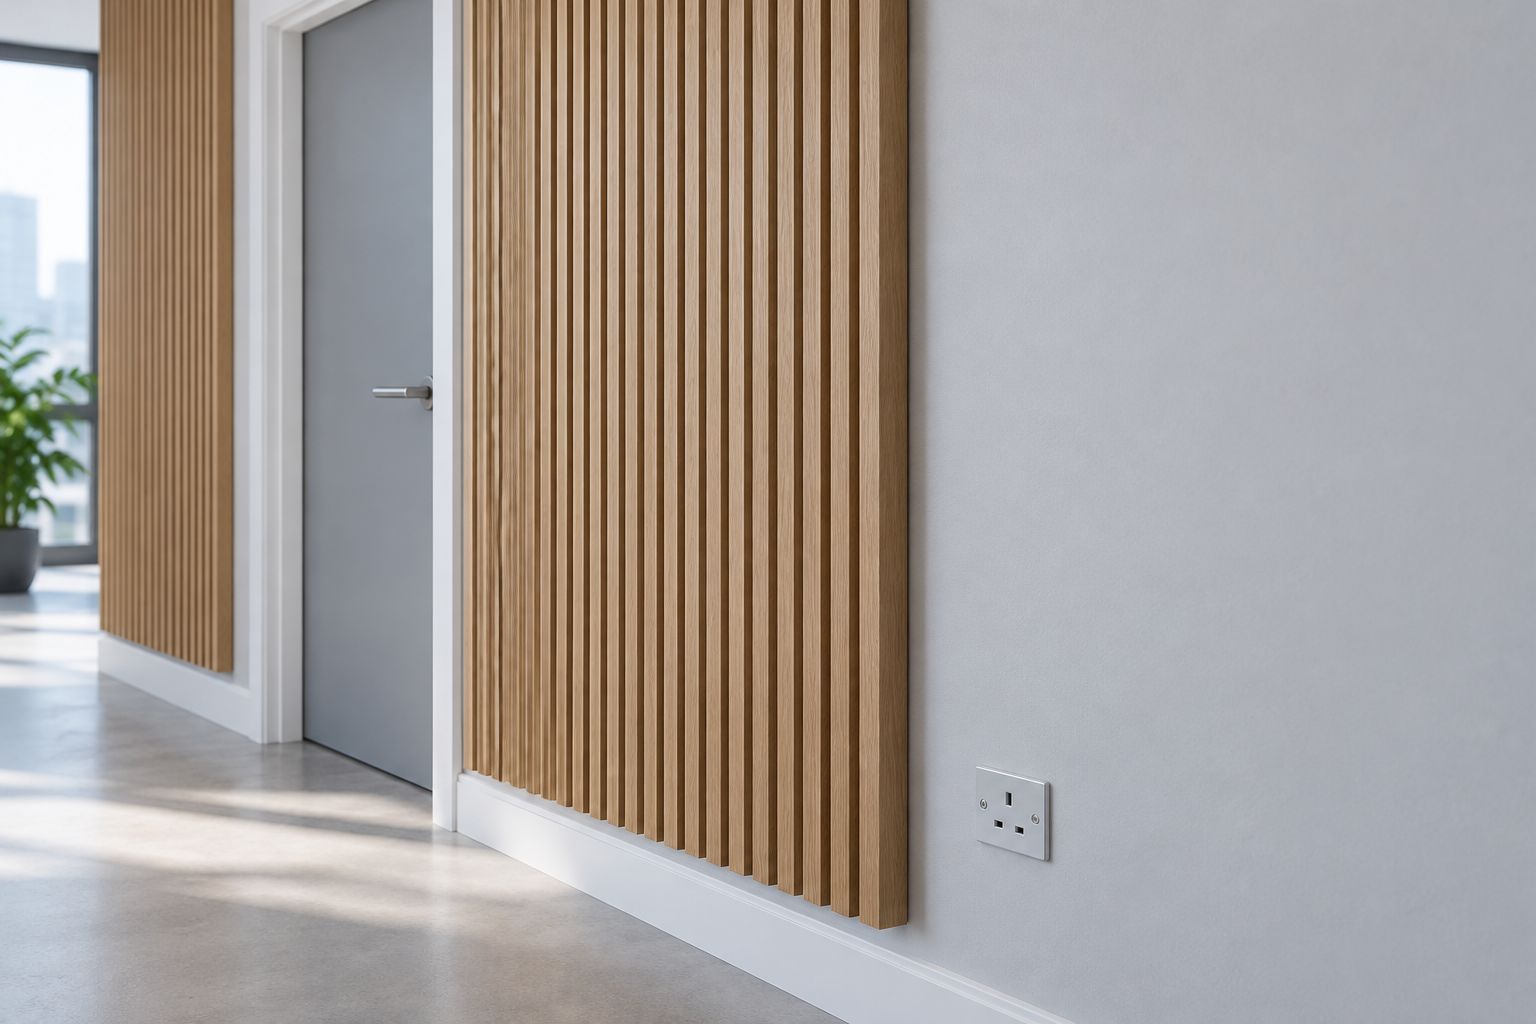
Do not stretch a full-panel type to fill an awkward remainder unless the model explicitly represents a cut piece. A visually tidy elevation can otherwise conceal an unclear quantity basis.
Schedule configuration and quantity checks
- Open View, select Schedules, then Schedule/Quantities. Choose the category used by the panel family.
- In Fields, add Family and Type, Count and the relevant identification fields. Add your custom dimensional or finish parameters where they are exposed to the schedule.
- Use Filter to exclude unrelated elements. A shared Generic Models category can contain many objects that are not acoustic wall panels.
- In Sorting/Grouping, group by the appropriate family and type. Clear Itemize every instance when you want grouped entries, and retain an instance-level checking schedule when you need to inspect individual pieces.
- Compare the schedule with the elevations. Check wall ends, openings, cut pieces and any separately modelled backing or trims.
Expected result: The schedule counts the intended panel objects and excludes other model elements.
For a 2026 issue, distinguish modelled panel count from procurement quantity. Cut pieces, reuse of offcuts and the agreed installation arrangement require a separate quantity review. Revit does not determine a cutting plan merely because panels appear in a schedule.
If a required family parameter is missing from Fields, check its parameter setup. Use shared parameters where custom family data must be scheduled or tagged across families, following the project's naming and binding conventions.
Update the layout when the specification changes
A finish revision and a revised family file are different changes. Use a type change for an existing alternative; reload the family when its definition changes.
- For a finish change, duplicate the relevant type through Edit Type and Duplicate, then change its material parameter. Select the intended instances and assign the revised type in the Type Selector.
- For revised geometry, load the updated RFA using Load Family. Review the overwrite prompt before accepting it: overwriting the family and its parameter values can replace project-level type edits.
- Recheck a representative elevation, section and schedule. Inspect host orientation, overall dimensions, material assignments and quantities after the update.
Expected result: The specification change appears in the intended instances without silently changing unrelated types.
Keep a copy of the previous family definition and a record of the revision. A 2026 coordination update should explain what changed, not just replace the file.
Troubleshooting
The family will not load
Check its Revit release first. A newer RFA cannot be saved backwards for an older project; obtain compatible content or recreate the required representation in the project's release. Confirm that you selected a family file rather than a project file or CAD drawing.
The panel is invisible after placement
Check the view's category visibility through Visibility/Graphics, then inspect its crop region, section box, phase and view range as applicable. Also check the family's geometry visibility settings. Use a suitable 3D view to establish whether the object exists outside the current view.
The panel faces the wrong way
Inspect the family origin, host face and extrusion direction in section. Use an available flip control if the family provides one; otherwise correct the family definition or placement. Do not conceal an incorrect origin with an unexplained offset.
The schedule misses panels or counts too many
Confirm the family category, schedule filters and phase settings. Then check the modelling convention: one continuous wall-treatment object is not the same as individual panel instances. Make the schedule match the representation rather than forcing a misleading count.
Customise your workflow
Build a small checked library for the finishes and formats your project actually uses. Include a consistent naming convention, a test placement and a schedule view. Keep product identification separate from project-authored modelling assumptions.
For Akustiq UK acoustic wood panels, record the chosen product reference and retain supporting documentation outside the visual material settings. Add installation notes and performance references only when verified for that product and proposed arrangement.
Expand the workflow into junction detailing next: internal corners, exposed edges, backing and service interfaces. A coordinated panel layout needs those decisions as much as it needs a convincing render.
FAQ
How do I add acoustic wall panel BIM objects to Revit?
Load a compatible RFA through Insert and Load Family, then place it using the appropriate host. Check dimensions, orientation and schedule category before repeating the object.
Can I use a DWG as an acoustic panel Revit family?
A DWG is not a ready-to-place parametric Revit family. Use it as reference geometry where appropriate, then create or obtain a family with the required hosting, parameters and category.
What if I do not have an Akustiq UK Revit family?
Create a project-authored generic family using verified Akustiq UK product dimensions. Identify it as your model representation rather than manufacturer-approved BIM content.
Is a face-based family better than a wall-hosted family?
A face-based family suits placement on suitable model faces, while a wall-hosted family requires a wall. Choose the hosting method that matches your project and test it before placing repeated panels.
Does a Revit acoustic material prove sound absorption?
No, a Revit material assignment does not prove a panel's acoustic performance. Use verified test evidence covering the specified product and installation arrangement.
Can I open a newer Revit family in an older project?
No, Revit cannot open a family saved in a newer release. Obtain a compatible family or recreate the required geometry and data in the project's release.
Does the Revit panel count equal the quantity I should order?
No, the schedule counts objects according to your modelling convention. Review cut pieces, offcut reuse and installation requirements separately before establishing the procurement quantity.
One last thing
Test a wall change before you repeat the family. Move the test wall, change its length and inspect the panel instances. Hosting and alignment constraints describe different relationships; a panel that follows the wall can still need its end position checked.
That small test exposes a coordination problem before it spreads across the project. Save the checked family only after its geometry, placement and schedule agree.
Share:
Acoustic wood panels for commercial landlords: complete 2026 guide
Acoustic panels for small business offices: complete 2026 guide