

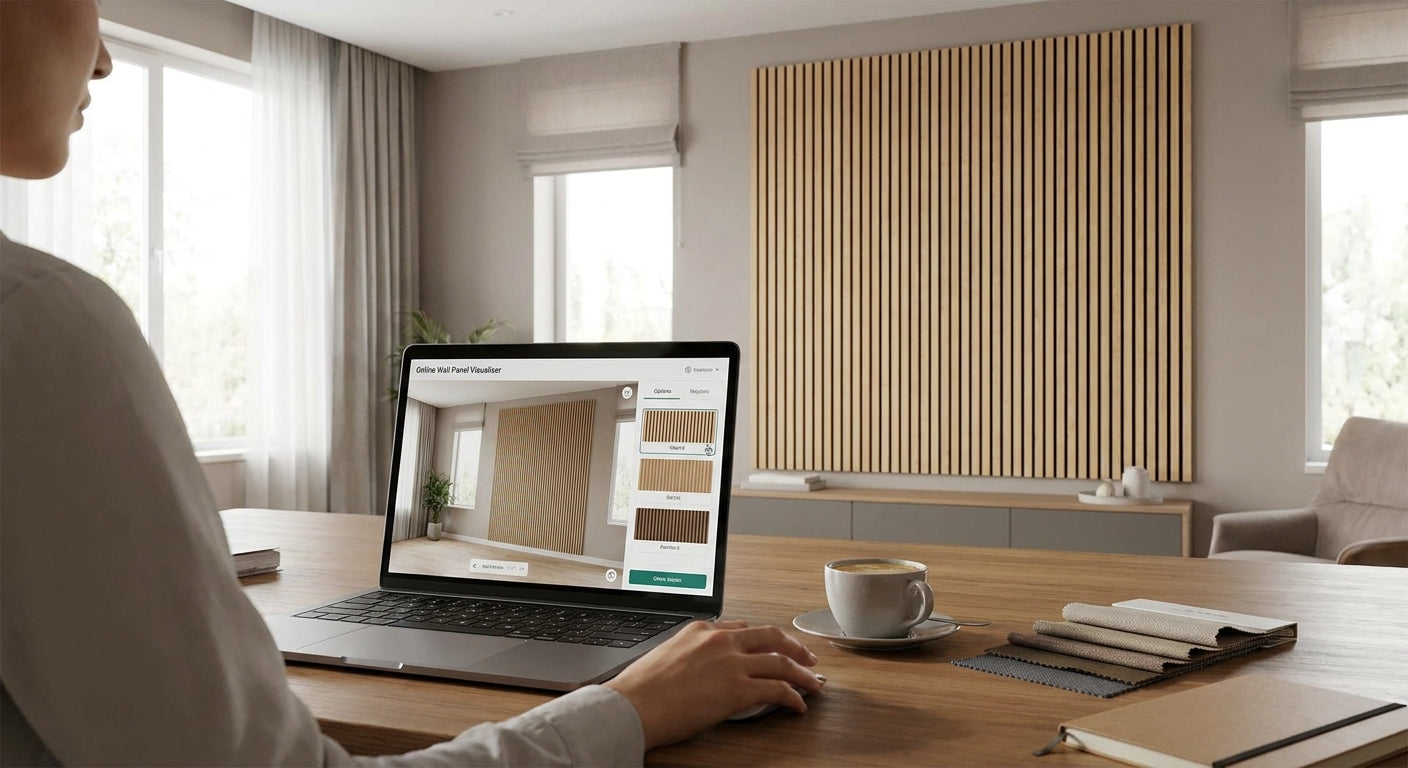
See how a slat wall panel finish will actually look on your wall before you spend a penny, using the wall panel visualiser tool online instead of guessing from a swatch.
TL;DR
The wall panel visualiser tool online lets you preview a finish like natural oak or walnut against your actual room before you order anything. Upload a photo of your wall, apply a finish, check it in daylight and lamp light, then order a physical sample to confirm the tone. Verdict: worth the 10 minutes it takes, especially if you're choosing between two similar oak tones. Skip it only if you've already handled the physical sample and know exactly which finish you want in 2026.
Why this matters
Acoustic wood panels are a real wood veneer product, not paint. Once panels are cut, glued and fitted, swapping the finish means buying again.
A screen preview never matches a wall perfectly, but it removes the two biggest mistakes buyers make: picking a finish that's too dark for a north-facing room, and underestimating how much wall a single panel run actually covers. The Akustiq UK visualiser exists to catch both before checkout, not after.
What you'll need
- A clear, well-lit photo of the wall you're panelling (daytime shot, no filters)
- The rough wall dimensions in metres — width and height
- A shortlist of 2-3 finishes you're considering (oak, walnut, black oak, smoked oak, mocca)
- 10-15 minutes, uninterrupted
- A physical sample on order once you've narrowed it down — samples exist for exactly this reason
The steps
1. Photograph your wall in natural light
Stand square to the wall and shoot it in daylight, not under a single lamp. Artificial light shifts warm tones like mocca or walnut noticeably, and that's the single biggest cause of finish-looked-different complaints in 2026.
Common mistake: photographing at an angle. The visualiser maps the panel onto a flat plane, so an angled shot distorts the proportions and makes the panel look narrower than it will be.
2. Upload the photo and set your wall dimensions
Enter the width and height in metres as accurately as you can, even a rough tape-measure figure. This is what lets the tool scale the panel correctly instead of showing a generic mockup.
Common mistake: skipping dimensions and relying on the default wall size. That default rarely matches a UK stud wall or chimney breast, so the panel count you see afterwards will be wrong.
3. Apply your first finish and check it against daylight
Select one finish, oak, walnut or black oak, and let the preview render fully before judging it. Real wood veneer has grain variation, so a static render is a guide, not a guarantee.
This step tells you whether a finish reads warm, cool or neutral against your actual wall colour, which a product photo on a white background never will.
4. Switch between two or three finishes side by side
Don't commit to the first one. Toggle between your shortlist on the same photo so the comparison is apples-to-apples. Smoked oak and black oak look almost identical in some product shots but read completely differently once mapped onto a pale wall.
Common mistake: comparing finishes across different rooms or lighting conditions. Keep the background photo fixed and only swap the finish.
5. Check the panel orientation
View the finish both horizontal and vertical. Vertical runs read taller and suit low-ceiling rooms; horizontal runs suit wide feature walls. This decision matters more for how the room feels than the finish itself does.
6. Confirm the size format against your wall
AKU Woodpanel's indoor panels come in two size formats, 240cm and 300cm. The visualiser should show how many full panels your wall needs at each length, which affects both cost and the number of visible seams.
Common mistake: assuming fewer, longer panels are always cheaper. A 300cm panel wasted on a 220cm wall costs more per usable metre than a 240cm panel cut cleanly.
7. Save the preview and order a physical sample
Screenshot or save your shortlisted render, then order a walnut sample or equivalent in your top finish. Hold it against the same wall at the same time of day you photographed it. This is the step that actually confirms the decision, the visualiser narrows the field, the sample closes it.
Troubleshooting
The photo won't upload or the preview looks stretched. Use a landscape-orientation photo, not portrait, and make sure the file is under the tool's size limit — most browsers compress oversized images automatically, which distorts the render.
The finish looks lighter on screen than the sample in hand. Screen brightness and colour calibration vary by device. Treat the visualiser as directional and trust the physical sample for the final call.
The panel count shown seems too high. Double-check the wall dimensions you entered — a common error is entering height where width should go, which doubles the apparent panel requirement.
The tool won't load properly on mobile. Some visualiser tools render more reliably on desktop browsers with a stable connection; if mobile keeps failing, switch devices before assuming the tool is broken.
Two finishes look identical in the preview. Smoked oak, black oak and grey oak can render similarly under poor lighting photos. Retake the wall photo in brighter, more neutral daylight and try again.
You can't tell how it'll look with existing furniture. The visualiser previews the wall only. For a full-room feel, hold a sample near your sofa, TV unit or bed frame rather than relying on the render alone.
Tools and resources
- Natural oak wall panel — the most requested finish for living rooms in 2026
- Walnut wall panel — darker tone, strong grain contrast
- Samples for every finish, including natural oak, walnut, black oak and smoked oak, sized to hold against your actual wall
- High-tack panel glue once you've confirmed the fitting method
- A tape measure and spirit level for the dimension step
What to do next
Once you've settled on a finish through the visualiser and a sample, work out exact quantities before ordering. The guide on how to calculate how many wall panels you need walks through measuring waste, cut allowance and seam placement so you don't over-order or run short mid-install.
FAQ
Is the wall panel visualiser tool online free to use? Yes, it's a free preview feature on the Akustiq UK site, no account or purchase required to try a finish against your wall photo.
Does the visualiser show the exact colour of the wood? No. Real wood veneer varies naturally, so the render is a guide to tone and pattern, not an exact colour match. Order a physical sample to confirm the final finish.
Can I use the visualiser on a phone? Yes, though desktop browsers tend to render uploads more reliably. If a mobile upload fails, try a different browser or switch to desktop.
Do I need exact wall measurements to use it? Rough measurements in metres are enough to get a usable panel-count estimate; exact measurements matter more at order time, not preview time.
Which finish looks best in a north-facing room? Lighter finishes like natural oak or grey oak tend to read better in rooms with less direct sun, since darker tones like black oak can feel flat under weaker light. Confirm with a sample in the actual room.
Can the visualiser show both the 240cm and 300cm formats? It should show panel count for either format against your wall dimensions, letting you compare seam count and waste before choosing.
Should I trust the visualiser over a physical sample? No. Treat the visualiser as the shortlisting step and the physical sample as the deciding step, in that order.
How long does it take to get a useful preview? Most buyers get a usable comparison in under 10 minutes once the wall photo and dimensions are entered correctly.
One last thing
The render that looks best on screen isn't always the one that reads best in the room. Mocca and smoked oak in particular photograph darker than they feel in person under mixed lighting, so if a finish looks almost-too-dark in the visualiser in 2026, it's worth ordering the sample before ruling it out.
Share:
Wooden Wall Panel Samples UK: How to Order in 2026
300x60 Wall Panels Floor to Ceiling: 2026 Buying Guide