

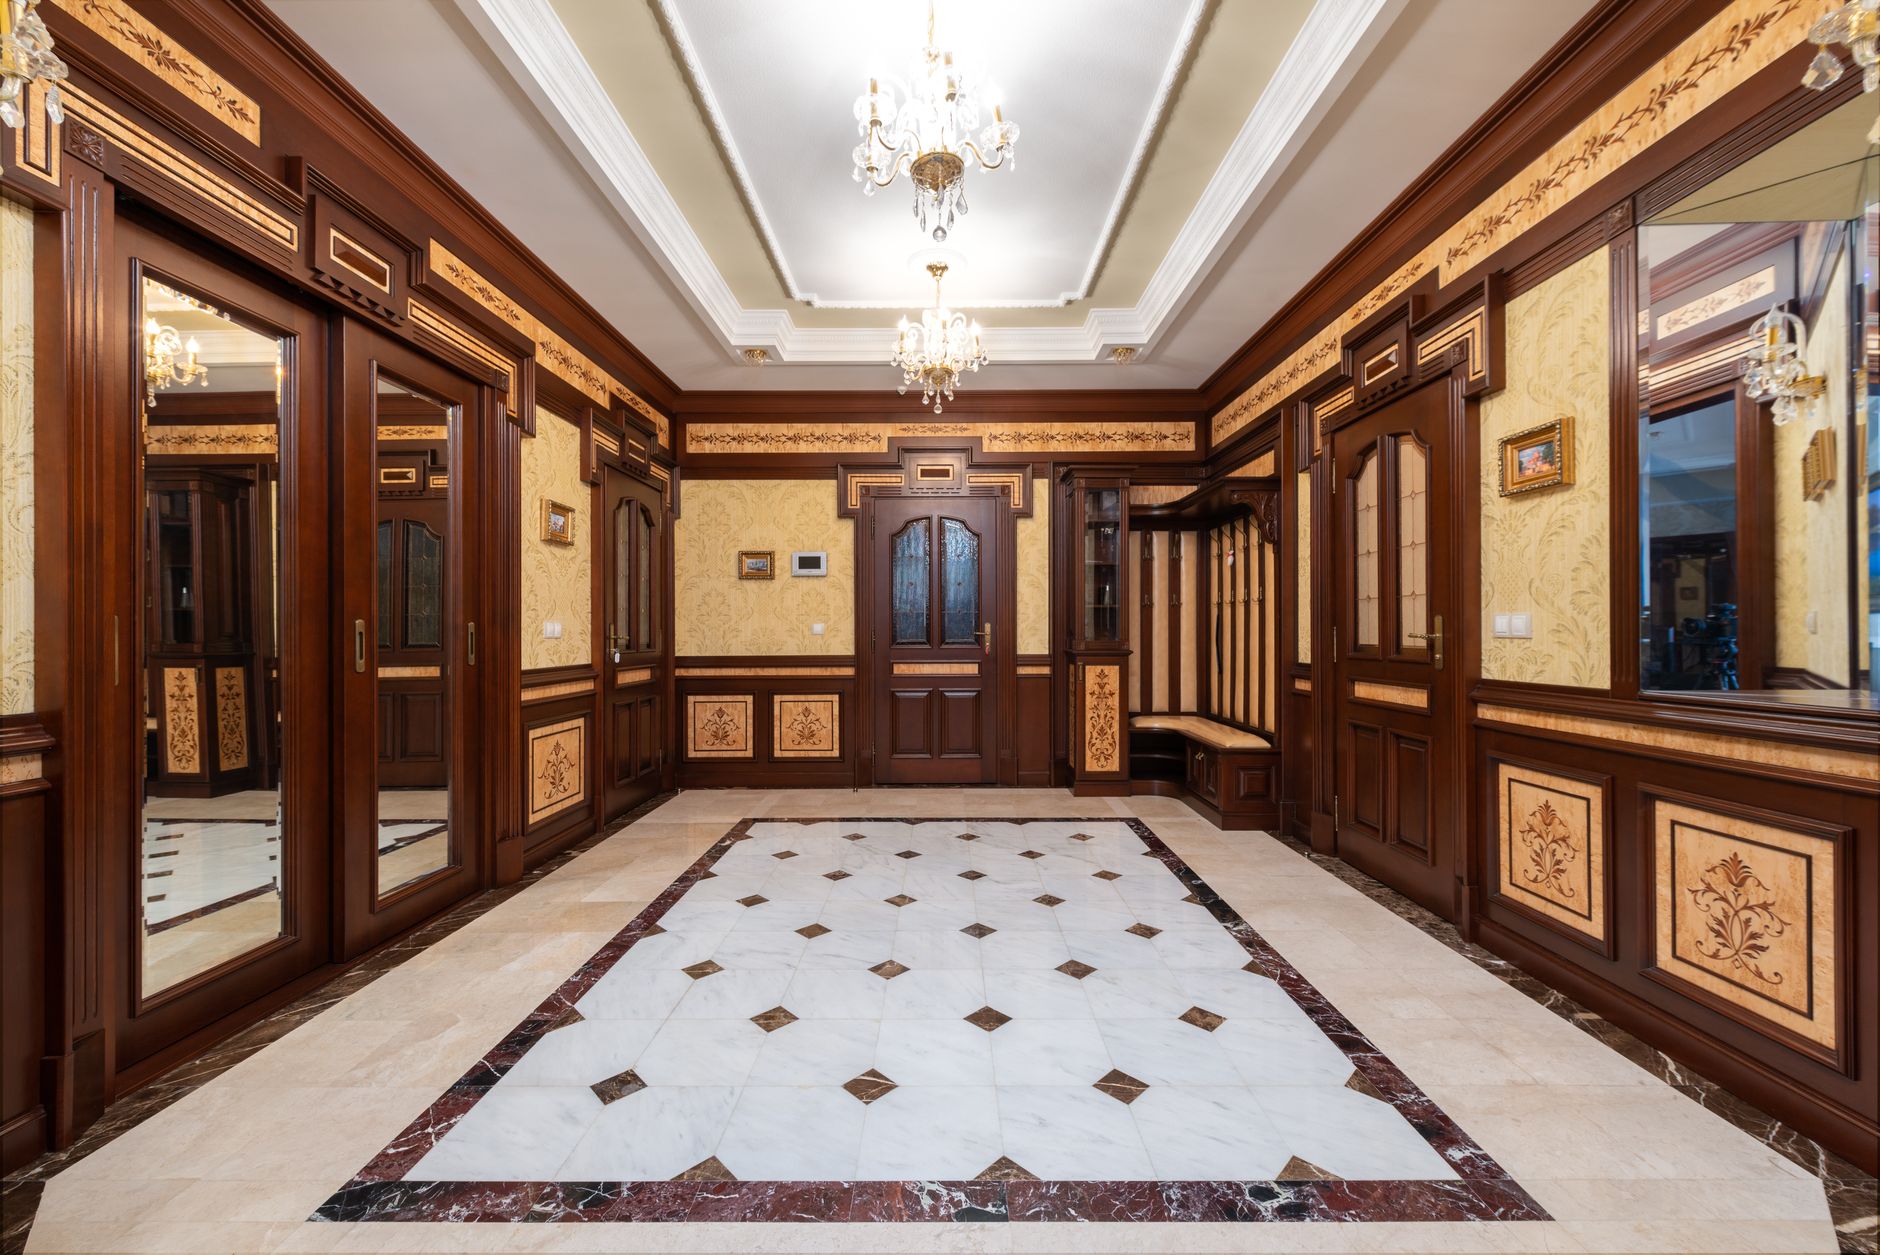
Mixing wood panel finishes in one room is one of the most effective ways to add depth and visual interest to an interior in 2026 — but get the balance wrong and the result looks cluttered rather than considered. This guide walks through exactly how to do it, finish by finish, wall by wall.
TL;DR: Mixing wood panel finishes in one room works when you anchor on a dominant tone, pair finishes that share undertones, and limit the mix to two or three distinct finishes. Natural oak and smoked oak sit close enough on the tonal scale to layer well. Walnut and black oak create strong contrast when used intentionally on opposing walls. Order physical samples before committing — what looks cohesive on a screen rarely matches in natural light.
Why mixing finishes is worth the effort
A single finish across every wall reads as flat. In 2026, the most compelling residential and commercial interiors use finish variation the way architects use material change — to define zones, guide the eye, and give a room a sense of scale it would not otherwise have. Acoustic wood panels, which serve a dual function of sound absorption and visual texture, are particularly well-suited to this technique because their slat geometry already introduces movement. Adding a tonal shift amplifies that movement without requiring structural change.
The risk is real, though. Mismatched undertones — a warm amber oak next to a cool grey oak — create visual tension that reads as a mistake rather than a design decision. The steps below eliminate that risk.
What you'll need
- Physical samples of each finish you're considering (order before purchasing full panels)
- A consistent light source for comparing samples (natural daylight, not artificial)
- A room plan or basic sketch showing which walls you intend to panel
- Panel adhesive rated for your wall substrate
- End pieces and corner trims matching each finish
- A spirit level, tape measure, and fine-tooth saw for cutting to size
Step 1: Establish your dominant finish
Decide which finish owns the room. The dominant finish should cover the largest surface area — typically the feature wall or the longest wall. This is your anchor. Everything else responds to it.
For warm, light interiors, natural oak is the most versatile anchor in 2026 — its honey-amber tone reads as neutral against a wide range of secondary finishes. For darker, more atmospheric rooms, smoked oak or walnut carries the dominant role well. Black oak works as a dominant finish in compact spaces (under 15 m²) where you want drama on one wall without the finish feeling oppressive.
Choose your anchor first. Do not move to step 2 until this decision is fixed.
Step 2: Identify shared undertones between finishes
Match warmth to warmth, cool to cool. Every wood finish has an underlying temperature — warm (amber, red, yellow) or cool (grey, blue, ash). Mixing finishes across that divide is the single most common mistake when mixing wood panel finishes in one room.
Pairings that work:
- Natural oak (warm) + walnut (warm-dark) — the contrast is tonal depth, not temperature clash
- Smoked oak (warm-grey bridge) + grey oak — smoked oak's brown-grey undertone meets grey oak's cooler slate without jarring
- Black oak + smoked oak — both sit in the dark-warm register; black oak as accent, smoked oak as field
Pairings that rarely work:
- Natural oak (warm amber) + grey oak on adjacent walls — the undertone gap is too wide without a deliberate transition element
- Walnut + grey-cool finishes — walnut's red undertone fights cool grey; the room looks unresolved
Order samples of your shortlisted finishes and hold them against each other in the actual room, in daylight, at the same time of day you expect the room to be used. This single step prevents the majority of costly remakes.
Step 3: Map finishes to surfaces using the 60-30-10 rule
Assign a percentage to each finish before buying a single panel. The 60-30-10 split — dominant, secondary, accent — is the most reliable structure for mixing wood panel finishes in one room without visual chaos.
- 60%: Dominant finish on the primary wall or the two largest surfaces
- 30%: Secondary finish on a secondary wall, ceiling recess, or alcove
- 10%: Accent finish on a chimney breast, door-surround panel, or narrow accent strip
A practical example: natural oak on a 4 m chimney-breast feature wall (60%), smoked oak on the two side-return walls (30%), walnut on a recessed alcove either side of the chimney (10%). The proportions are more important than the specific surfaces — the key is that no two finishes compete at equal weight.
For acoustic applications where sound absorption is the primary goal alongside aesthetics, the secondary surface often performs the heavier acoustic work. Fitting a wooden wall panel walnut on a side wall opposite a primary natural oak feature wall keeps the acoustic mass distributed while introducing tonal contrast.
Step 4: Use physical samples to validate the plan
Never skip the sample stage. Screen renderings, product photography, and showroom lighting all distort how finishes read in your specific space. Before ordering full-panel quantities, fix 30 cm × 30 cm samples of each chosen finish to the exact walls they will occupy. Live with them for 48 hours across different light conditions — morning, midday, evening, and artificial light.
Specifically check:
- Whether the undertones still feel compatible in your room's natural light
- How the finish reads at the top of the wall versus the skirting — raking light changes apparent colour significantly
- Whether the grain pattern scale of each finish complements or fights the others at a distance of 2–3 metres
Aku Wood Panel supplies individual finish samples for most panel lines, including sample wooden wall panel smoked oak and the sample wooden wall panel natural oak, which lets you validate your pairing before committing to full-panel quantities.
Step 5: Plan your transitions and edge details
The join between two finishes is where mixed-finish rooms succeed or fail. A clean, deliberate transition signals design intent. A raw butt-join between two different finishes signals an afterthought.
Three transition approaches that work:
- Internal corner: Two finishes meeting at an internal corner is naturally clean — the 90° angle provides visual separation. No additional trim is needed.
- Colour-matched end pieces: Use end pieces that match each respective panel finish at every exposed edge. Mixing end-piece finishes at the same corner creates a jarring line.
- Reveal gap: A 10–15 mm painted reveal between two panel fields (achieved by stopping panels short and painting the exposed wall in a neutral tone) creates deliberate separation that reads as architectural rather than accidental.
Never butt two different wood finishes directly against each other on a flat continuous wall. The transition will look unplanned regardless of how well the finishes pair elsewhere.
Step 6: Install and check alignment across all finish zones
Keep the slat pattern consistent across finishes. If you are using grooved acoustic panels, the groove spacing and direction must match across all finish zones unless you are deliberately switching from vertical to horizontal orientation at a defined architectural break. Inconsistent groove alignment across a continuous wall surface is immediately visible and cannot be corrected after installation.
Install one full section of the dominant finish first and use it as the level reference for all subsequent sections. Check horizontal alignment every 600 mm using a spirit level. For adhesive-fixed panels on plasterboard, apply panel adhesive in vertical beads spaced no more than 300 mm apart — this prevents panel bow between fixing points that becomes apparent once the adjacent finish highlights the deviation.
Troubleshooting
The finishes look right on samples but clash on the wall. The most likely cause is scale — two finishes that pair well at 30 cm start to read differently at 4 metres. Reassess which finish is carrying the 60% weight and swap the dominant and secondary if the lighter finish is overwhelming the room.
The transition between finishes looks accidental. Introduce a painted reveal or a matching end-piece trim at every finish boundary. Even a 12 mm reveal in the wall colour resolves the ambiguity and reads as intentional detailing.
The room feels busier than expected. You have exceeded two or three distinct finishes, or the 60-30-10 weighting has drifted toward 40-35-25. Remove the accent finish or consolidate one zone back to the dominant.
One wall looks significantly darker than expected. North-facing walls in UK homes receive no direct sunlight. Dark finishes — black oak, walnut, mocca — absorb the available light on north walls and produce a significantly heavier read than on south or west-facing surfaces. Relocate the dark finish to a south or east wall, or lighten the secondary finish to compensate.
Grain patterns between finishes compete rather than complement. Heavy, open-grain finishes (rustic oak, forest oak) sit poorly next to fine, tight-grain finishes (natural oak, grey oak) at close proximity. Keep coarse and fine grain in separate zones rather than on adjacent walls.
Edge pieces don't align between finish zones. End pieces are finish-specific. Confirm that the end piece ordered for each panel line matches — walnut end pieces will not colour-match a smoked oak panel edge even if the tones look similar on screen.
Tools and resources
- Physical samples for each finish in your shortlist — essential before any order
- Spirit level (1.2 m minimum length for panel installation)
- Fine-tooth mitre saw or track saw for clean panel cuts
- Panel adhesive suitable for your wall substrate
- End pieces for each finish at all exposed edges
- how to combine wall panels with wallpaper — useful if you are combining panelled and non-panelled walls in the same room
What to do next
Once your finish mix is validated with physical samples and your transition details are planned, the next decision is installation method — adhesive-fixed versus clip-fixed panels behave differently on different substrates, and the choice affects how cleanly you can achieve the tight transitions that mixed-finish rooms require. The guide on how to fix wall panels to a plasterboard wall covers the substrate-specific approach in full.
FAQ
Can you mix light and dark wood panel finishes in the same room? Yes — natural oak paired with walnut or black oak is a reliable combination in 2026 interiors. The key is assigning the lighter finish the dominant role (60% of wall area) so the dark finish reads as accent rather than competing field.
How many different wood finishes can you use in one room? Two finishes is cleanest. Three is achievable with clear 60-30-10 weighting. Four or more creates visual noise that is difficult to resolve without strong architectural separation between zones.
Do wood panel finishes need to match the flooring? They do not need to match, but they must share an undertone. Warm-toned oak flooring pairs with warm-toned wall panels; grey or cool-toned flooring pairs with grey oak or smoked oak panels. A mismatch in floor-to-wall undertone temperature is one of the most common reasons a room with good individual elements still feels wrong.
What is the best wood panel finish combination for a living room? Natural oak as the dominant wall finish paired with smoked oak on a secondary wall is the most versatile combination for UK living rooms in 2026. It works across both warm and neutral paint palettes and holds up under the varied lighting conditions most living rooms experience.
Can acoustic wood panels be mixed with decorative panels in one room? Yes. Acoustic slat panels and 3D decorative panels can coexist when they share a finish or closely matching undertone. The key is separating them by function zone — acoustic panels on the walls where sound control matters, decorative panels as focal-point accents.
How do you create a clean transition between two different panel finishes? An internal corner, a painted reveal of 10–15 mm, or a colour-matched end piece trim at every exposed edge. Never butt two different finishes flush on a continuous flat wall without a deliberate transition detail.
Is it better to order samples before mixing finishes? Always. Finish photography and screen rendering are unreliable. A 30 cm physical sample held against your wall in natural daylight is the only accurate test of whether two finishes pair correctly in your specific space.
Does mixing wood panel finishes affect acoustic performance? No — acoustic performance depends on panel construction (the felt backing and slat geometry) not on the finish. Mixing finishes from the same panel family preserves identical NRC values across all surfaces.
One last thing
The most common mistake in mixing wood panel finishes in one room in 2026 is not the colour choice — it is the edge detail. Rooms where the finish transitions are crisp and deliberate look designed. Rooms where panels of different finishes simply abut each other look unfinished. Spend as much time planning the transitions as you spend choosing the finishes, and the result will stand out for the right reasons.
Share:
How to Fix Cladding Around Windows & Doors 2026
How to Fix Cladding Around Windows & Doors 2026