

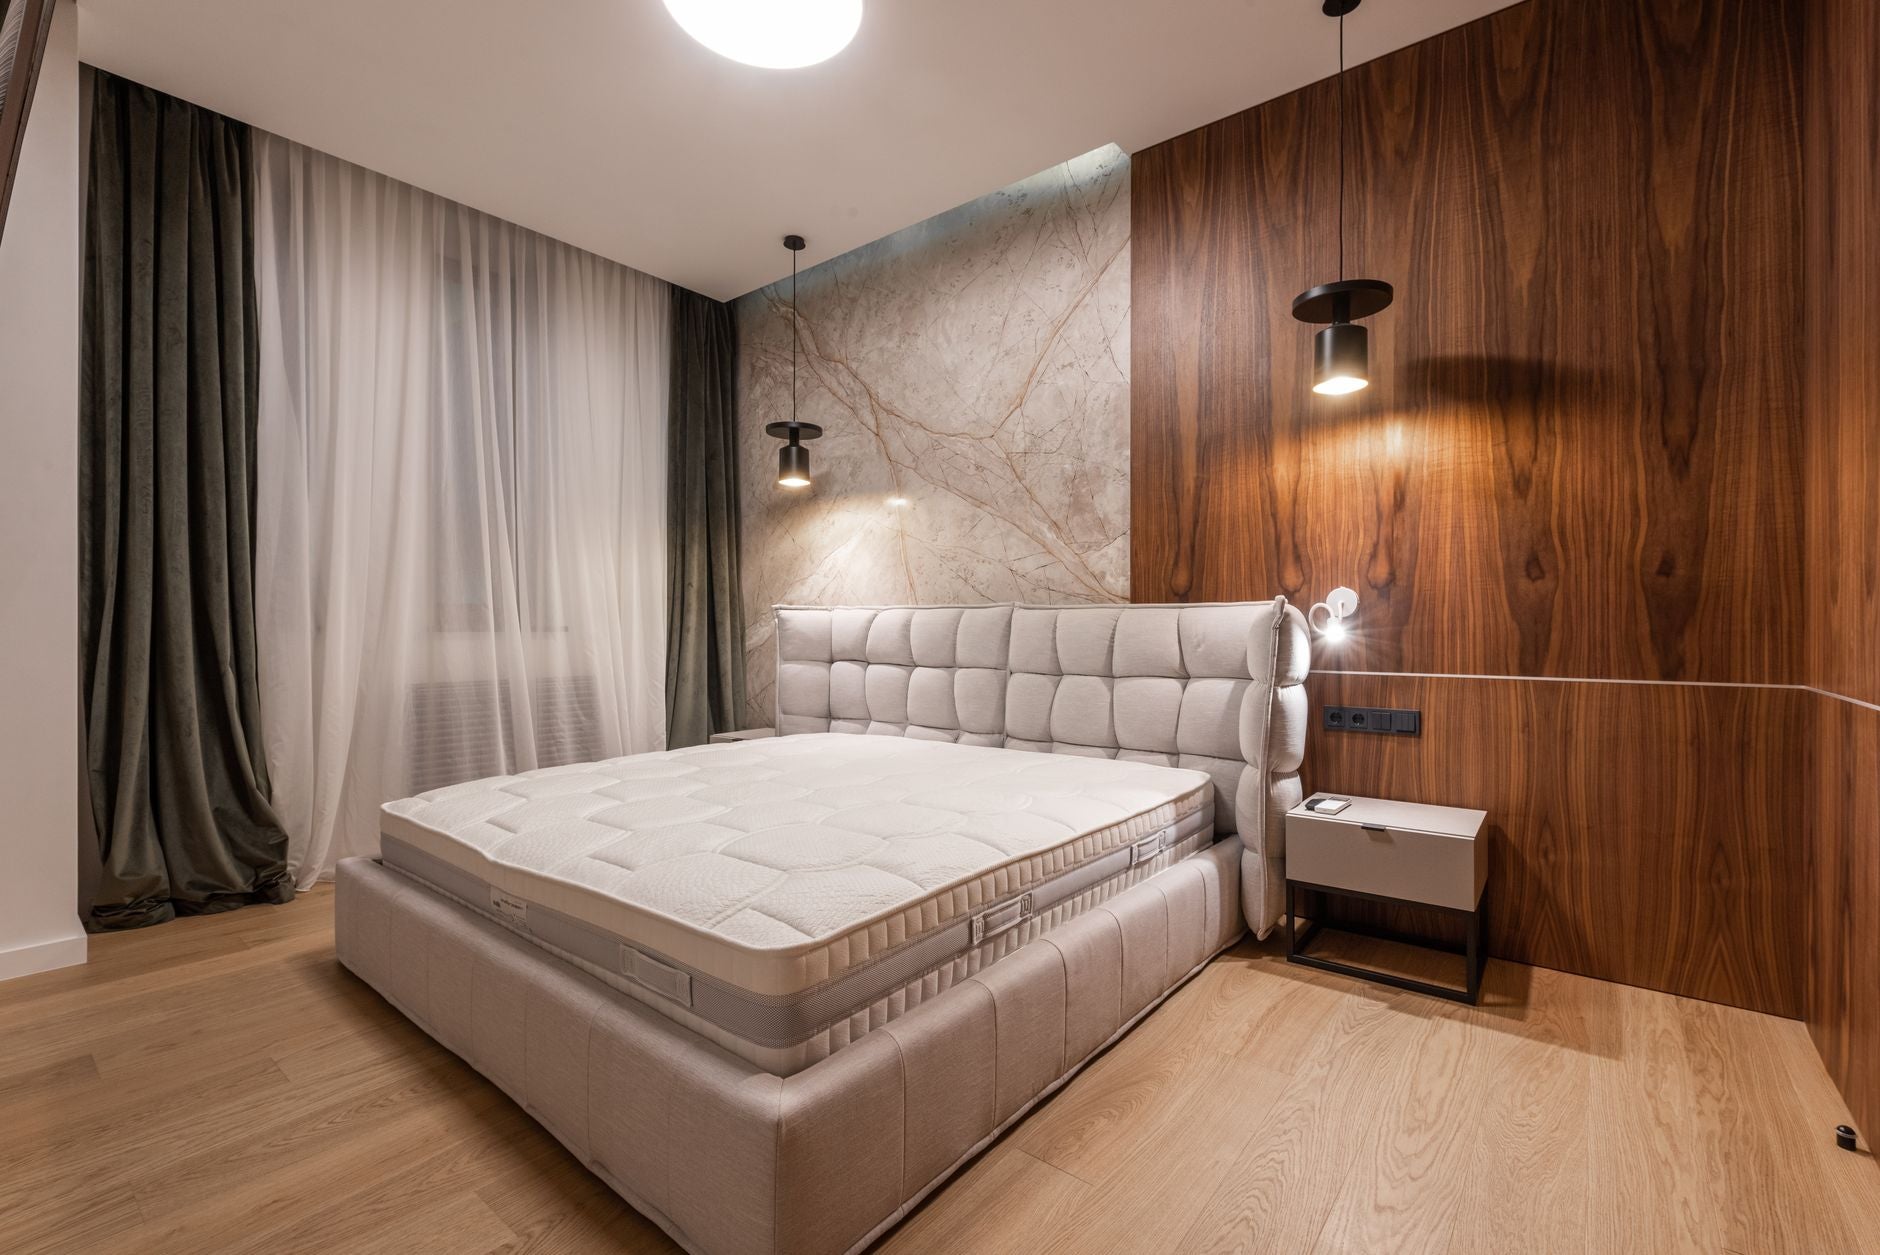
Combining wall panels with wallpaper is one of the most effective ways to add depth and material contrast to a room — and it takes less skill than it looks.
TL;DR: Run acoustic wood panels along the lower third or half of a wall in 2026, then finish the upper section with wallpaper. The hard division — typically at dado rail height (roughly 90–100 cm from the floor) — keeps both materials clean and readable. Natural oak, smoked oak, or walnut panels pair best with botanical, geometric, or textured wallpapers. Use panel adhesive rated for wood-to-plaster bonds and hang wallpaper before fitting end pieces so joins stay tight.
Why this combination works
Wall panels and wallpaper occupy different visual frequencies. Panels bring three-dimensional texture and warmth; wallpaper carries pattern and colour. Running them on the same wall without a clear boundary produces visual noise. Set a hard horizontal division at dado height and the two materials reinforce each other instead of competing. In 2026, this split-level treatment appears in everything from residential living rooms to boutique hotel corridors — and it works precisely because each material stays in its lane.
What you'll need
- Acoustic wood wall panels (see finish options below)
- Wallpaper and wallpaper paste appropriate to the paper weight
- Panel adhesive — a high-tack, solvent-free formula rated for timber-to-plaster bonds
- Spirit level and pencil
- Tape measure
- Fine-tooth saw or mitre saw
- Decorator's caulk (colour-matched to panels)
- End pieces or finishing trim for exposed panel edges
- Sandpaper (120 grit) for any cut edges
- Clean dry cloth for surface prep
Time: Allow a full day for a standard 4 m feature wall — prep, panel fitting, and wallpaper hanging.
The steps
Step 1: Decide your split height and mark a level line
Measure up from the floor and mark your split height around the entire room using a spirit level. Dado rail height — 90 to 100 cm — is the standard for a balanced proportion, though in rooms with ceilings above 2.7 m you can push this to 120 cm without the panels looking truncated. A continuous level line is the most important single mark you make; any drift here telegraphs through the finished wall. Common mistake: measuring from the ceiling down rather than the floor up — floors are rarely level, ceilings are even less so.
Step 2: Prepare the wall surface
The lower section (panels) needs to be clean, dry, and dust-free. Fill any cracks or holes with filler and sand flush. The upper section (wallpaper) needs the same treatment plus a coat of size or diluted PVA — this seals the plaster and prevents the paste being absorbed too fast, which causes bubbles and lifting. Do not skip sizing in 2026 builds with modern skim plaster; it makes a visible difference to adhesion.
Step 3: Hang the wallpaper first
Hang wallpaper to the full wall height, letting it overlap below your level line by 5–8 cm. Once dry and trimmed to the line, any slight unevenness along the bottom edge will be hidden by the panel face. If you fit panels first and then try to slide wallpaper behind them, you create a visible gap almost every time. Hanging wallpaper to a full drop and trimming to the level line is the correct sequence. Expected outcome: a sharp, straight wallpaper edge sitting exactly at your marked height.
Step 4: Cut panels to height and dry-fit
Cut each panel strip to the exact height between your level line and the floor, minus 5 mm for a small expansion gap at the bottom (skirting board covers this). Dry-fit the entire run before applying adhesive — lay panels across the floor in order, mark any cuts around sockets or obstructions. Acoustic wood panels from Aku Wood Panel come in consistent widths, so once you have your first panel placed plumb, the remainder follow naturally. Order a sample wooden wall panel in natural oak before committing to a full run if you are undecided on finish.
Step 5: Apply adhesive and fix panels
Apply high-tack panel glue in a serpentine bead across the back of each panel — roughly one continuous S-curve from top to bottom. Press the panel firmly to the wall, hold for 30–60 seconds, then peg or tape in place while the adhesive cures (check the product datasheet; most solvent-free panel glues reach handling strength in 20–30 minutes). Do not use wall pins on slat-style acoustic panels — the pin positions are visible between slats and look untidy. Common mistake: applying adhesive to the wall rather than the panel back. Apply to the panel; you keep control of bead placement and coverage.
Step 6: Fit end pieces and caulk the joint line
Once all panels are fixed and cured, fit end pieces at any exposed vertical edges. Run a thin bead of colour-matched decorator's caulk along the top edge of the panels where they meet the wallpaper — tool it flush with a damp finger. This seals the join, prevents moisture ingress behind the panels, and closes any minor irregularity in the cut line. The caulk line should be 2–3 mm wide at most; a fat bead reads as a patch, not a finish detail.
Step 7: Final check and light clean
Step back 2 m and check the horizontal line reads level across the full wall. Wipe any adhesive residue from the panel face with a dry cloth — solvent cleaners can affect the finish. In 2026, slat-style acoustic panels with a grey felt backing need only a dry microfibre cloth; never use wet wipes on felt. Dust panel slots with a soft brush before the room goes back into use.
Troubleshooting
Wallpaper lifting at the join line. The bottom 5–8 cm of wallpaper was not pasted fully to the edges. Re-lift with a seam roller, apply fresh paste to the edge, press flat and hold for 60 seconds.
Gap between panel top and wallpaper. The panel height was cut too short or the level line drifted. Fill with colour-matched caulk if the gap is under 3 mm. If it is wider, cut a timber batten the same depth as the panel face and fix it as a capping rail — it reads as an intentional dado rail.
Panel adhesive squeeze-out onto wallpaper. Wipe immediately with a dry cloth. Once cured, solvent-free panel glue does not clean off paper without leaving a mark. Prevention: do not run the adhesive bead within 15 mm of the panel top edge.
Panels bowing off the wall mid-span. Adhesive coverage was too sparse or the wall surface was contaminated. Remove the panel, clean both surfaces, re-apply a fuller serpentine bead, and refix. Tape the panel under pressure for a full 24 hours.
Colour mismatch between panel and wallpaper. Order samples before purchasing full quantities. In 2026, warm-toned wallpapers (ochre, rust, botanical greens) pair well with natural oak and walnut panels. Cool grey or monochrome wallpapers suit smoked oak or black oak.
Uneven level line visible after panels are up. You cannot correct this without removing panels. Prevent it by snapping a chalk line rather than relying solely on a pencil mark run by hand.
Tools and resources
- Spirit level (1.2 m minimum length for a straight reference)
- Mitre saw or fine-tooth handsaw
- High-tack panel glue, 290 ml
- Decorator's caulk in a tone matching your chosen panel finish
- Aku Wood Panel finish options: wooden wall panel natural oak, walnut, smoked oak, black oak, grey oak, forest oak, and mocca — all available with matching end pieces and sample panels
- Wallpaper size or diluted PVA
- Soft brush for slat cleaning post-install
What to do next
If you are planning a full feature wall rather than a full-room treatment, read the guide on best wooden wall panels for feature walls in 2026 — it covers proportion, finish selection, and how much acoustic benefit you pick up from a half-height panel installation.
FAQ
What is the best height to split wall panels and wallpaper? 90 to 100 cm from the floor — standard dado rail height — is the most balanced proportion for rooms with 2.4 m ceilings. Push to 120 cm for ceilings above 2.7 m.
Do you fit panels or wallpaper first? Wallpaper first. Hang it full height, let it dry, then trim to your level line. Panels then cover the bottom edge of the wallpaper, giving a clean, tight join.
Can wood panels go next to wallpaper in a bathroom? Only if both materials are rated for humid environments. Standard acoustic wood panels are not moisture-rated for wet zones. Use them in a dry bathroom with adequate ventilation.
What type of adhesive should I use to fix wood panels below wallpaper? A solvent-free high-tack panel adhesive applied to the back of the panel in a serpentine bead. Avoid contact adhesives — they leave no working time to adjust panel position.
How do I stop the join between panels and wallpaper looking messy? Cut a consistent level line, trim the wallpaper to it once dry, then caulk the top edge of the panels with a 2–3 mm bead of colour-matched decorator's caulk tooled flush.
Will wood wall panels work with patterned wallpaper? Yes. Large-repeat botanical and geometric patterns work particularly well because the panel face is textural rather than patterned, so the two materials do not compete visually.
Do I need end pieces where panels meet wallpaper at a corner? Yes, at any exposed vertical edge. End pieces cap the raw MDF or felt edge and give the installation a factory-finished look. Aku Wood Panel supplies matching end pieces for every panel finish.
How long does this installation take? A 4 m feature wall — including wallpaper hanging, panel fixing, and caulking — takes one full day for a competent DIYer. Allow 24 hours before moving furniture back against the wall while adhesive reaches full cure.
One last thing
The most common error in 2026 panel-and-wallpaper projects is trimming the wallpaper before it is fully dry. Wet wallpaper stretches by 3–5 mm over a standard drop, so a cut made while it is damp will pull 2–4 mm above your level line once it dries — leaving a gap the panel face does not cover. Always wait a minimum of 4 hours (or overnight for heavy embossed papers) before trimming to the level line.
Share:
Best Wood Wall Panels for Dark Interiors 2026
Best Wall Panels for Rented Properties 2026