

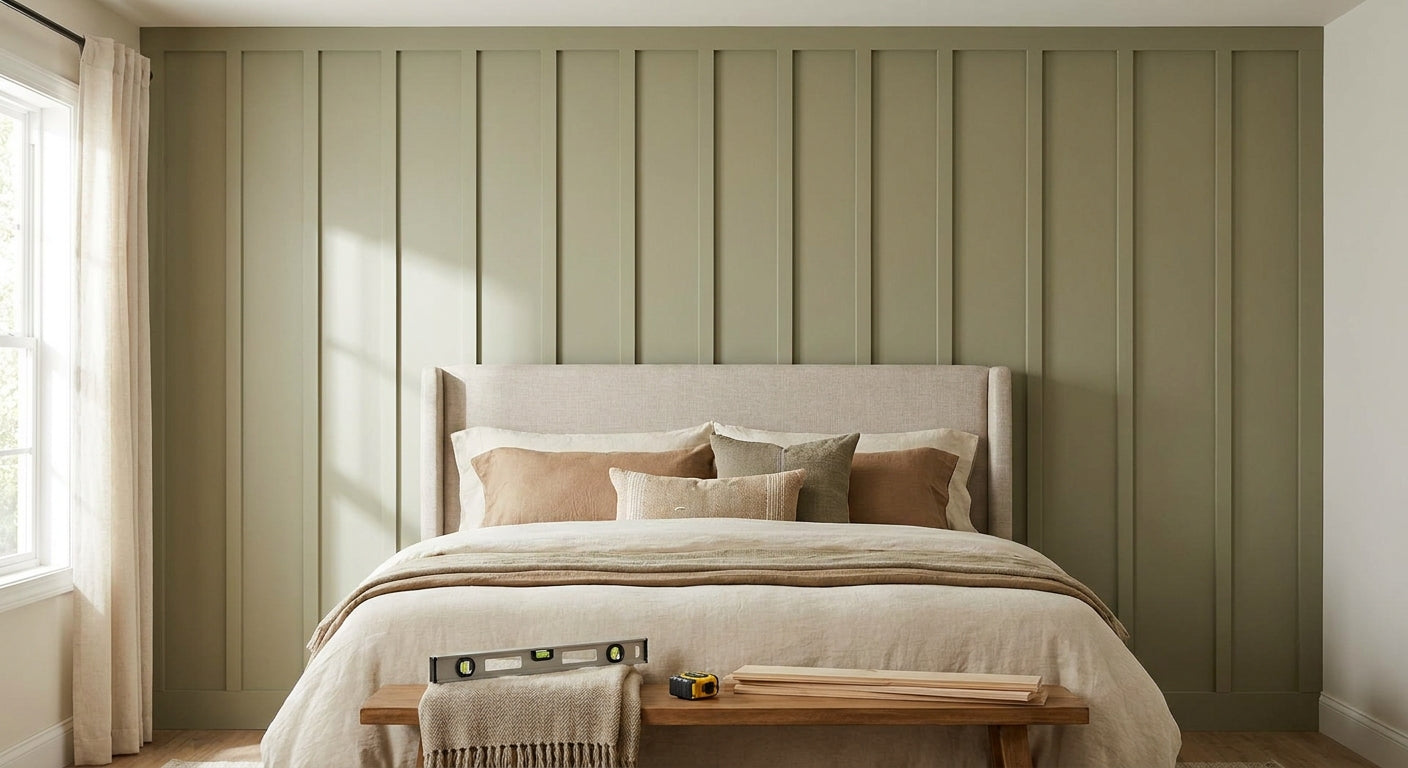
Panelling a bedroom wall from floor to ceiling turns a flat, echoey box into a room that feels finished — and it's a weekend job if you plan the layout before you touch the adhesive.
TL;DR: Floor-to-ceiling panelling works best when you measure the wall height first and choose between 240 cm or 300 cm panel lengths to avoid horizontal joins. AKU Woodpanel's 300 cm natural oak panel covers most UK bedroom ceiling heights (2.3m–2.7m) in a single run — Buy if your ceiling sits under 300 cm; Consider the 240 cm format for lower rooms or budget runs. Get the wall prepped, dry-lay the panels, then glue from the centre outward for the straightest finish in 2026.
Why this matters
A half-panelled wall — stopping at 120 cm and leaving bare plaster above — reads as a wainscoting decision, not a design one. Floor-to-ceiling runs read as intentional, and they also do more acoustically: a full-height run of AKU Woodpanel's felt-backed panels absorbs reflected sound across the entire wall plane instead of just the lower third, which matters in bedrooms where echo off a headboard wall carries into the whole room. Most UK bedroom walls run between 2.3 m and 2.7 m floor to ceiling, which is exactly the gap the 240 cm and 300 cm panel formats are built to cover with minimal cutting.
What you'll need
- Tape measure and a spirit level (laser level if you have one — it saves time on a floor-to-ceiling run)
- Stud finder, if fixing to plasterboard rather than gluing direct to a sound wall
- High-tack panel glue — one 290 ml cartridge covers roughly 4-6 panels depending on wall flatness
- Natural oak wall panels or your chosen finish, in 240 cm or 300 cm length
- Fine-tooth saw or a track saw for straight cuts
- Caulking gun, pencil, and packing tape (for clamping panels while the adhesive sets)
- A dust sheet — sanding and cutting oak veneer makes fine dust
Budget half a day for a single wall, a full day if the room needs more than one wall panelled or the plaster underneath needs patching first.
The steps
1. Measure the wall height and pick your panel length
This decides whether you buy 240 cm or 300 cm stock and whether you need a horizontal join at all. Measure floor to ceiling in three spots — most rooms are not perfectly square, and older UK houses commonly have a 2-3 cm variance across a single wall. If your ceiling height is under 300 cm, buy the longer panel and cut down; it's cheaper than joining two 240 cm lengths and patching the seam. Expected outcome: one clean number, the true floor-to-ceiling height, that every following cut is measured against. Common mistake: measuring once in the middle of the wall and assuming both corners match.
2. Calculate panel count and dry-lay the layout
Work out how many panels the wall needs based on its width, then dry-lay them along the floor to check how the slat pattern lines up at the corners. Getting this wrong means an ugly sliver panel at one end instead of a full board. Most bedroom walls (roughly 3-4 m wide) need somewhere between 8 and 12 panels depending on width and finish, but the exact figure changes with panel spacing and corner returns. Expected outcome: a floor layout you can photograph before committing glue to wall. Common mistake: starting from the door-side corner instead of the most visible focal point, which pushes any cut panel into the sightline.
3. Prep the wall surface
AKU Woodpanel's adhesive needs a clean, dry, structurally sound surface — plaster, plasterboard, or painted brick all work, but flaking paint or damp patches will fail within weeks. Wipe the wall down, fill any holes over 5 mm, and let filler cure fully (usually 24 hours) before panelling over it. Expected outcome: a flat, dust-free surface with no more than 2-3 mm of variance across a 1 m span. Common mistake: panelling straight over fresh emulsion — paint that hasn't cured for at least a week can peel away from the wall taking the panel adhesive with it.
4. Cut panels to the floor-to-ceiling measurement
Using the true height from step 1, cut each panel to length, leaving an 8-10 mm expansion gap at both floor and ceiling to allow for seasonal wood movement. Skirting or a ceiling coving will hide this gap once fitted. Expected outcome: panels that slot in cleanly without forcing or bowing. Common mistake: cutting flush to the exact measured height — real wood veneer needs that small clearance or it can bow outward within a few months as humidity shifts through 2026's seasons.
5. Apply adhesive and fix the first panel
Start from the most visible corner of the room — usually the wall the bed faces, or the one visible from the doorway. Run the high-tack glue in vertical beads roughly 15 cm apart across the back of the panel, press it firmly against the wall, then pull it away slightly and let the glue go tacky for 60-90 seconds before pressing home for good. Expected outcome: a panel that holds its position without sliding once you release pressure. Common mistake: pressing the panel home immediately without the tack-time — it slides under its own weight on a floor-to-ceiling run and leaves visible glue smear at the edges.
6. Continue the run and check plumb every third panel
Work panel by panel along the wall, checking with a spirit level every two to three panels rather than only at the end — small drifts compound fast over a 3-4 m run. Use packing tape across the panel face for 20-30 minutes while the adhesive cures fully, especially near the top where gravity pulls hardest. Expected outcome: a straight, plumb run with tight, consistent slat gaps end to end. Common mistake: skipping the level check because it looked straight — over a full wall, a 2-3 mm lean per panel becomes an obviously crooked finish by panel eight.
7. Finish the edges and let the glue cure
Use end pieces or trim at exposed corners for a factory finish rather than leaving raw veneer edges visible, and leave the full run untouched for 24 hours before fitting skirting or coving over the expansion gaps. Expected outcome: a floor-to-ceiling wall that looks continuous, with no visible seams at the corners. Common mistake: fitting skirting the same day — the adhesive hasn't fully cured and skirting fixings can shift the last panel out of alignment.
Troubleshooting
- Gaps opening between panels after a few weeks — usually a heating or humidity issue; central heating in winter 2026 dries wood veneer faster than summer months, so leave a slightly larger expansion gap in rooms with radiators directly below the wall.
- Panel won't stay flush against an uneven wall — pack out hollow spots with extra adhesive beads rather than forcing the panel; forcing it bows the veneer.
- Adhesive not gripping — check the wall isn't glossy paint or damp; sand glossy surfaces lightly first and always test on an offcut before committing a full panel.
- Colour mismatch between panel batches — real wood veneer varies naturally between production runs; order all panels for one wall from the same batch where possible.
- Cut edge looks raw next to a finished corner — fit an end piece rather than leaving the cut edge exposed; end pieces match the veneer finish and hide the cut line completely.
- Panel bows outward at the top — nearly always a missing expansion gap at the ceiling line; trim the panel down and add coving to cover the gap.
Tools and resources
- How to calculate how many wall panels you need — run this before ordering to avoid buying short or over-ordering
- 300 x 60 cm wall panels for floor-to-ceiling walls — a closer look at when the longer format saves you a horizontal join
A laser level pays for itself on any run over 2.5 m — a standard spirit level works but needs repositioning every 60-90 cm, which adds error across a full wall.
What to do next
Once the wall itself is panelled, the ceiling line and corner detailing are what separate a good finish from a great one — see how to achieve a floor-to-ceiling panelled wall look for the trim and lighting choices that make the run look built-in rather than applied.
FAQ
What's the best panel length for a floor-to-ceiling bedroom wall? A 300 cm panel covers most UK bedroom ceiling heights (2.3-2.7 m) in one piece with no horizontal join; 240 cm works for lower rooms or where budget matters more than a seamless finish.
Is gluing panels directly to the wall better than fixing to battens? Gluing direct works well on flat, sound plaster or plasterboard and is faster; battens are worth the extra step only on uneven walls or where you need to run cables behind the panelling first.
How much does it cost to panel a bedroom wall floor to ceiling? Cost depends on wall width and panel finish, but the main variables are panel count, one 290 ml glue cartridge per 4-6 panels, and whether trim or end pieces are needed at exposed corners — check current panel pricing before ordering to budget accurately.
Can you panel over wallpaper? No — wallpaper adhesive isn't strong enough to hold panel weight long-term; strip it back to bare plaster or plasterboard first.
How long does panel adhesive take to fully cure? Expect a full cure within 24 hours; avoid fitting skirting, trim, or leaning furniture against the wall before then.
Do floor-to-ceiling wood panels need maintenance? A light dust or dry cloth wipe is enough for most interior runs; avoid wet cleaning on real wood veneer, which can lift the finish over time.
Is a floor-to-ceiling panel wall better for reducing bedroom echo than a half-height one? Yes — a full-height run gives the felt backing more surface area to absorb reflected sound, which matters most in bedrooms with hard flooring or minimal soft furnishing.
What's the biggest mistake people make panelling a bedroom wall? Skipping the expansion gap at floor and ceiling — real wood veneer moves with humidity, and a flush cut with no clearance is the most common cause of bowing panels within the first year.
One last thing
Most floor-to-ceiling panel jobs fail at the corner, not the middle of the wall — a raw cut edge next to a door frame or window reveal is the detail that gives away a rushed job, and it's the cheapest fix in the whole project: one end piece costs far less than the hour it takes to notice it's missing after the room's already been lived in for a season.
Share:
Exterior Cladding Corner Trim & End Pieces: 2026 Buy Guide
Best Exterior Cladding for Outdoor Dining 2026