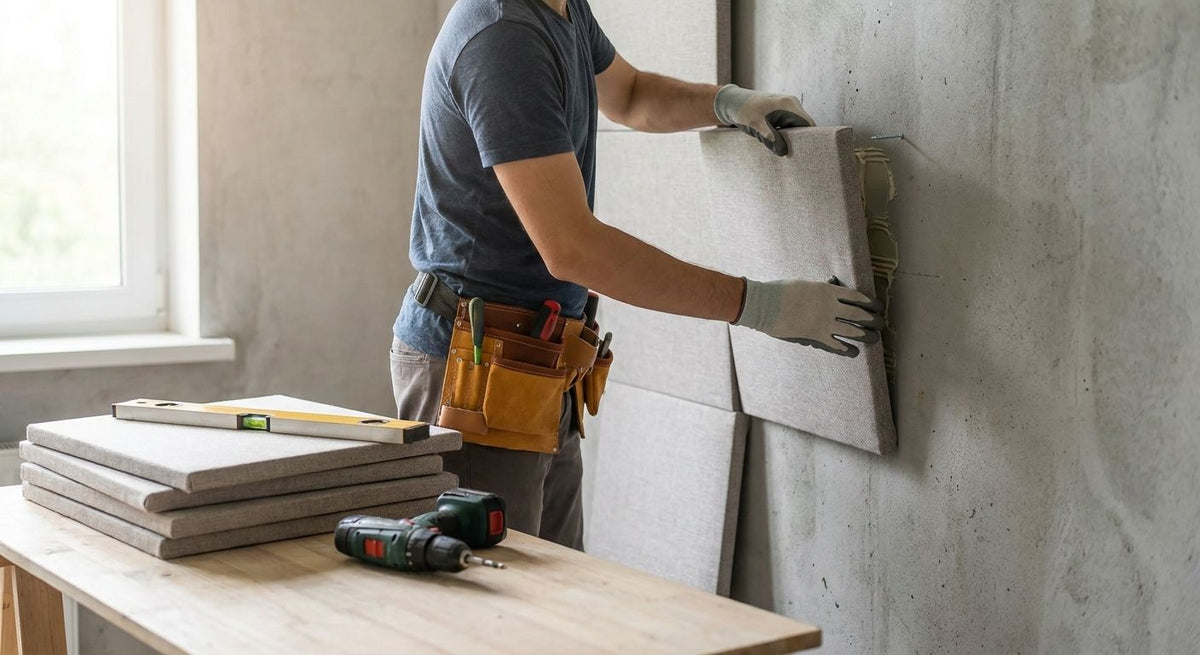
Concrete walls don't take screws or adhesive the way plasterboard does, and that trips up most DIY acoustic panel installs before the first panel is even off the pallet. This guide covers the batten method that actually works on masonry, plus the fixings, drill bits and drying times you need to get a flush, rattle-free finish in 2026.
- Fixing straight to bare concrete fails within months — build a timber batten grid first.
- Use a masonry bit one size up from your plug (8mm bit for 8mm plugs) or the fixing spins loose.
- Felt-backed acoustic panels rated at 0.75 NRC need solid contact with the wall to absorb sound properly.
- High-tack panel glue works on primed battens, not on dusty bare concrete — prime first or it delaminates.
- Verdict: batten-and-glue is the reliable method for how to install acoustic panels on concrete in 2026 — skip direct-to-wall adhesive on masonry.
Why this matters
Concrete is dense, often slightly damp, and almost always dusty on the surface — three things that defeat glue-only fixing systems. Skip the prep and you'll get panels that bow at the edges within weeks or, worse, a whole section that peels off the wall carrying plaster dust with it. Akuwood Panel builds its wooden wall panels with a 3-sided real wood veneer and acoustic felt backing precisely so they can go on masonry, timber frame or plasterboard — but the wall prep decides whether that felt backing actually sits flush and does its job.
Getting this step right matters more on concrete than on any other substrate. A stud wall gives you screws into timber. A concrete wall gives you nothing to bite into unless you create it yourself with plugs and battens.
What you'll need
- Cordless hammer drill (SDS or hammer-action) with 6mm and 8mm masonry bits
- Wall plugs rated for solid concrete, matched to your batten screw size
- Timber battens, 18-25mm thick, enough to run vertically at intervals matching your panel width
- Spirit level or laser level
- Tape measure, pencil, chalk line
- High-tack panel glue for fixing panels to the battens
- Concrete primer or stabilising solution if the wall is dusty or slightly damp
- Wooden wall panels in your chosen finish, 240cm or 300cm format
- Fine-tooth panel saw for trimming
- Safety glasses, dust mask, cordless driver
Budget half a day for a single wall, longer if you're priming or the concrete is uneven and needs packing shims behind the battens.
The steps
1. Test the concrete for moisture and dust
Press a strip of clear tape onto the wall and leave it overnight. Condensation under the tape means the wall is still releasing moisture and needs longer to dry, or a vapour check, before you fix anything to it. Skipping this is the single biggest reason panels fail within the first year on concrete.
2. Mark and level a batten grid
Measure your panel width and mark vertical lines on the wall at matching centres, then check every line with a spirit level before drilling. A batten that's even 3-4mm out of plumb over a 240cm panel throws the whole run visibly off by the third panel.
3. Drill and plug the concrete
Use the 8mm masonry bit for standard 8mm plugs, drilling straight and to the full plug depth — a shallow hole means the plug spins instead of gripping. Fix each batten at 40-50cm intervals along its length; fewer fixings and the batten flexes when you press panels against it later.
4. Prime dusty surfaces before gluing
If your tape test showed dust transfer, brush on a concrete primer or stabilising solution and let it cure fully — check the product's stated drying time before continuing. Gluing onto unprimed dust is the number one cause of panels lifting at the edges within the first six months.
5. Dry-lay the first panel
Rest the first panel against the battens without glue and check it sits flush, plumb, and square to the corner or reference line you're working from. This is your last chance to catch a levelling error before it's permanent.
6. Apply high-tack panel glue to the battens
Run glue along each batten in a continuous bead rather than dots — dots leave gaps that let the panel flex and eventually creak. Press the panel firmly, hold or clamp for the manufacturer's stated grab time, then move to the next panel working left to right.
7. Cut and fit around obstacles
Mark socket cutouts and corners on the panel face before cutting, using a fine-tooth saw to keep the veneer edge clean. Rushing this step is where most visible chipping happens — score the cut line first if you're working with a hand saw.
8. Let the installation cure
Leave the wall undisturbed for the glue's full cure time, typically 24 hours, before hanging anything on it or pressing hard against a panel edge. Check that the felt backing sits flat against the wall with no visible air gap once cured — a gap means the panel isn't absorbing sound the way it's rated to.


Troubleshooting
Drill bit won't grip, just spins in the hole. You've likely hit dense aggregate or a rebar edge — shift the hole 2-3cm and try again rather than forcing the same spot.
Panel bows away from the wall at the edges. The batten behind it isn't level or wasn't fixed at tight enough intervals — pull the panel, check the batten with a spirit level, and add an extra fixing point.
Glue won't hold, panel lifts within days. The concrete surface was dusty or damp when you glued — this is exactly what the tape test in step 1 is meant to catch. Prime the wall and re-glue rather than adding more glue on top of the failure.
Visible gaps between panels. You skipped the dry-lay step and cut battens to the wrong spacing — always dry-lay the first two panels together before committing any glue.
Felt backing looks crushed or flattened. Screws or clamps were over-tightened during the cure — ease off pressure next time and let the glue's own tack do the holding.
Tools and resources
- Masonry drill bits (6mm, 8mm) and matching wall plugs
- High-tack panel glue for the batten-to-panel fix
- A guide to choosing the right fixings for different wall types if you're mixing concrete with plasterboard or timber frame on the same job
- Spirit level, laser level, and a fine-tooth panel saw
- Concrete primer for dusty or slightly damp surfaces
What to do next
Once the batten grid and glue schedule make sense for your wall, the next decision is panel thickness and how many rooms you're covering — a single feature wall behaves differently to a full room wrap in 2026 budgeting terms. Work out spacing and panel count before you order, not after the first batten goes up.
FAQ
Can you glue acoustic panels directly onto concrete?
Direct gluing onto bare concrete is unreliable because the surface is dusty and often slightly damp, which stops adhesive from bonding properly. A timber batten grid fixed with masonry plugs gives the glue a stable, dust-free surface to grip in 2026 installs.
What drill bit do you need for concrete wall panels?
An 8mm masonry bit matched to 8mm wall plugs is standard for fixing battens to solid concrete. Always drill to the full depth of the plug so it seats and grips rather than spinning loose.
How long does panel glue take to cure on concrete?
Most high-tack panel glue reaches full cure within 24 hours, though initial grab happens within minutes of pressing the panel. Leave the wall undisturbed for the full cure window before hanging anything against it.
Do acoustic panels work on a damp concrete wall?
No — test the wall with a tape strip overnight first, and if condensation forms underneath, the wall is still releasing moisture. Installing panels or glue on a damp concrete surface causes lifting and mould risk within months.
Is batten fixing better than adhesive-only for concrete?
Yes, for concrete specifically — battens fixed with masonry plugs give a mechanical fix that adhesive alone can't match on a dusty, uneven substrate. Adhesive-only works better on smooth plasterboard, not raw concrete.
How many panels do I need for one wall?
Measure the wall width and height, then divide by your panel format — 240cm or 300cm lengths — accounting for a small trim allowance at each end. Order slightly over rather than under, since batch dye lots can vary slightly between orders.
What NRC rating do acoustic wood panels have?
Felt-backed acoustic wood panels typically carry a 0.75 NRC rating, meaning they absorb roughly three-quarters of the sound energy that hits them. That rating only holds if the panel sits flush against the wall with no air gap behind it.
Can I install acoustic panels on concrete myself?
Yes, with a hammer drill, masonry bits, wall plugs and a level — the batten method in this guide is a standard DIY job over a weekend. The parts that go wrong are almost always skipped prep steps, not the actual fixing.
One last thing
The detail most people miss isn't the drilling or the glue — it's the tape test in step 1. A wall that looks bone dry can still be releasing moisture from inside the slab, and that's invisible until the panel's already glued on and starting to lift six months later. Run the test before you buy a single fixing.