A boardroom with bare plasterboard and a glazed wall turns every video call into an echo chamber — designing an acoustic feature wall for a boardroom fixes the sound problem and gives the room a finish worth showing on camera in 2026.
- An acoustic feature wall in a boardroom needs real wood veneer panels with felt backing, not plain decorative slats.
- Black oak and walnut finishes suit boardrooms with dark furniture; grey oak works better under bright, glass-walled light.
- Order panels in the 240cm or 300cm format to match ceiling height before you plan the layout.
- Budget for high-tack panel glue and end pieces up front — running short mid-install stalls the whole job.
- Cover the full wall behind the table, not a strip, for a boardroom feature wall that actually cuts echo.
Why this matters
Boardrooms are acoustic disasters by design. Long tables, hard flooring, a glazed wall for daylight, and a screen at one end — every surface bounces sound instead of absorbing it. Add a video conferencing setup and the room mic picks up every reflection, so remote attendees hear a hollow echo instead of a clear voice.
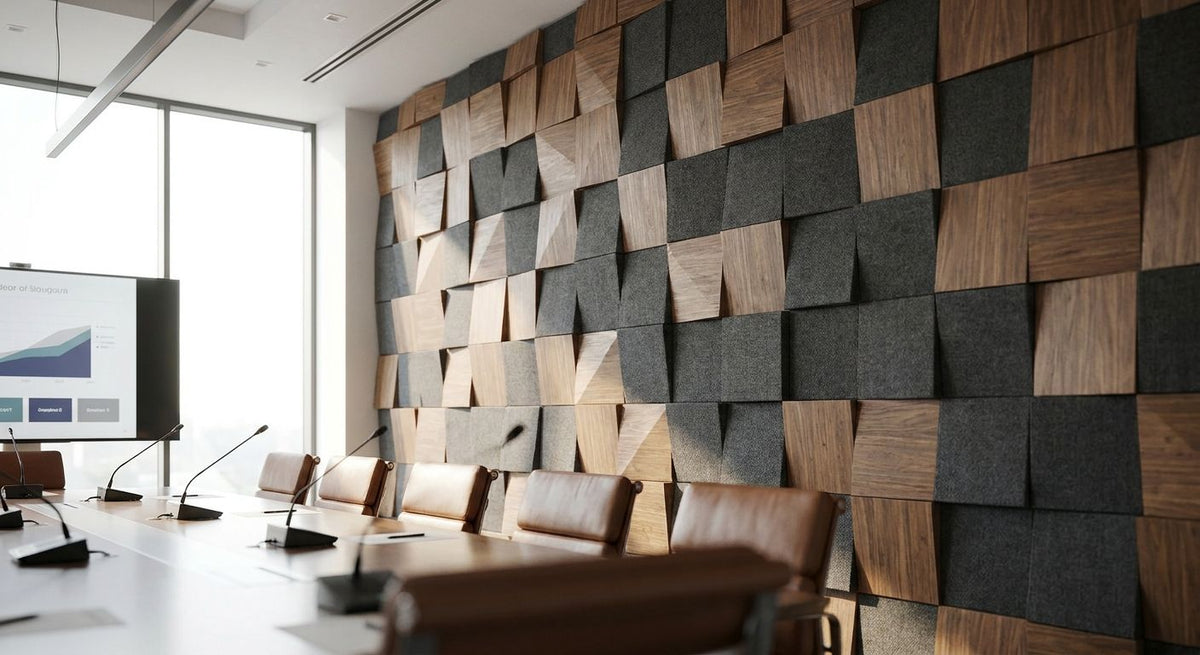
A slat panel with a felt acoustic backing breaks up those reflections without turning the room into a padded cell. AKU Woodpanel's acoustic wood panels pair a 3-sided real wood veneer finish with that felt backing, so the wall works twice: it reads as a design choice, and it quiets the room. That's the standard for a 2026 boardroom fit-out — people notice the finish, not the treatment.
“If a video call in the boardroom sounds like it's coming from a tunnel, the wall needs treatment, not another microphone.”
What you'll need
- Tape measure, spirit level and pencil
- Stud finder for plasterboard walls, or a masonry bit and rawl plugs for brick or block
- AKU Woodpanel's walnut acoustic wall panels or black oak wall panel — the two finishes that read as "boardroom" rather than "living room"
- High-tack panel glue — order at least one spare 290ml tube beyond your estimate
- End pieces or trims to close off exposed panel edges at corners and doorways
- A fine-tooth panel saw for cutting around sockets, switches and screen brackets
- One clear weekend for a single wall; two if you're panelling floor-to-ceiling on both long walls
The steps
1. Measure the wall and pick a panel format
Measure the full width and height of the wall behind the boardroom table, including door and window returns. AKU Woodpanel panels come in two lengths, 240cm and 300cm; a 300cm panel gets you floor-to-ceiling coverage in most modern offices without a horizontal seam, while 240cm suits standard suspended-ceiling heights. Round your area estimate up by 10% to cover offcuts around sockets and corners.
Common mistake: ordering exact square metreage and running one panel short when a cut goes wrong.
2. Choose a finish for the room's light and use
Boardrooms lit mostly by downlights and a screen glow suit darker finishes — black oak or smoked oak absorb glare and read well on camera for 2026 boardrooms with heavy video-call use. Rooms with a glazed wall or south-facing windows show grain better in grey oak or natural oak, which don't go muddy under strong daylight. Walnut splits the difference: dark enough to look premium, warm enough not to feel corporate-cold.
Common mistake: choosing a finish from a screen swatch instead of a physical sample under the room's actual lighting.
3. Check the wall substrate before you order
Plasterboard on timber studs, dot-and-dab plasterboard on masonry, and solid brick or block all take panels differently. Use a stud finder on plasterboard to mark fixing points at the standard UK stud spacing of 400mm or 600mm centres; on masonry you'll need rawl plugs and a masonry bit.
Common mistake: assuming a glue-only fix will hold on a painted or lined wall — test adhesion on a hidden patch first.
4. Dry-fit the layout, including end pieces
Lay panels against the wall unglued to check pattern direction, panel joins, and where end pieces sit at corners or door reveals. Stagger any seams so they don't sit directly in the table's sightline. This is the point to catch a finish mismatch or a miscount before glue is involved.
Common mistake: skipping the dry-fit and finding a gap at the end of the wall after the first three panels are already glued down.
5. Glue and fix the panels
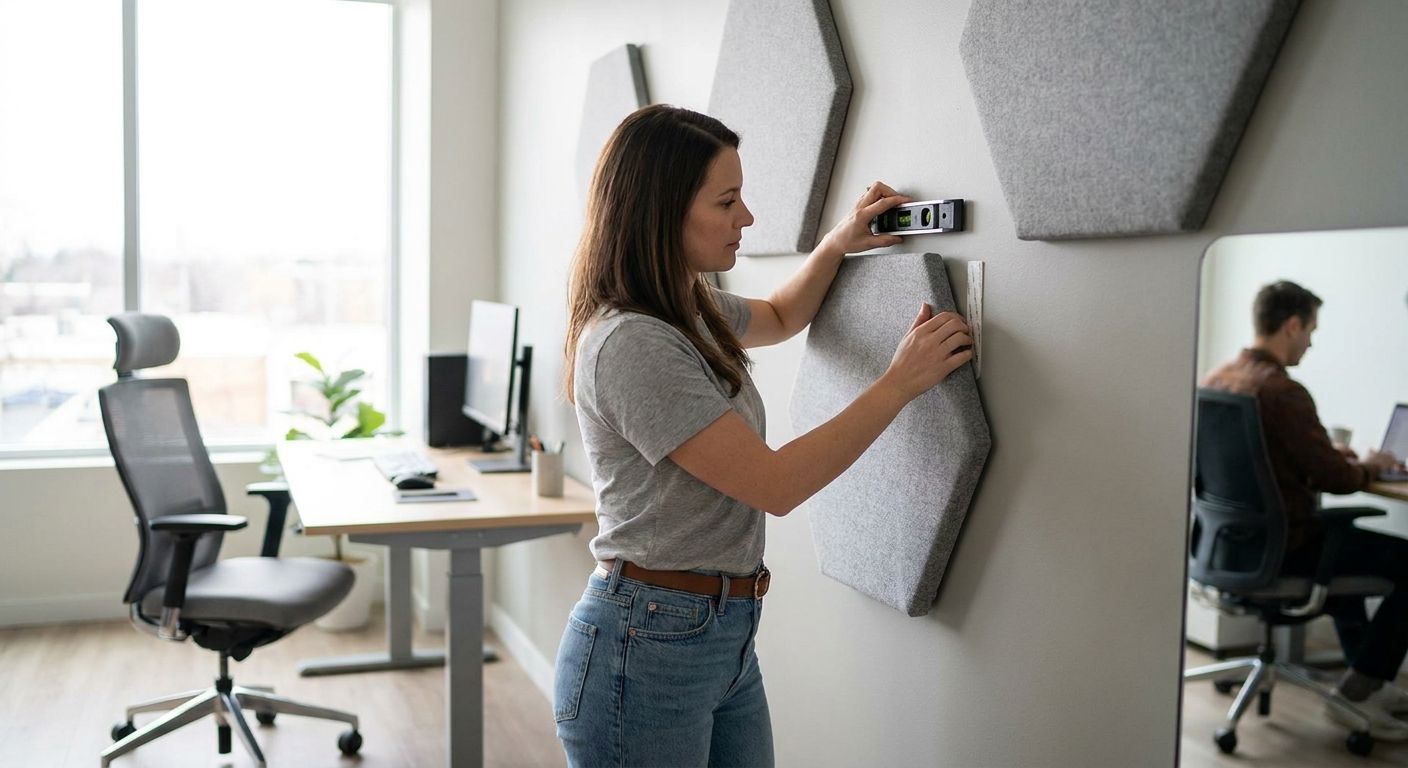
Apply high-tack panel glue in a bead pattern across the back of each panel, following the coverage guidance on the tube. Press each panel firmly for 30-60 seconds and run a straight edge along the top line to keep the run level as you work across the wall. Work left to right, or centre-out on a symmetrical wall, so joins stay tight.
Common mistake: gluing panels one at a time without checking level every third panel — small tilts compound fast across a 4-5 metre wall.
6. Work around sockets, screens and cable runs
Mark socket and bracket positions on the panel before cutting, and cut from the reverse side to keep the veneer face clean. Screen mounts usually need a solid fixing point behind the panel, not adhesive alone, so plan a ply backer at that spot before you glue anything.
Common mistake: mounting a display bracket straight into the panel and finding it isn't rated to hold the screen's weight.
7. Finish edges and let the glue cure
Fit end pieces or trim strips at exposed corners, door reveals, and anywhere the panel meets a different wall finish. Leave the wall untouched for at least 24 hours before hanging anything on it, so the adhesive reaches full strength.
Common mistake: hanging a screen or shelf on day one and pulling a panel loose before the glue has cured.
Troubleshooting
- Echo hasn't improved after fitting panels: a partial strip won't do it — an acoustic feature wall needs full-height coverage on at least one long wall to make a measurable difference.
- Panels won't lie flat at the join: the wall isn't level. Skim or pack out low spots before refitting rather than relying on the glue to bridge a gap.
- Seam lines show under boardroom lighting: raking light from downlights exposes seams. Reposition the panel run so seams fall away from the main sightline from the table.
- Glue isn't tacking fast enough: cold rooms slow high-tack adhesive. Keep the room above 15°C while fitting and during the cure period.
- Finish looks different to the sample: order a full-size sample panel before committing to a whole wall — small swatches under office lighting rarely match the finished panel.
- Screen bracket feels loose: the fixing point is in the panel only, not a solid backer. Add a ply pad behind that panel before remounting.
Tools and resources
- Tape measure, spirit level, stud finder, masonry bit set
- Fine-tooth panel saw or handsaw
- Straight edge for keeping panel runs level
- Order samples directly from AKU Woodpanel before committing to a full wall, and check NRC sound absorption ratings if you're specifying panels for a large or open-plan boardroom
What to do next
If you're speccing panels for more than one meeting room, or pulling together drawings for a contractor, look at how other offices size and sequence a boardroom feature wall before you order panels for the whole floor.
FAQ
What's the best acoustic wall panel finish for a boardroom?
Black oak and walnut are the most popular boardroom finishes because they read as premium under office lighting and hide fingerprints and glare on video calls. Grey oak and natural oak work better in glass-walled rooms with strong daylight.
How much of the wall needs panelling to cut echo?
Cover the full height and width of the main wall behind the boardroom table, not a decorative strip, for a noticeable drop in echo. Partial coverage looks intentional but does little for reverberation.
Is 240cm or 300cm the better panel size for a boardroom?
A 300cm panel suits floor-to-ceiling walls with no horizontal seam, which matters in a 2026 boardroom on video calls. Standard suspended-ceiling offices with lower stud heights usually fit the 240cm format more cleanly.
Can acoustic wall panels go over painted plasterboard?
Yes, high-tack panel glue bonds to painted plasterboard once the surface is clean and dust-free, but test adhesion on a hidden patch first. Dot-and-dab plasterboard needs fixing points found with a stud finder, not glue alone.
How long does an acoustic feature wall installation take?
A single boardroom wall typically takes a weekend for one or two people, including dry-fitting, gluing and trim work. Floor-to-ceiling coverage on two walls usually needs a second day.
Do acoustic wood panels work as well as foam acoustic panels?
Wood veneer panels with a felt backing absorb sound while keeping a finished, boardroom-appropriate look that foam panels don't offer. Foam is cheaper per square metre but reads as a studio treatment, not an office finish.
What's the biggest mistake people make with a boardroom feature wall?
Skipping the dry-fit stage and gluing panels straight from the box, which is when seam mismatches and finish problems get caught too late. A ten-minute dry-fit against the wall before any glue touches it saves a redo.
How much does an acoustic feature wall for a boardroom cost?
Cost depends on wall size, panel finish and whether a contractor fits it, so check current panel and glue pricing on the AKU Woodpanel site before budgeting. Factor in a spare glue tube and a few extra panels for cuts.
One last thing
The panel length most boardrooms overlook is the 300cm format — it exists specifically so a floor-to-ceiling wall doesn't need a horizontal seam at eye level, which is the first thing anyone notices on a video call in 2026.