

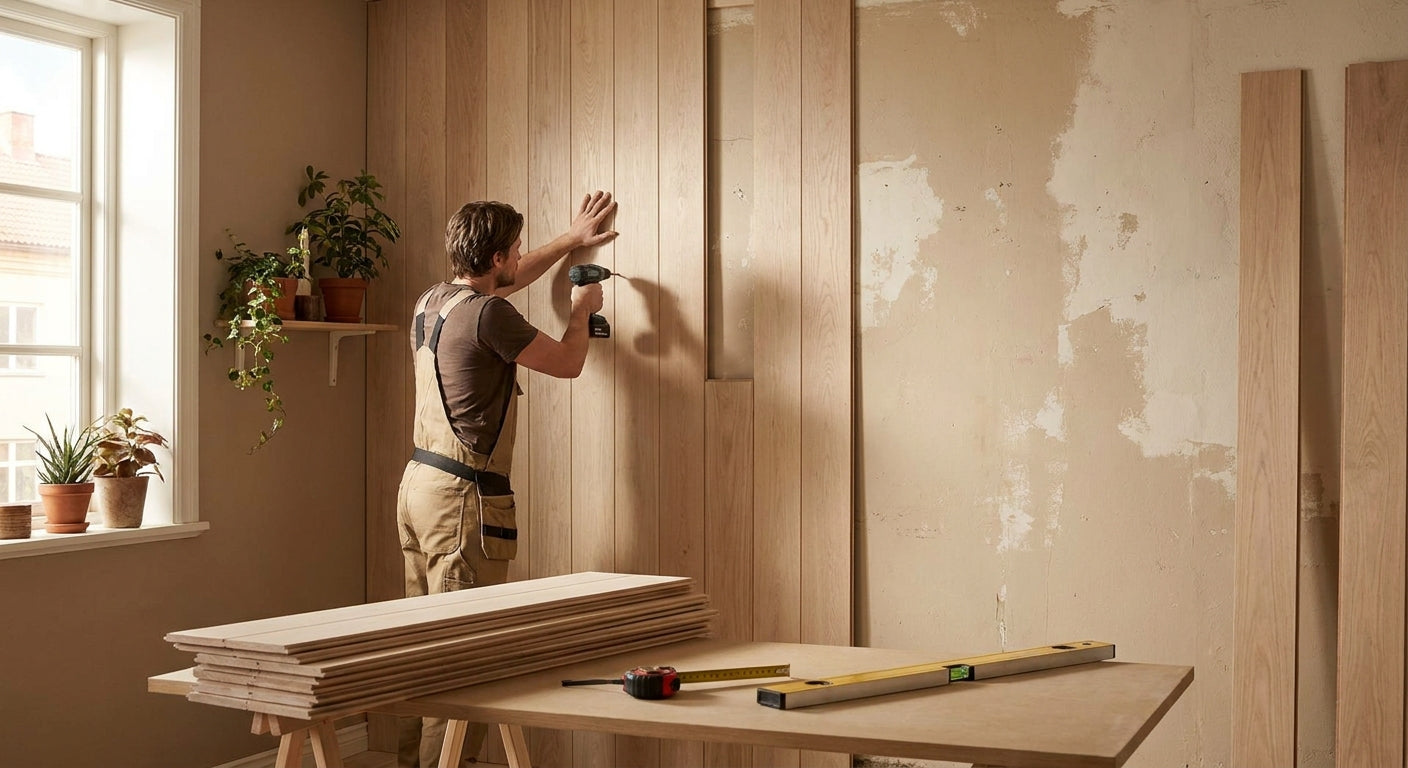
Covering an ugly interior wall with wood panels turns a patchy, damaged, or just plain boring surface into a feature wall in a weekend, without replastering or repainting first.
This guide walks through the exact steps for how to cover an ugly interior wall with wood panels in 2026, from measuring the wall to fixing the last end piece, plus the mistakes that turn a good idea into a wonky one.
TL;DR: The fastest fix for how to cover an ugly interior wall with wood panels is to batten out the surface, then fix acoustic slat panels like Akuwood Panel's natural oak wall panel directly onto the battens with panel adhesive and finishing pins. Skip the batten step only on a flat, dry plasterboard wall. Verdict: Buy panels with a 3-sided veneer finish and budget one weekend for a wall up to 4 metres wide.
Why this matters
Damp patches, uneven plaster, old wallpaper scars, and cable runs are the most common reasons UK homeowners give up on a room. Skimming and repainting a wall like that can cost more than panelling it, and the result still shows every flaw under raking light.
Wood wall panels solve two problems at once. They hide the surface underneath entirely, and because most Akuwood Panel ranges carry an acoustic felt backing, they cut echo in the room as a side effect. For a living room, home office, or bedroom with a wall you're tired of looking at, that's a better return than a repaint that fades by 2027.
What you'll need
- Wood wall panels in your chosen finish (natural oak, walnut, black oak, smoked oak, or similar) — measure the wall width and height first
- Timber battens, 18-20mm thick, if the wall is uneven, damp-prone, or solid masonry
- A spirit level and a laser line if you have one
- A stud finder, if you're fixing to plasterboard over a timber frame
- Panel adhesive such as high-tack panel glue, plus a notched trowel or applicator gun
- A mitre saw or fine-tooth handsaw for cutting panels and end pieces to length
- Finishing pins or a pin nailer, wood filler in a matching shade, and masking tape
- Roughly 4-6 hours for a single wall up to 4 metres wide, spread across a weekend if the adhesive needs a full cure
- Measure twice. Panels are typically supplied in 240cm or 300cm lengths, and buying to the wrong size wastes both money and time.
The steps
1. Assess what's actually wrong with the wall
Before you buy a single panel, work out whether the wall is damp, structurally uneven, or just cosmetically tired. A wall that's actively damp needs a moisture check and possibly a membrane before anything goes on top, because panelling over damp traps the problem rather than fixing it.
Common mistake: covering a wall with an unresolved leak or condensation issue. The panels will look fine for a few months, then the felt backing starts to smell.
2. Decide between direct fixing and battens
If the wall is flat, dry, and sound — most stud walls and newer plasterboard fit this — you can glue panels straight to the surface. If it's solid masonry, uneven render, or has visible dips, batten it out first so the panel surface sits flat and true.
Battens also give you a cavity to run cables or hide pipework, which matters if the "ugly" part of the wall includes an exposed socket or radiator pipe. A guide on fixing wall panels to a plasterboard wall covers the direct-fix method step by step if that's your situation.
Common mistake: skipping the flatness check and gluing straight onto a wall with a 5-10mm bow. The panel joints will visibly gap.
3. Mark out your layout before you cut anything
Find the centre point of the wall and work outward, so any narrow cut pieces end up symmetrical at both edges rather than one full panel and one sliver. Mark stud or batten positions with a pencil line and check every line with a spirit level — a wall that looks straight to the eye is rarely straight to a laser.
Dry-fit the first two or three panels against the wall without adhesive to confirm the pattern lines up the way you expect, especially if you're mixing finishes like walnut and oak on the same wall.
4. Cut panels to size
Measure the wall height and subtract any skirting board allowance, then cut panels with a fine-tooth blade to avoid splintering the veneer. Cut from the back face where possible so any minor tear-out stays hidden once fitted.
Expected outcome: clean, square edges that sit flush against the ceiling line or skirting with no more than a 2-3mm gap for expansion.
Common mistake: cutting from the front face with a coarse blade, which chips the top veneer layer and ruins an otherwise good panel.
5. Fix the first panel and set your reference line
Apply adhesive in a bead pattern across the back of the panel, following the manufacturer's coverage guidance, then press it into place against your marked line and hold for the recommended time. This first panel sets the reference for every panel after it, so get it plumb before moving on.
Pin the top and bottom edges with finishing pins for extra hold while the adhesive cures, particularly on a taller wall over 2.4 metres.
Common mistake: rushing the first panel without checking plumb. Every subsequent panel inherits the lean.
6. Work outward, panel by panel
Butt each new panel against the last, checking every third or fourth panel with a level to catch drift early. Interlocking or tongue-and-groove profiles, common on Akuwood Panel ranges, should click together with light pressure — if you're forcing it, the panel above or below isn't sitting flat.
Keep a damp cloth nearby to wipe excess adhesive before it skins over; dried glue on a wood veneer finish doesn't sand out cleanly.
7. Finish edges, corners, and switches
Use matching end pieces at exposed edges rather than a raw cut panel end, since the end profile is finished to look intentional rather than trimmed. Cut around sockets and switches with a jigsaw, working from measured marks rather than eyeballing it, and fit the switch plate back over the cut to hide the edge.
Expected outcome: a wall that reads as a single finished surface, not a stack of individual boards.
Troubleshooting
Panels won't sit flush against the wall. The surface underneath has a dip or bow. Add shims behind the batten at that point rather than forcing the panel — forcing it stresses the joint and it will pop later.
Visible gaps between panel joints. Usually caused by cutting slightly short or fitting on a wall that isn't square. Fill narrow gaps with matching wood filler; for gaps over 3-4mm, re-cut the panel.
Adhesive isn't holding. Cold rooms below 10°C slow adhesive cure significantly. Heat the room to a normal living temperature for a few hours before and after fixing.
Panel colour looks different from the sample. Real wood veneer varies naturally between batches and even between panels in the same batch — this is expected with genuine wood, not a fault. Order a sample first if colour matching across a large wall matters to you.
Echo hasn't improved as much as expected. Acoustic felt-backed panels reduce reflected sound but won't fully deaden a room on their own. Pairing panels with soft furnishings, rugs, or curtains gets a bigger drop in reverberation than panels alone.
The finish clashes with the rest of the room. This is a styling problem, not an installation one, and it's worth solving before you commit to a full wall. The same logic that applies to pairing furniture with a room's character applies here — mid-century modern living room furniture leans on warm wood tones and clean lines, which is exactly the palette a natural oak or walnut panel wall sits well against, while a black oak finish reads better against darker, more contemporary furniture. Match the panel finish to the furniture you already own rather than the other way round.
Tools and resources
- Panels: natural oak, walnut, black oak, smoked oak, and mocca finishes cover most interior styles
- Adhesive: high-tack panel glue formulated for wood veneer surfaces
- Fixings: finishing pins, end pieces, and corner trims for a factory-finished edge
- A tape measure, spirit level, mitre saw, and stud finder cover the tool list for most single-wall jobs
- If you're unsure how many boards to order, work out how many wall panels you need before you buy, since under-ordering mid-project risks a batch colour mismatch
What to do next
Once the wall is up, the next decision is usually the ceiling or an adjoining wall — panelling one wall in 2026 tends to lead to panelling a second within the year, based on how these projects are usually planned in stages. Get the first wall right, live with it for a few weeks, and the next move becomes obvious.
FAQ
What's the best way to cover an ugly interior wall with wood panels? Batten out the wall if it's uneven or masonry, then fix acoustic slat panels with panel adhesive and finishing pins, working from the centre outward. This hides damage, old wallpaper, and cable runs in one pass without replastering.
Is battening always necessary before fitting wood panels? No. A flat, dry plasterboard wall can take panels glued directly to the surface. Solid masonry, damp-prone walls, or anything with a visible bow needs battens first.
How much does it cost to cover a wall with wood panels? Cost depends on wall size, finish, and whether battening is needed, so check current panel and adhesive pricing for your exact wall dimensions before budgeting.
Do wood wall panels help with echo as well as looks? Panels with an acoustic felt backing reduce reflected sound in the room, though they work better alongside soft furnishings than as a standalone acoustic fix. A bare, hard-surfaced room will still echo more than one with rugs and curtains added.
Can I fit wood wall panels in a rented flat without damage? Battened panel systems can sometimes be removed without wall damage if fitted correctly, but check the fixing method suits your tenancy before committing to adhesive on the wall itself.
What's better for a damaged wall — panels or a full replaster? Panels hide surface damage without addressing structural or damp issues underneath, while replastering fixes the wall itself but costs more and takes longer. For cosmetic damage only, panelling is the faster, cheaper route in most 2026 renovation budgets.
How long does it take to panel one wall? A single wall up to 4 metres wide typically takes 4-6 hours of active work, plus adhesive cure time if you're gluing directly to the surface.
Do I need matching end pieces or can I just cut panels short? Matching end pieces give exposed edges a finished profile instead of a raw cut, and they're worth the extra cost on any wall edge that stays visible after fitting.
One last thing
Most people over-order panels "to be safe" and under-order adhesive, when it's usually the reverse that causes a stalled project — running short on adhesive mid-wall means a visible seam where the second tube kicks in. Buy one extra adhesive tube per wall beyond your calculated estimate; spare panels are easy to return, a half-finished wall on a Sunday evening isn't.
Share:
Walnut Wall Panels for Home Bar: 2026 Buying Guide
Walnut Acoustic Panels for Boardroom Walls: 2026 Verdict