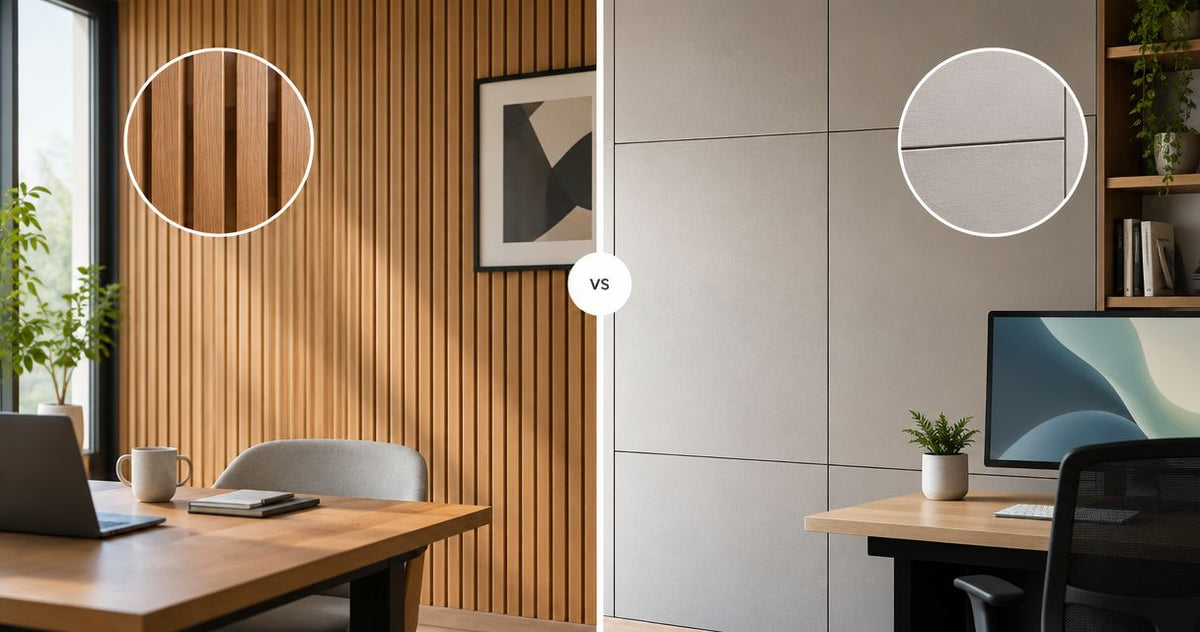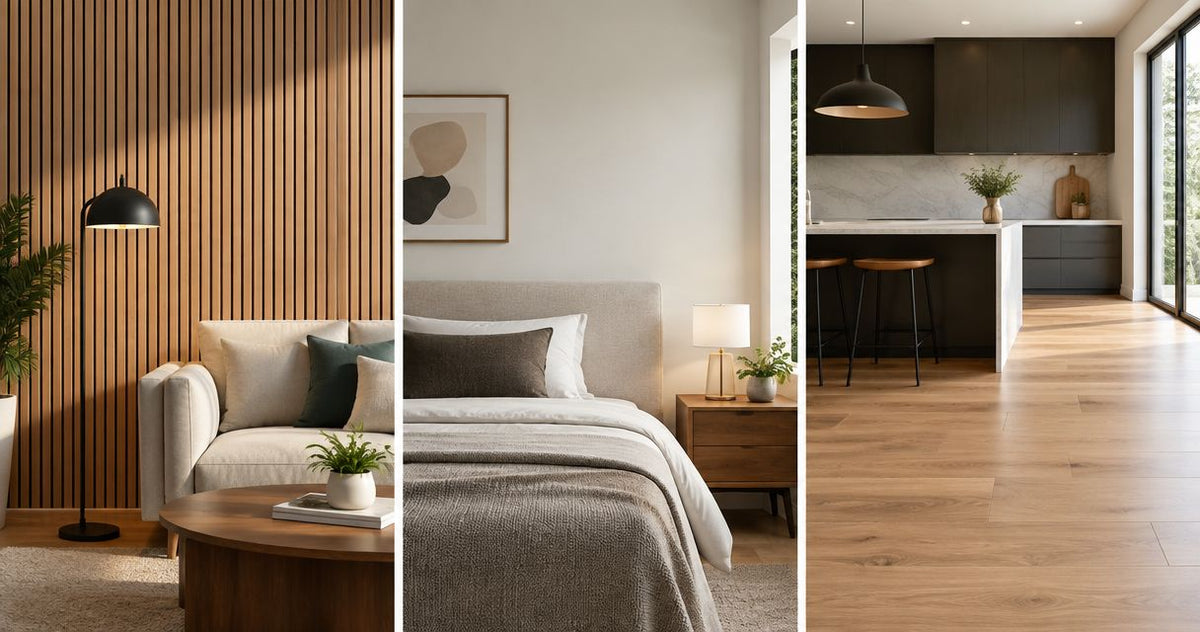
Property developers’ acoustic wood panelling is an interior wall treatment that combines wooden slats with sound-absorbing backing to improve room acoustics and create a finished feature wall. This 2026 guide explains how to specify acoustic wood panels for property developers across repeated layouts, shared amenities and show homes without confusing echo control with soundproofing.
- Acoustic wood panels for property developers suit room echo control, not sound isolation between apartments.
- Akustiq UK suits developers seeking real wood veneer and felt-backed indoor acoustic slats.
- Compare 240 cm and 300 cm formats against finished wall heights before scheduling cuts.
- Approve acoustic evidence, fire documentation and a fitted mock-up before repeating a specification across plots.
Why acoustic wood panels matter for property developers
A development specification must work beyond the show home. You need a wall finish that your designer can detail, your contractor can install consistently and your building operator can maintain after handover.
Acoustic slat panels bring a timber finish and absorptive backing into the same wall treatment. They address a different problem from a separating wall: sound reflected inside a living room, office or shared lounge, rather than sound passing between properties.
Start your 2026 finish review with physical samples, not a room render. The guide to ordering acoustic wall panel samples before buying supports that first check; a fitted mock-up should follow once you shortlist a finish.
Akustiq UK acoustic wood panels are best for developers seeking real wood veneer and felt-backed indoor slats. Their flagship indoor panels have a 3-sided real wood veneer finish and acoustic felt backing, with 240 cm and 300 cm formats. The limitation is equally important: those features alone do not establish a project-specific absorption result or fire classification.
How to specify acoustic wood panels across a development
Define the acoustic problem before choosing a finish
Begin with a room schedule and a site walk. Record where speech sounds unclear, where television audio reflects around the room and where noise arrives through a wall, door or floor. Keep these observations separate.
An open-plan living room with hard surfaces needs a different response from an apartment bedroom affected by neighbouring occupants. Absorptive panels treat reflected sound; sound isolation depends on the construction and its junctions. Do not put a soundproofing promise into a sales brochure because a wall has acoustic slats.
For your 2026 specification, write the intended outcome in plain language before selecting materials. Where the project needs a measurable acoustic target, ask the acoustic designer to define it and identify the required assessment.
- Separate room echo from sound transfer between properties.
- Record the intended use of each treated room.
- Identify hard surfaces, glazing and existing soft furnishings.
- Mark speech, television and circulation zones on the plan.
- Assign technical acoustic decisions to the project’s acoustic designer.
Map suitable walls and check project requirements
Use the architectural drawings to identify candidate walls before placing an order. A bedroom headboard wall, living room feature wall or shared lounge wall offers a different combination of services, contact risk and maintenance access.
Keep room suitability separate from appearance. A wood finish that works visually in a kitchen still needs its intended location checked for moisture, cleaning and proximity to heat. Do not extend an indoor panel specification to exterior walls simply because the finish looks similar.
Check fire requirements with the responsible project professionals before approving the build-up. Product evidence must apply to the proposed panel and installation, not merely to a component or an unrelated wall system. This check belongs before procurement, especially where you are considering communal areas or circulation routes.
- Mark sockets, switches, vents and access panels.
- Identify walls exposed to moisture, heat or repeated impact.
- Confirm the proposed use with the manufacturer’s instructions.
- Request fire documentation for the exact proposed system.
- Resolve conflicts with doors, skirtings and circulation space.
Approve the veneer and felt in a fitted mock-up
Start with loose samples beside the actual flooring, paint and joinery. Then fit a representative wall section using the intended substrate, fixing method and edge detail. That manual review establishes what the finished wall should look like.
Akustiq UK’s 3-sided real wood veneer finish and acoustic felt backing give you specific features to inspect. View the slats from the side as well as straight on, and check the visible backing against the rest of the room. A sample confirms appearance; it does not replace acoustic or fire evidence.
Use the approved mock-up as the reference for repeated installations. Photograph the accepted arrangement and record its finish name, direction, junctions and fixing detail. Approve the whole wall detail, not just the colour.
- Compare samples under daylight and installed lighting.
- Inspect veneer faces and visible felt from oblique angles.
- Include an exposed edge and a service opening.
- Record the accepted finish and panel orientation.
- Keep the approved sample with the site finish schedule.
Measure finished heights and prepare a cutting schedule
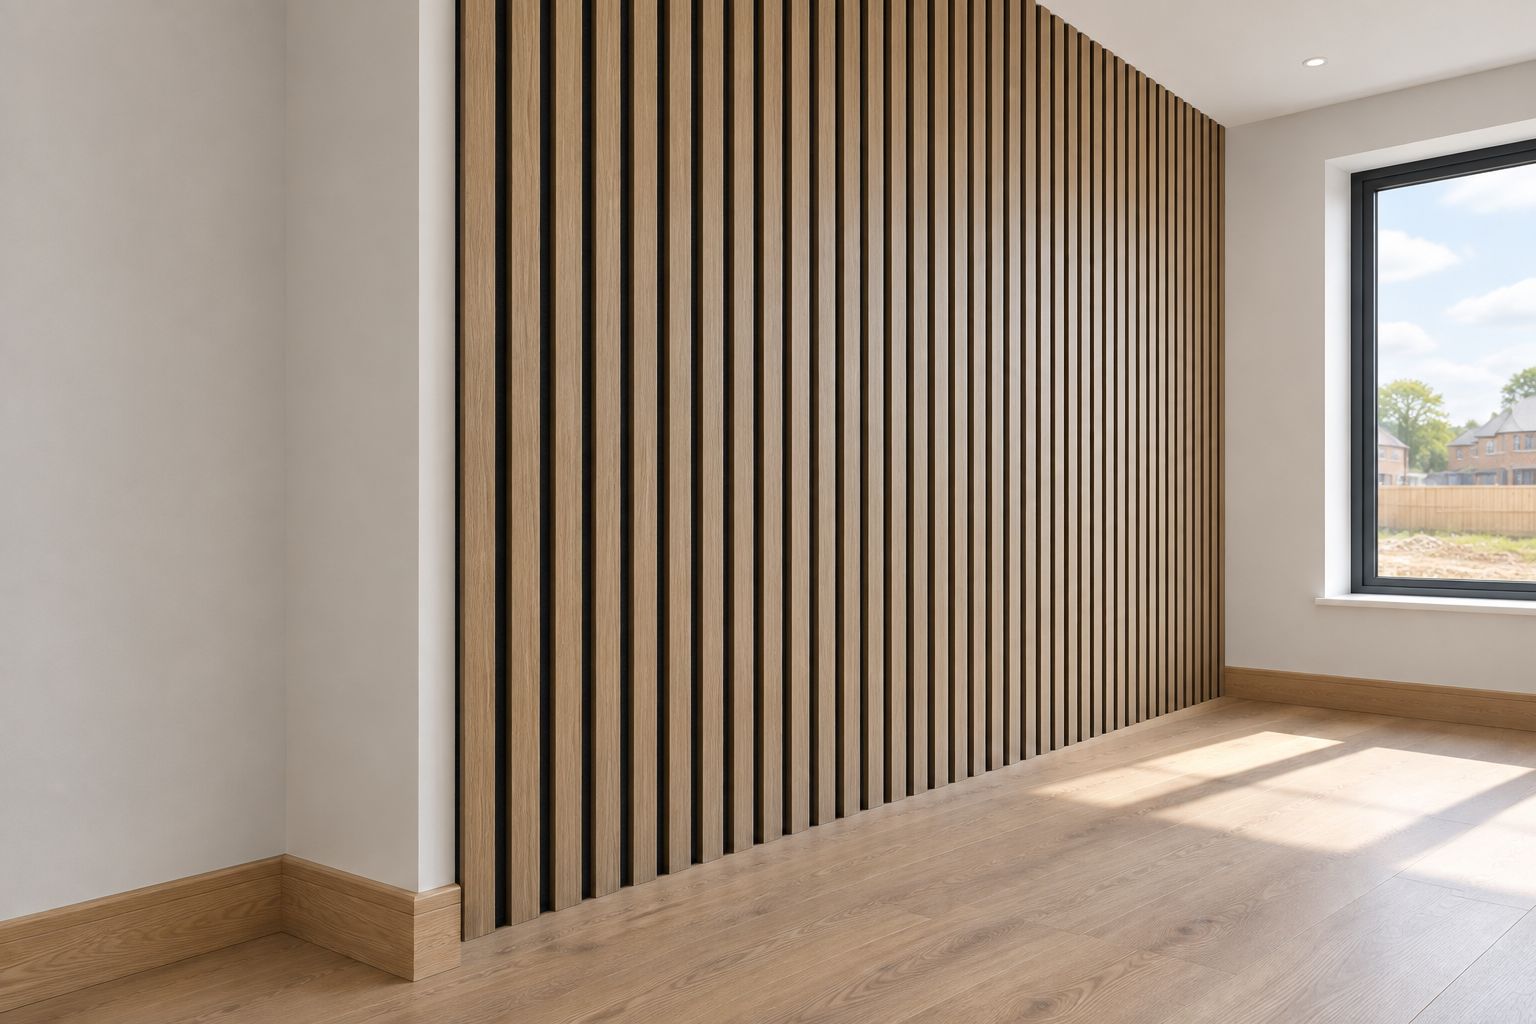
Measure each wall from the finished floor reference to the intended top edge. Do not assume that nominal ceiling heights match the available installation height once floor finishes, skirtings and ceiling details are resolved.
Compare the 240 cm and 300 cm formats against those measurements. The longer format deserves consideration where your design needs greater uninterrupted height; the shorter format deserves consideration where it matches the intended extent. Neither format removes the need to confirm the selected product’s dimensions and installation instructions.
For repeated 2026 layouts, prepare a cutting schedule by room type, then check it against site measurements. Calculate quantities from the actual panel dimensions, orientation and usable offcuts. Do not apply an unexplained waste allowance across every plot.
- Measure finished height at several positions along the wall.
- Confirm panel width and length for the selected variant.
- Draw joints, cut edges and service openings.
- Label reusable offcuts against their intended locations.
- Separate full-height walls from partial-height feature areas.
Match the acoustic evidence to the installation
Collect the technical documents in a shared project folder and check what each document actually describes. An absorption result belongs to a tested arrangement, including its mounting conditions; it is not a universal outcome for every wall carrying the same-looking slats.
Ask your acoustic designer to compare the proposed installation with the evidence. Direct fixing, an air cavity and additional backing materials are not interchangeable details. Avoid adding a cavity or insulation solely because another project used it.
The same discipline applies to fire evidence. Record the relevant substrate, fixing method and any stated conditions, then resolve discrepancies before the contractor proceeds. The approved build-up must match the evidence used to justify it.
- Obtain absorption evidence for the exact proposed panel.
- Check the mounting arrangement described in the report.
- Record cavities and backing materials where specified.
- Review fire evidence separately from acoustic evidence.
- Require technical approval for substitutions or build-up changes.
Coordinate installation and release the order in phases
Start with a room-by-room spreadsheet covering quantities, finishes, accessories and installation dependencies. Keep the panel schedule alongside the joinery and electrical drawings so the trades work from the same information.
Before ordering, confirm the current fulfilment arrangements directly with the supplier and align them with site readiness. Do not write assumed delivery commitments into the programme. Arrange protected storage and follow the manufacturer’s instructions for handling and acclimatisation.
For a repeated development, inspect the first completed room before releasing the same detail across further plots. A finish substitution or revised socket position needs recorded approval, not an informal instruction passed between trades.
- Confirm quantities against the latest drawing revision.
- Schedule panels, edge pieces and fixings together.
- Agree storage and handling responsibilities on site.
- Coordinate electrical access before panels cover the wall.
- Inspect the first installation before repeating the detail.
Inspect the finished wall and complete the handover
Use the approved mock-up and installation detail as your inspection references. Check alignment, edges, junctions and service access before furniture hides the lower wall or occupants move in.
Where an acoustic outcome forms part of the project brief, arrange the specified assessment under suitable conditions. A hand clap is a useful informal observation, not proof that the finished room meets a technical target. Keep any claimed result tied to the room and method assessed.
Close the installation with clear care instructions and a record of the exact finish. For your 2026 handover pack, give the owner or facilities team enough information to identify the panel without promising that future replacements will match automatically.
- Inspect slat alignment and joint consistency.
- Check exposed edges and cuts around services.
- Confirm access panels remain usable.
- Record the installed finish and approved build-up.
- Include manufacturer-provided cleaning and care instructions.
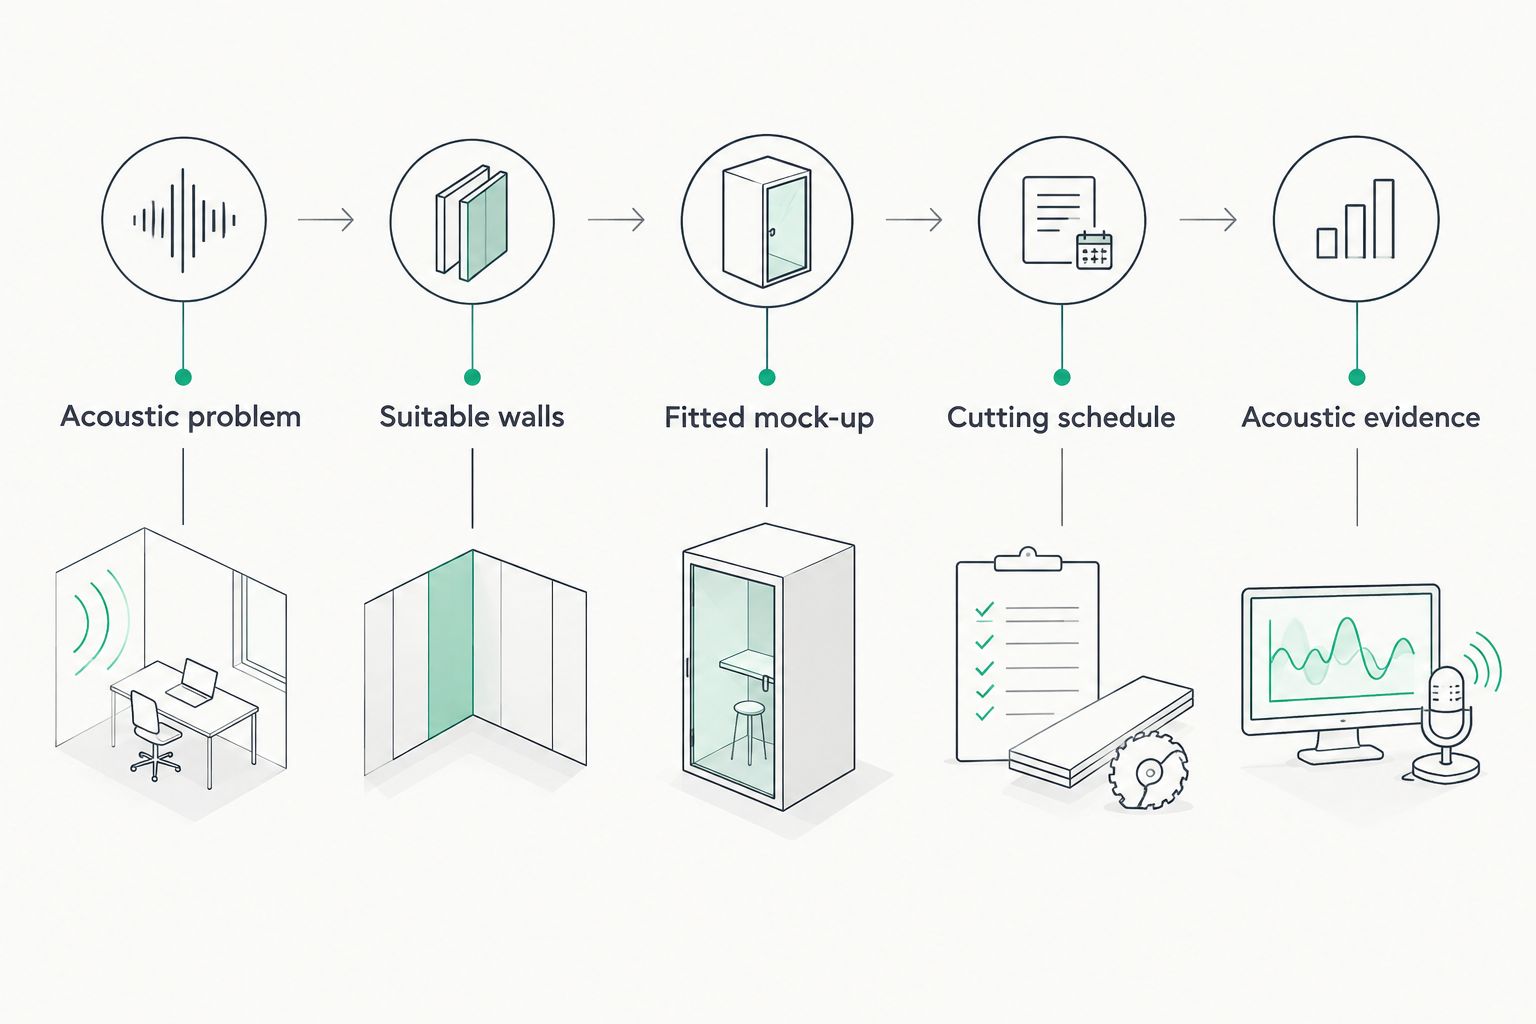
The approval sequence should remain visible to everyone responsible for the finish. Settle the brief, suitability, mock-up and technical detail before treating the purchase order as permission to install.
Compare panel and treatment options
Choose by the room’s job, then by appearance. The table separates finish choices from alternative treatment locations; no option earns approval without checking its proposed use and installation evidence.
| Option | Best for | Main advantage | Key limitation |
|---|---|---|---|
| Akustiq UK Natural Oak wooden wall panel | Developers specifying a natural oak feature finish | Named natural oak finish with 3-sided wood veneer | Appearance does not establish installed acoustic or fire performance |
| Akustiq UK Black Oak wooden wall panel | Developers specifying a black oak feature finish | Named black oak finish with 3-sided wood veneer | Requires sample approval under the room’s actual lighting |
| Felt acoustic wall treatment | Rooms where a textile-style finish fits the brief | Offers a different visible finish from timber slats | Needs its own acoustic, fire and cleaning assessment |
| Acoustic ceiling treatment | Rooms with limited usable wall area | Places treatment away from wall-mounted services and furniture | Requires coordination with lighting, ceilings and building services |
| Sound-isolating partition system | Projects addressing noise transfer between rooms | Targets separation rather than room reflections | Is a construction decision, not a substitute decorative finish |
For the named veneer finishes, compare samples before choosing. The product cards identify the panels discussed above; they do not replace the approved project specification.


Common mistakes property developers make
- Copying the show-home finish into every location. Approve shared corridors, living rooms and moisture-exposed areas separately; visual consistency is not proof of suitability.
- Claiming soundproofing from an absorptive feature wall. Keep apartment separation requirements in the construction specification and echo control in the room-treatment brief.
- Ordering from nominal ceiling heights. Check finished site dimensions and prepare cut layouts before fixing quantities across repeated plots.
- Accepting an undocumented substitution. A similar colour or slat pattern does not establish equivalent construction, acoustic evidence or fire performance.
- Leaving edge details to the installer. Resolve sockets, exposed ends, skirtings and access panels in the drawings rather than at the final snagging visit.
For a 2026 development, attach the accepted sample and technical documents to the same finish reference. That makes substitutions visible and gives the site team a clear acceptance standard.
FAQ
Are acoustic wood panels suitable for property developers?
Acoustic wood panels suit developers planning indoor feature walls and room echo treatment, subject to project-specific approval. Check room suitability, installation evidence and maintenance requirements before repeating the specification across properties.
Will acoustic wood panels soundproof an apartment?
Acoustic wood panels are not a substitute for a sound-isolating apartment construction. Absorptive treatment addresses reflections inside the room; noise transfer requires assessment of walls, floors, doors and their junctions.
Should I choose 240 cm or 300 cm wall panels?
Choose between 240 cm and 300 cm formats using the measured finished wall height and your joint layout. Confirm the selected variant’s dimensions and prepare a cutting schedule before ordering.
What makes Akustiq UK panels relevant to a developer specification?
Akustiq UK’s flagship indoor acoustic wood panels combine a 3-sided real wood veneer finish with acoustic felt backing. Those features support a timber-slat interior brief, but project approval still requires the relevant technical evidence.
Can I use the same acoustic wood panels in communal corridors?
Communal corridor use requires separate approval against the project’s fire, circulation, impact and maintenance requirements. Do not assume that a panel approved for an apartment living room is approved for a shared route.
How do I compare acoustic performance between panels?
Compare acoustic evidence for the exact products and proposed mounting arrangements. Ask the acoustic designer to check that the installation detail matches the conditions behind the reported result.
What should I approve before placing a development order?
Approve the finish sample, fitted mock-up, measured quantities, installation detail and relevant technical documentation before ordering. Confirm fulfilment arrangements directly with the supplier and coordinate installation with site readiness.
One last thing
Keep the mock-up until the final installation is accepted. A loose sample cannot show whether the contractor has reproduced the agreed socket detail, exposed edge or junction with the skirting. Make the mock-up the physical reference for your 2026 snagging inspections, not just an early design exercise.