

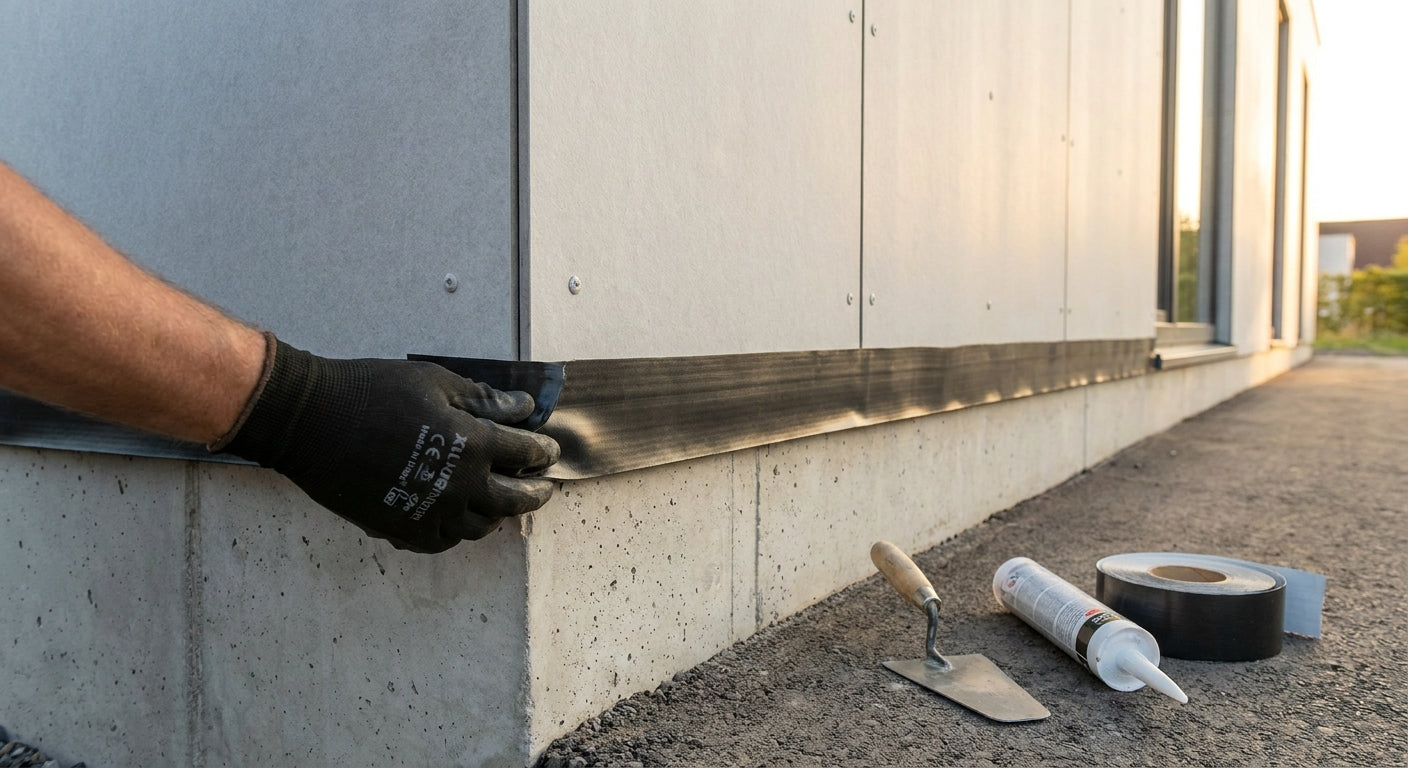
Rain doesn't fail cladding from the top down — it fails it from the bottom up, where the base meets the ground, a step, or a paving slab and moisture has nowhere to go but back into the timber.
Waterproofing the base of exterior cladding panels means creating a drainage gap, a capillary break, and a sealed but ventilated edge at the lowest point of the wall — get that wrong in 2026 and you'll be replacing boards by 2028 regardless of how good the panel itself is.
TL;DR
Waterproofing the base of exterior cladding panels comes down to three things: a minimum 150mm gap between the bottom edge and finished ground level, a drip-edge or starter trim that kicks water away from the wall, and an open (not sealed) bottom joint so trapped moisture can escape. Akustiq UK's exterior wall cladding range — including the exterior wall cladding panel in oak finish — is designed to be fitted with a ventilated batten system rather than glued flat, which is the single biggest factor in whether a base survives a UK winter. Skip the gap and even premium cladding rots from the bottom in under three years. Verdict: ventilated base detail is non-negotiable, not optional.
Why this matters
Most cladding failures reported by installers in the UK aren't material defects — they're base details done wrong. Water sits against the bottom edge, wicks upward through end grain, and the panel swells and delaminates from the inside before any visible staining shows on the face.
The base is also the point where three risks converge at once: splashback from paving, standing water after heavy rain, and frost expansion in winter. A cladding system that ignores any one of these will show damage within a few seasons, even on a well-built wall.
Getting the base right in 2026 costs you an extra hour of prep per elevation. Getting it wrong costs you a full re-clad in 2029.
What you'll need
- Exterior-grade cladding panels — birch, oak, black, or stone grey finish
- Treated timber battens (25mm minimum depth) to create the ventilated cavity
- A starter trim or bottom drip-edge profile
- Corner trim in a matching finish, such as the exterior wall cladding corner trim in oak
- Stainless steel or coated exterior fixings — the exterior wall cladding screws in oak finish are matched to the panel colour
- A spirit level, tape measure, and a laser line if you have one
- Silicone sealant rated for exterior use (for vertical joints only — never the base)
- A damp-proof membrane or DPC strip if the base sits against masonry
- Roughly 3-4 hours per elevation, plus drying time if the wall was recently rendered
The steps
1. Mark the finished ground level first, before anything else
Everything about base waterproofing hinges on one line: finished ground level (FGL). Mark it clearly on the wall with a laser or chalk line before a single batten goes up.
UK Building Regulations and most manufacturer guidance point to a 150mm minimum gap between the bottom of any timber cladding and finished ground level — 225mm is safer if the wall faces a slope or a downpipe outlet. Skipping this step is the most common mistake on self-build sites in 2026, because installers measure from the current ground, not the finished one after landscaping.
Common mistake: measuring from bare subsoil instead of the eventual paving or planting height, which quietly erases your gap once the garden is finished.
2. Install a ventilated batten cavity, not a flat fix
Fix your battens vertically at 400-600mm centres, creating a 20-25mm air gap behind the cladding. This cavity is what lets any moisture that does get behind the panel dry out instead of sitting against the timber.
The gap also equalises pressure during wind-driven rain, which is the main reason flush-fixed cladding fails faster than battened systems on exposed elevations. Check with a level every third batten — a 3mm lean over 2 metres becomes an 18mm gap at the base.
Expected outcome: a uniform cavity you can slide a finger into at any point along the base.
3. Fit a starter trim with a built-in drip edge
The bottom row of panels needs to sit in a starter trim, not directly on a batten end. A proper trim throws water clear of the wall face instead of letting it run down and pool at the base junction.
Without this, capillary action pulls water sideways into the panel's end grain even when the gap looks generous. This is the detail most DIY installs miss because it's invisible once the wall is finished — until the third winter, when the bottom edge starts to darken.
Common mistake: fitting the first cladding board straight onto the batten with no trim, assuming the overhang alone will do the job.
4. Leave the bottom joint open, never sealed
Do not run silicone along the base joint. Sealing the bottom traps any moisture that gets into the cavity and turns your ventilation gap into a reservoir.
Silicone belongs on vertical butt joints and around penetrations — window reveals, pipe entries — never along the horizontal base line. This is counterintuitive to most first-time installers, who assume more sealant equals more waterproofing.
Expected outcome: a base joint that's weathertight from splashback but still breathes.
5. Add a kick-out flashing where cladding meets a step or path
Wherever the cladding runs down to meet a step, patio, or driveway, install a small kick-out flashing that directs water away from the wall-to-ground junction. This single 100mm strip of flashing prevents the single most common failure point: water sheeting down the face and re-entering at the exact spot where the wall meets hard landscaping.
Common mistake: letting the last course of panels run flush into the paving with no flashing, so every rain event drives water straight back up into the end grain.
6. Finish exposed cut edges with matching trim
Any cut edge at the base — corners, door reveals, service penetrations — needs a finishing trim or corner piece rather than a raw cut face left exposed to weather. The exterior wall cladding finishing trim in oak covers this cleanly on straight runs, while corner trim handles returns.
A raw cut edge absorbs water at roughly three times the rate of a factory-finished face, because the veneer and any protective coating stop at the cut line.
Expected outcome: no bare end grain visible anywhere below the 150mm line.
Troubleshooting
- Panel base looks darker or swollen after one winter — the ventilation gap is likely blocked by debris, mulch, or planting pushed against the wall. Clear a 100mm zone at the base and check the gap is still open.
- Water pooling at the foot of the wall after rain — check ground grading; it should fall away from the wall at a minimum 1:40 slope, not toward it.
- Silicone has been applied along the base and it's still failing — remove it. A sealed base joint traps moisture rather than releasing it; this is a fix, not a compromise.
- Corner joints letting water in — the corner trim may not be seated fully into the starter profile. Re-check the fixing points and confirm the trim overlaps the panel edge by at least 15mm.
- Panels near a downpipe are showing damage first — this is splashback, not a defect. Extend the downpipe outlet or add a splash guard so water doesn't hit the base directly.
- Cladding fitted flush to a raised flower bed — this is a design fault, not an installation one. The bed needs to come down below the 150mm line or be moved clear of the wall entirely.
Tools and resources
- Exterior wall cladding panel — oak finish for the main run
- Starter and corner trims in matching finishes for a clean base line
- Matched exterior screws for a consistent look along the fixing points
- Related reading: how to maintain exterior wall cladding panels once the install is finished
What to do next
Once the base detail is sorted, the rest of the wall is largely repetition — battens, panel, trim, repeat. If you're fitting onto a rendered surface rather than timber frame or brick, read how to install exterior cladding on a rendered wall before you start battening, because the fixing method changes at the substrate, not just at the base.
FAQ
What's the minimum gap for waterproofing the base of exterior cladding? A 150mm gap between the bottom edge of the cladding and finished ground level is the working minimum for UK installs, with 225mm recommended on exposed or sloped sites.
Is silicone sealant good for the base joint? No — silicone along the base traps moisture inside the cavity. Use it on vertical joints and penetrations only, and keep the base joint open for drainage and airflow.
Does a ventilated cavity actually make a difference? Yes. A 20-25mm ventilated gap behind the panel lets moisture dry out instead of sitting against the timber, and it's the main reason battened systems outlast flush-fixed cladding in wet UK winters.
How much does it cost to fix a rotted cladding base? Costs vary by wall size and access, but a full base course replacement typically runs into hundreds of pounds per elevation once trim, fixings and labour are included — far more than the cost of a starter trim and correct gap at install.
Can I install exterior cladding directly against a patio or path? No. Direct contact with hard landscaping pulls water straight into the panel by capillary action. Keep the 150mm gap even where the wall meets a path.
What finish holds up best at the base in wet climates? All finishes in a properly detailed system perform similarly at the base, because the waterproofing comes from the gap and trim, not the veneer colour — black and stone grey are equally viable when the detail is right.
Do I need a damp-proof course behind the battens? If the battens fix into masonry below damp-proof course level, yes — add a DPC strip behind the batten to stop rising damp reaching the timber.
How often should I check the base once it's installed? Inspect the base gap and drainage line twice a year, ideally after autumn leaf-fall and before spring growth, to make sure nothing has blocked the ventilation gap.
One last thing
The base fails first because it's the part everyone forgets to plan for — installers obsess over panel alignment and colour matching, then treat the bottom 150mm as an afterthought. Get the gap, the trim, and the open joint right in 2026, and the rest of the wall will outlast the parts people actually worried about.
Share:
Exterior Cladding for Breeze Block Walls: 2026 Verdict
Exterior Cladding for Breeze Block Walls: 2026 Verdict