

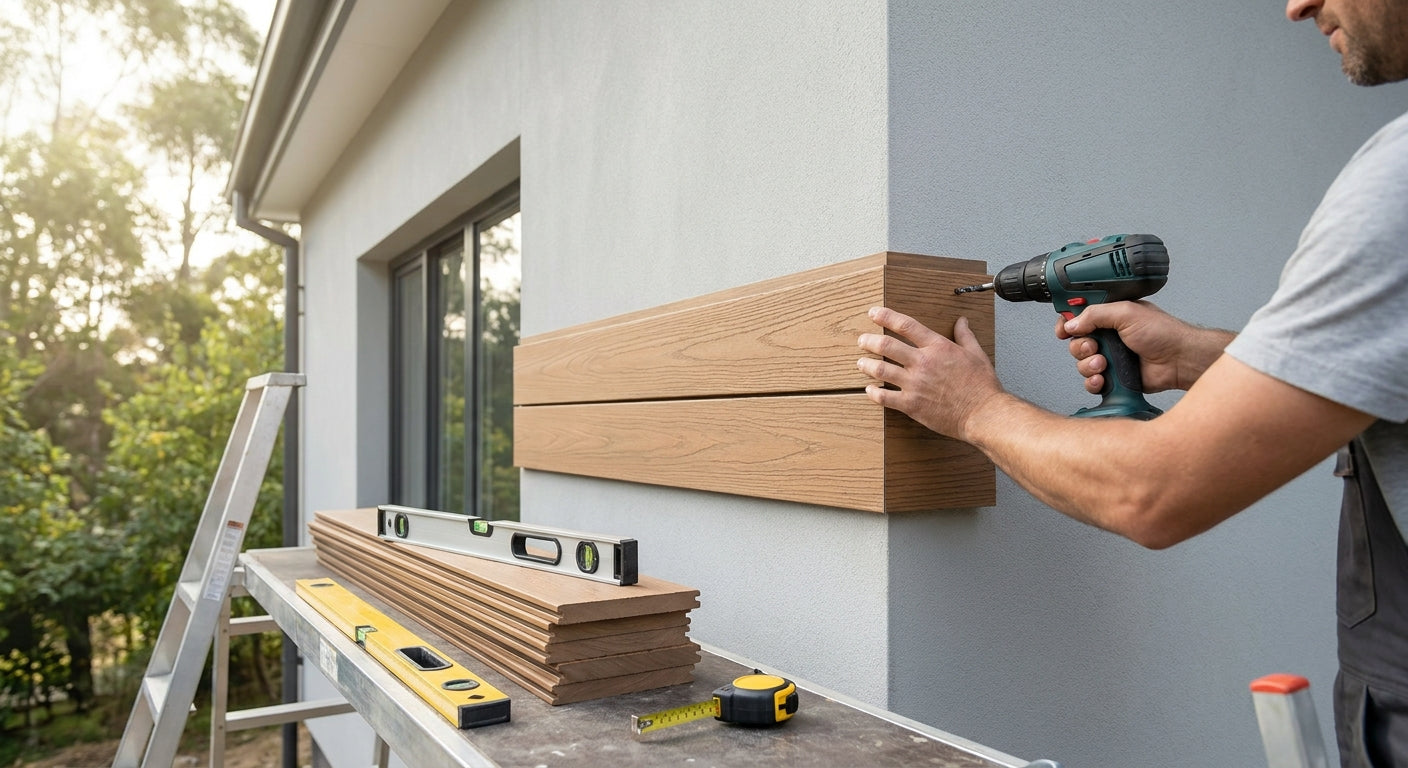
Installing exterior cladding on a rendered wall is one of the most common exterior upgrade projects in 2026 — and one of the most frequently botched. Rendered surfaces look solid but demand specific preparation and fixing methods before any cladding panel goes on. Get the sequence right and you'll have a weather-tight, sharp-looking facade that lasts for years.
TL;DR: To install exterior cladding on a rendered wall in 2026, you clean and inspect the render, fix timber battens into the masonry beneath (not just the render), mount your cladding panels horizontally from the bottom up using colour-matched screws, and finish edges with corner and finishing trims. Akustiq UK's composite exterior cladding panels are pre-drilled and come with matching screw sets and trims, making this a straightforward one- or two-day DIY job on most rendered UK homes.
Why this matters
Rendered walls are hollow at the surface — the render skin is typically 10–20 mm thick and provides almost zero fixing strength on its own. Screw directly into render and your cladding will pull away within a season. The correct method goes through the render and into the blockwork or brick behind it. Once you understand that principle, every other step follows logically.
In 2026, composite exterior cladding has become the default choice for rendered facades on UK homes because it handles freeze-thaw cycling, resists moisture absorption, and needs no annual treatment — unlike untreated timber.
What you'll need
Materials:
- Exterior cladding panels (measure your wall area and add 10% for cuts) — exterior wall cladding panel in your chosen finish
- Colour-matched cladding screws
- Treated softwood battens, minimum 45 mm × 19 mm
- Rawlplugs rated for masonry (minimum 60 mm long to reach through render into substrate)
- Exterior-grade silicone sealant
- Finishing trims and corner trims in your panel colour
- Damp-proof membrane or breather membrane strip (for ventilated cavity)
Tools:
- SDS rotary hammer drill with 8 mm and 10 mm masonry bits
- Cordless drill/driver
- Spirit level (1.2 m minimum)
- Tape measure and chalk line
- Mitre saw or fine-tooth handsaw
- Pencil, square
- Scaffold boards or a stable ladder
Time: Allow 1–2 days for a standard 20–30 m² elevation.
The steps
Step 1: Inspect and prepare the render
What it accomplishes: Identifies weak spots before you commit panels to the wall.
Tap the rendered surface systematically with a rubber mallet or your knuckle. Hollow-sounding areas — where the render has delaminated from the substrate — must be repaired before you start. Loose render will compress under batten fixing pressure and the whole assembly will rock. Fill any cracks wider than 1 mm with an exterior render filler and allow it to cure fully: at least 24 hours at temperatures above 5 °C.
Also check for any damp patches. Cladding does not fix a damp problem; it hides it until it becomes structural. Resolve any water ingress at source — gutters, window sills, roof flashings — before cladding goes on.
Common mistake: Starting on a damp or freshly applied render surface. Moisture trapped behind the panels has nowhere to go and accelerates mould growth on the back of the battens.
Step 2: Mark out your batten positions
What it accomplishes: Creates the structural grid your panels attach to, and establishes the ventilated cavity that protects the render.
Battens run vertically, fixed at 400 mm centres (or 600 mm maximum). Use a chalk line to mark each batten position from top to bottom of the wall. Vertical battens create a horizontal ventilation gap behind the cladding — warm air rises and moisture escapes at the top rather than sitting behind the panels.
Mark your fixing points along each batten line at 300–400 mm intervals. Every fixing point goes through the render and into the masonry behind. Use a magnet or cable/pipe detector before drilling — particularly around window reveals and soffits where electrical runs are common.
Expected outcome: A clear grid of chalk lines on the wall, with every fixing location marked and verified safe to drill.
Step 3: Drill and fix the battens
What it accomplishes: Creates a solid, load-bearing timber frame independent of the render skin.
Drill through the render and at least 50 mm into the masonry substrate using a suitable SDS masonry bit. A minimum total fixing depth of 60–70 mm into blockwork is the target in 2026 best practice for UK domestic cladding installations. Insert a masonry anchor or plug at each point, then screw the batten tight. Check each batten with a spirit level — any batten more than 3 mm out of plumb over its length needs a packing shim before you continue.
At window and door reveals, fix short horizontal noggins between the vertical battens so panel ends and trims have something solid to fix to.
Common mistake: Using screws shorter than 80 mm total length. Short screws sit almost entirely in render and pull out under wind load.
Step 4: Fix the starter and finishing trims
What it accomplishes: Creates a clean bottom edge, protects the first panel course, and gives you a level datum to work from.
Fit your horizontal starter trim (bottom finishing trim) along the lowest batten, checking it is perfectly level across the full width of the wall. This trim supports the bottom edge of the first panel course and stops water tracking behind the cladding. At external corners, fit your corner trims now — they set the reveal depth and ensure panels on both faces meet cleanly.
Akustiq UK exterior cladding trims are colour-matched to each panel finish, so birch panels take birch trims, stone grey panels take stone grey trims, and so on — no painting or matching required.
Expected outcome: A level bottom datum and clean corner profiles ready to receive the first panel course.
Step 5: Install panels from the bottom up
What it accomplishes: Ensures each course laps over the one below, shedding water away from the wall face.
Slot the first panel into the starter trim and hold it flush against the battens. Fasten through the panel's pre-drilled fixing holes into the battens using your colour-matched exterior cladding screws — do not overtighten, as composite panels need a small amount of room to expand in summer heat. The inter-lock profile on Akustiq UK panels means each subsequent course clicks over the top edge of the course below before being screwed.
Work horizontally across the wall, completing each course before moving to the next. Use offcuts from cut panels at one end to start the next course — this staggers the joints and improves weather resistance. Leave a 3–5 mm gap between panel ends and any trim or adjacent surface; fill with exterior silicone matched to your panel colour.
Common mistake: Installing panels top-down. Water gets behind the boards at every joint. Always start at the bottom.
Step 6: Cut around windows, doors, and pipes
What it accomplishes: Produces a clean, weather-tight reveal that doesn't compromise the cladding's drainage plane.
Measure each cut carefully — allow 5–8 mm clearance around window frames for thermal movement and silicone sealant. Use a mitre saw with a fine-tooth blade for clean cuts across composite panels. Where panels butt against window or door frames, apply a continuous bead of exterior silicone before pressing the panel home. Tool the silicone flat and smooth before it skins (typically within 10 minutes in UK summer temperatures).
For pipes and cables penetrating the wall, use a hole saw to cut a neat aperture. Seal around the penetration with silicone on both faces.
Common mistake: Cutting panels tight against frames with no movement gap. The panel will bow in hot weather and crack the sealant, letting water in.
Step 7: Fit top finishing trim and check the installation
What it accomplishes: Seals the top edge, prevents birds and insects entering the batten cavity, and completes the visual finish.
Fix the top finishing trim along the uppermost panel course, screwing into the top batten. If the installation meets a soffit, apply a bead of silicone between the trim and the soffit board. Stand back and check every panel joint is flush, every trim is tight, and every silicone bead is continuous with no gaps. Press any panel that looks proud back against the battens — if it springs out, the batten behind may need an additional fixing.
Expected outcome: A finished elevation with no visible fixings on panel faces (screws sit inside trim profiles or in pre-drilled countersunk holes), clean sealant lines at all penetrations and reveals, and a straight, level panel line from side to side.
Troubleshooting
Panels bow outward after fitting The battens are not all in the same plane. Remove the affected panels, pack out any low battens with cedar shims, and re-check with a long straightedge before re-fixing.
Screws won't grip in the masonry The drill hole is oversize or the render crumbled during drilling. Use the next anchor size up (e.g. move from 8 mm to 10 mm rawlplug) and re-drill a fresh location 40 mm away from the failed hole.
Water visible behind panels after rain The top trim or soffit seal has failed. Re-apply silicone to the top trim junction. Also check that gutters above are not overflowing onto the top course.
Panels creak in the wind The panels are fixed too tightly — overtightened screws compress the composite and cause stress noise as panels expand. Slightly back off the screws on the affected panels by a quarter turn.
Corner trims look misaligned Corner trims should be fixed before panels. If panels were fitted first, you'll need to remove the end panel on each face, fit the corner trim, and re-cut the panel to fit inside the trim reveal.
Silicone is cracking at window reveals after a few weeks The render or frame surface was not clean and dry when silicone was applied. Strip the failed bead, wipe the surfaces with methylated spirit, allow to dry for 30 minutes, and re-apply with a fresh cartridge.
Tools and resources
- Exterior cladding panels — Akustiq UK supplies four exterior finishes: Birch, Oak, Black, and Stone Grey. Stone grey and black are the most popular choices for rendered UK homes in 2026.
- Corner trims — available in all four finishes; exterior wall cladding corner trim completes external angles cleanly
- Finishing trims — top and bottom edge profiles that match each panel colour
- Cladding boards — individual replacement boards for future repairs: cladding board in stone grey
- Spirit level, SDS drill, mitre saw — hire if you don't own them; most tool-hire shops in the UK charge £30–£60 per day for a rotary hammer
- Breather membrane — available at any builders' merchant; 1 m roll is enough for a standard house elevation
For a broader overview of panel options and installation context, the outdoor wall cladding for rendered house exteriors guide covers material selection before you reach the fitting stage.
What to do next
If your rendered wall has external corners, check the how to fix exterior cladding around windows and doors guide before you start cutting reveals — the order of operations around frames is different from a plain wall face, and getting it wrong is time-consuming to unpick.
FAQ
Can you fix exterior cladding directly to render without battens? No. Render has almost no tensile strength and cannot hold mechanical fixings under wind load. Battens fixed through the render into the masonry substrate are mandatory — they also create the ventilated cavity that prevents moisture build-up behind the panels.
What length screws do I need for a rendered wall? You need a total fixing length that clears the render (typically 15–20 mm), passes through the batten (19 mm), and bites at least 50 mm into the masonry. An 80–100 mm masonry anchor is the right spec for most UK brick or block walls with sand-cement render.
Do I need planning permission to clad a rendered house exterior in the UK? In most cases, no — adding external wall cladding to a house is permitted development. However, if you live in a conservation area, on a listed building, or in a property where permitted development rights have been removed, you will need to check with your local planning authority before starting. In 2026 these rules remain unchanged from the General Permitted Development Order.
How long does exterior cladding on a rendered wall last? Composite exterior cladding panels are rated for 20–25 years in UK climate conditions when correctly fixed and sealed. The render behind is unaffected by the installation, provided the battens are watertight at their penetrations.
Can I install exterior cladding on a rendered wall in winter? You can fix battens and panels at any temperature above 0 °C. Silicone sealant, however, should not be applied below 5 °C — most exterior silicones will not cure correctly and the bond will fail. Check the forecast and plan sealant work for a dry day above 5 °C.
How do I calculate how many cladding panels I need for a rendered wall? Measure the total square metreage of the wall face, subtract window and door areas, then add 10% for cuts and wastage. Akustiq UK exterior panels cover a fixed area per pack — check the product page for exact coverage figures before ordering.
Is composite exterior cladding suitable for all UK regions, including coastal areas? Yes. Composite cladding does not absorb moisture, does not rot, and resists salt-laden air, making it well-suited to coastal UK locations in 2026. The panel surface is UV-stabilised to resist fading.
Do the panels need painting or treating after installation? No. Akustiq UK exterior cladding panels are factory-finished and require no post-installation treatment. An annual wash with warm soapy water is sufficient maintenance.
One last thing
Render absorbs and holds water differently depending on its age and mix. Older sand-cement render on pre-2000 UK housing stock is often harder and more brittle than modern polymer-modified render — it chips cleanly and gives you a reliable hole. Modern K-rend and coloured render coatings are softer and more prone to spalling around the drill hole. If you're on a modern coloured render, use a sharp new masonry bit at low speed with the hammer action off for the first 5 mm — once you're through the render skin, switch to hammer mode. This single adjustment prevents the cracking that makes fixings look messy around batten edges.
Share:
How to Install Composite Cladding on Brick (2026)
Facade Cladding for Commercial Buildings 2026