A garden office pod stops outside noise from reaching your desk and stops your video calls from reaching the neighbours — but only if you tackle mass, sealed gaps and internal echo in that order, not by piling on insulation alone.
- Soundproof a garden office pod by layering mass, sealed gaps and internal absorption — insulation alone won't do it.
- Sealing gaps under 5mm around doors and cable entries fixes more noise leakage than thicker walls.
- Acoustic wood panels with felt backing cut internal echo but don't block sound transfer on their own.
- Exterior wall cladding adds a weatherproof mass layer to the pod shell — fit it before internal finishing.
- A single-skin pod with no insulation gap is a Skip for anyone taking calls outdoors in 2026.
Why this matters
Garden office pods have become the default home-office upgrade across the UK in 2026, and the number one complaint isn't the build quality — it's noise. Traffic bleeding through thin walls, echo bouncing off bare timber and plasterboard, and calls carrying straight into next door's garden.
Most pod manufacturers sell the shell. Nobody sells the acoustic finish. If you bought a flat-pack kit, start with adding cladding to a flat-pack garden office kit before you touch the interior — the exterior shell is where sound gets in first.
Soundproofing and acoustic treatment are two different jobs. Soundproofing blocks sound transfer between the pod and the outside world — that's mass, air gaps, and sealed junctions. Acoustic treatment controls the echo once you're inside — that's absorption. A garden office pod needs both, and doing only one leaves the other problem untouched.
What you'll need
- Mineral wool insulation slabs, cut to fit stud cavities
- Acoustic sealant or mastic (not standard silicone) for every gap and junction
- A vapour barrier membrane if the pod doesn't already have one
- Timber battens for a service void, if you're decoupling the interior lining
- Acoustic wood wall panels for the interior finish
- Exterior wall cladding panels for the outer shell
- Panel adhesive rated for interior fixing
- Tape measure, panel saw or jigsaw, and basic fixing tools
- Safety gloves and a dust mask for insulation work
- A weekend, realistically two full days for a single-room pod
The steps
1. Seal every gap before you insulate anything
Air gaps leak more noise than thin materials do. A 5mm gap around a door frame can undo the acoustic benefit of an entire insulated wall.
Run acoustic sealant around the door frame, window reveals, skirting boards, and anywhere a cable or vent passes through the shell. Do this before fitting insulation or panels — once the wall is closed up, these gaps are invisible and impossible to reach.
Common mistake: using standard silicone instead of acoustic mastic. Silicone goes rigid and cracks within a year; acoustic sealant stays flexible and keeps the seal.
2. Add mass to the stud walls
Sound transmission drops roughly in line with the mass of the barrier it hits — doubling the density of a wall build-up typically cuts perceived noise by several decibels. Pack mineral wool insulation tightly into every stud cavity, right to the edges, with no compression gaps.
Don't skip cavities you think are hidden behind furniture. Sound doesn't care where your desk is.
Common mistake: buying thermal insulation instead of acoustic-rated mineral wool. They look identical on the shelf; only one is rated for sound.
3. Decouple the interior lining where you can
If the pod frame is a simple stud wall, fix resilient bars horizontally across the studs before you screw on the interior lining. This breaks the direct timber-to-timber path that carries vibration and low-frequency noise straight through the wall.
This step adds a few centimetres of depth to each wall, so measure your final room dimensions before you commit to furniture layout.
Common mistake: screwing the interior lining straight through the resilient bars into the stud behind — that bridges the decoupling and cancels the benefit.
4. Finish the interior with acoustic wood panels
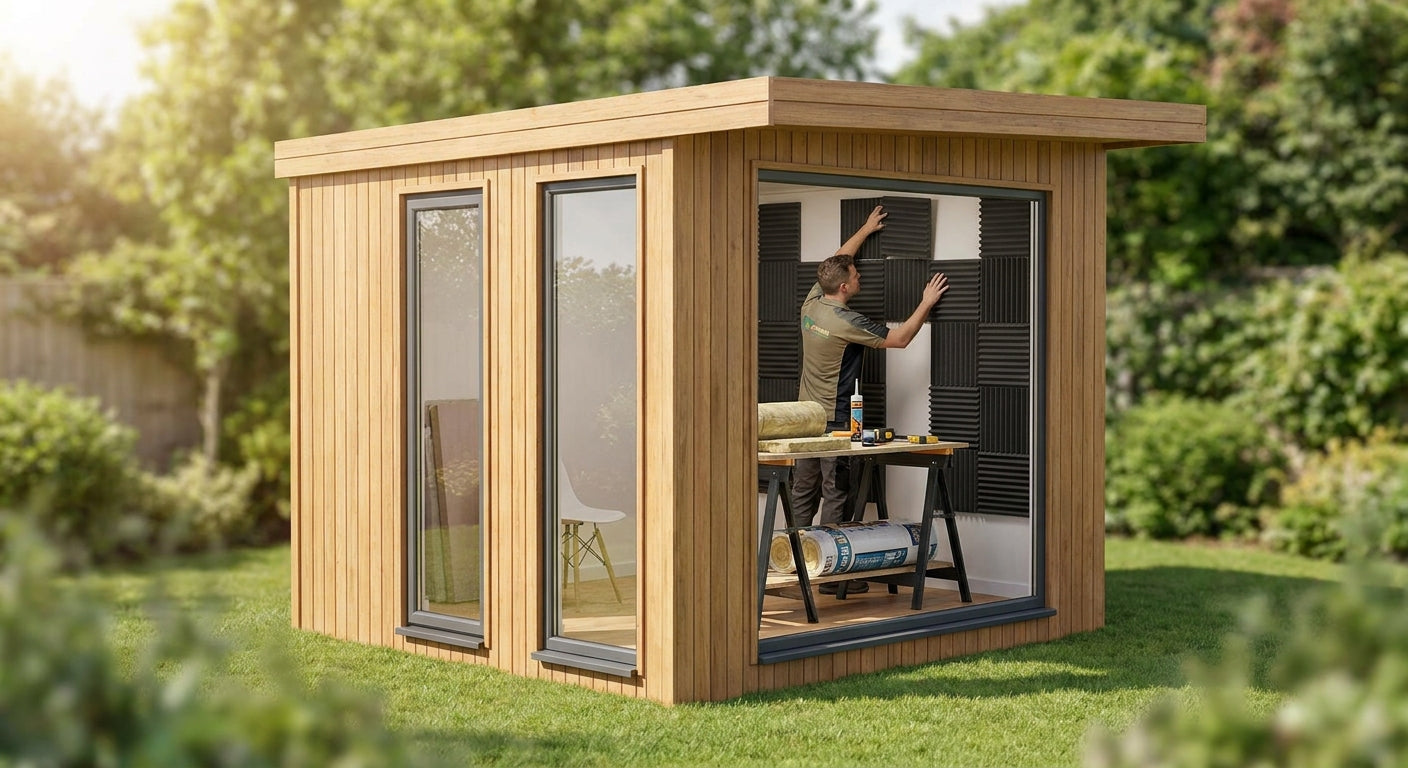
Once the wall build-up is sealed and insulated, the room still has an internal echo problem — bare plasterboard reflects sound and makes calls sound harsh and tinny. This is where acoustic wall panels do their job.
A panel such as the Smoked Oak acoustic wall panel uses a felt backing behind a real wood veneer face to absorb reflected sound rather than bounce it back into the room. Fit these across at least two adjacent walls for a noticeable drop in reverberation, not just one feature wall.
Common mistake: covering one wall only. A single acoustic panel wall looks good but does very little for reverberation — sound still bounces off the three untreated walls.
5. Treat the door as its own project
A hollow-core internal door is one of the weakest points in any pod. Add an acoustic seal kit around the frame and a drop-down threshold seal at the base — this alone closes one of the biggest remaining air gaps in the room.
If budget allows, swap a hollow door for a solid-core one. The mass difference is significant and it's a one-off fix.
Common mistake: sealing the door frame but leaving a gap under the door itself. That gap alone can undo most of the acoustic gains from the walls.
6. Upgrade the exterior shell
The outer skin of the pod matters as much as the inside. An Exterior Wall Cladding Panel in Oak adds a dense, weatherproofed 3D wood-grain layer to the shell, giving the pod extra mass on the outside while also protecting the timber frame underneath from moisture that would otherwise degrade the acoustic performance over time.
Fit cladding over a battened air gap, never directly against the frame — the gap itself adds a further acoustic break.
Common mistake: fixing cladding tight to the wall with no ventilation gap, which traps moisture and can warp panels within a season.
7. Check the roof and floor last
Flat-roofed pods often have the thinnest acoustic build-up of the whole structure, because roof insulation gets value-engineered out at the manufacturing stage. Add a mineral wool layer between roof joists if there's access, and rule out a suspended timber floor as a resonance point by adding a rubber acoustic underlay beneath any floor finish.
Common mistake: assuming the roof doesn't matter because sound comes from the sides. Rain and wind noise on a flat roof is often the loudest single source inside a pod.


Troubleshooting
Still hearing traffic noise after insulating the walls. Check the door threshold first — a 10mm gap at floor level lets in more noise than the entire insulated wall build-up combined. Fit a drop-down threshold seal.
Echo inside the pod despite acoustic panels. One feature wall isn't enough. Cover at least two adjacent walls, or add a hexagon acoustic panel layout to the ceiling if wall space is limited.
Condensation forming behind interior panels. A missing vapour barrier lets moisture migrate into the insulation from the warm side of the wall. Fit a membrane before the interior lining, especially in pods used year-round in 2026's damper winters.
Cladding panels developing draughts or rattling. Fixings have loosened or the battened air gap wasn't consistent. Re-check spacing and re-fix rather than adding sealant over the gap, which traps moisture.
Panels lifting at the edges after a few months. Adhesive coverage was too thin or applied in cold conditions. Reapply with full bead coverage per the manufacturer's instructions and allow full cure time before loading the wall.
Windows rattling in wind. Add a secondary glazing film or draught-proofing strip around the frame — this is separate from wall treatment and often overlooked.
Tools and resources
- Acoustic sealant/mastic gun for gap sealing
- Mineral wool insulation slabs matched to your stud cavity depth
- High-tack panel glue for fixing interior acoustic panels without visible fixings
- Resilient bars if decoupling the interior lining
- A vapour barrier membrane roll
- Order panel samples before committing to a full room, so the finish matches your pod's existing joinery
What to do next
Once the shell and interior finish are sorted, the desk wall itself often needs a second pass — read how to soundproof a home office wall for the specific build-up that works behind a monitor and video-call backdrop.
FAQ
What's the best way to soundproof a garden office pod?
Layer mass, sealed gaps, and internal absorption in that order: seal every gap first, pack cavities with acoustic-rated mineral wool, then finish the interior with acoustic wood panels. Skipping the gap-sealing step undoes most of the benefit from insulation alone.
Do acoustic wall panels stop noise from getting into a garden pod?
Acoustic wall panels reduce echo and reverberation inside the room, not sound transfer through the wall. Pair them with insulation and sealed junctions for a pod that's both quiet inside and quiet to the outside.
Is mineral wool insulation enough to soundproof a garden office?
No — insulation alone leaves air gaps around doors, windows and cable entries untreated, and those gaps often leak more noise than the walls do. Seal every junction with acoustic mastic before or alongside insulating.
How much does it cost to soundproof a garden office pod in 2026?
Costs vary by pod size and how much of the shell needs treatment, from sealant and insulation for a light retrofit up to a full interior panel and exterior cladding upgrade. Check current panel and cladding pricing directly against your pod's wall area.
Can you soundproof an existing garden office without rebuilding the walls?
Yes — sealing gaps, adding acoustic wall panels over the existing lining, and upgrading the door threshold all work on an existing pod without opening up the stud frame. A full mass upgrade needs access to the cavity, which does mean some rebuilding.
Does exterior cladding help with soundproofing?
Exterior wall cladding adds mass and a ventilated air gap to the pod's outer shell, both of which help block sound transfer, and it protects the timber frame from moisture that otherwise degrades acoustic performance over time.
How long does it take to soundproof a garden office pod?
A single-room pod typically takes a full weekend: one day for sealing and insulation, a second for interior panel fitting and exterior cladding. Larger pods or a full decoupled lining add extra time.
What's the difference between soundproofing and acoustic treatment?
Soundproofing blocks sound from moving between the pod and the outside world using mass, sealed gaps and decoupling. Acoustic treatment controls echo inside the room using absorptive materials like felt-backed wood panels. A garden office pod needs both.
One last thing
The biggest noise leak in most garden office pods isn't the wall build-up — it's the small gap where cables and ducting enter through the base plate. Seal that before you touch a single wall panel, and you'll hear the difference before you've spent a penny on cladding.
Verdict: treat the pod as three separate jobs — seal, insulate, then finish with acoustic wood panels and exterior cladding — and skip any single-layer fix that promises to soundproof a garden office pod on its own.