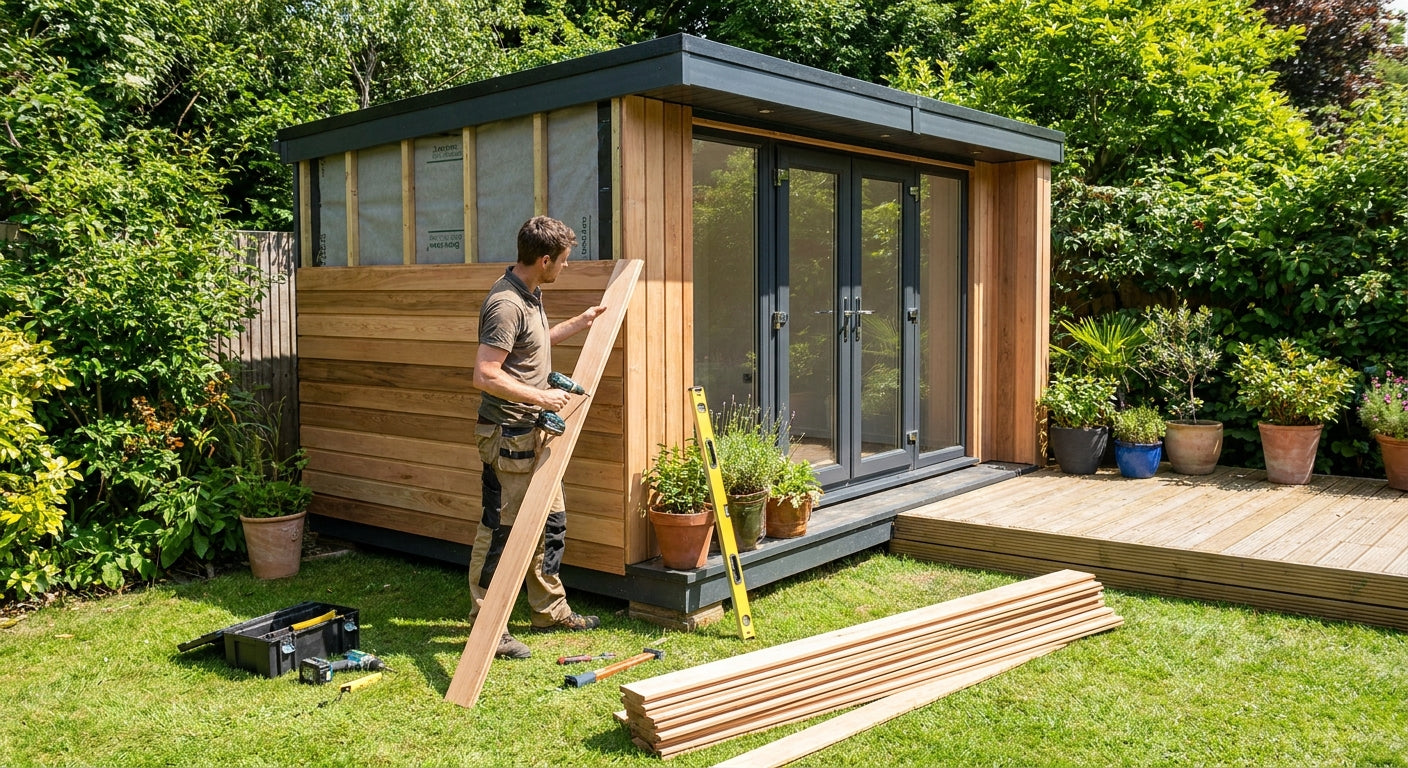
Adding cladding to a flat-pack garden office kit turns a bare OSB shell into a weatherproof, presentable building - this walks through the batten cavity, board fixing, trim and troubleshooting so the job holds up past its first UK winter in 2026.
- Cladding for flat pack garden office kits needs a 20mm batten cavity behind the boards, not direct fixing to OSB.
- Akuwood Panel's Exterior Wall Cladding Panel in Oak suits a straightforward retrofit over an existing timber frame - buy.
- Fit corner trim before the field boards; fitting it last leaves visible gaps at every angle.
- Exterior-rated screws plus panel glue on trim joints outlasts staples alone through a 2026 UK winter.
Why this matters
Most flat-pack garden office kits arrive with OSB, ply or a thin featheredge layer as the exterior skin - enough to get the frame weathertight during assembly, not enough to survive years of UK rain sitting directly on structural timber. Left bare, that surface swells and greys within a season, and damp starts tracking into the frame behind it inside two to three years. By the time staining shows up on the inside face, the fix usually means stripping the wall back to the frame rather than just adding a finish over the top.
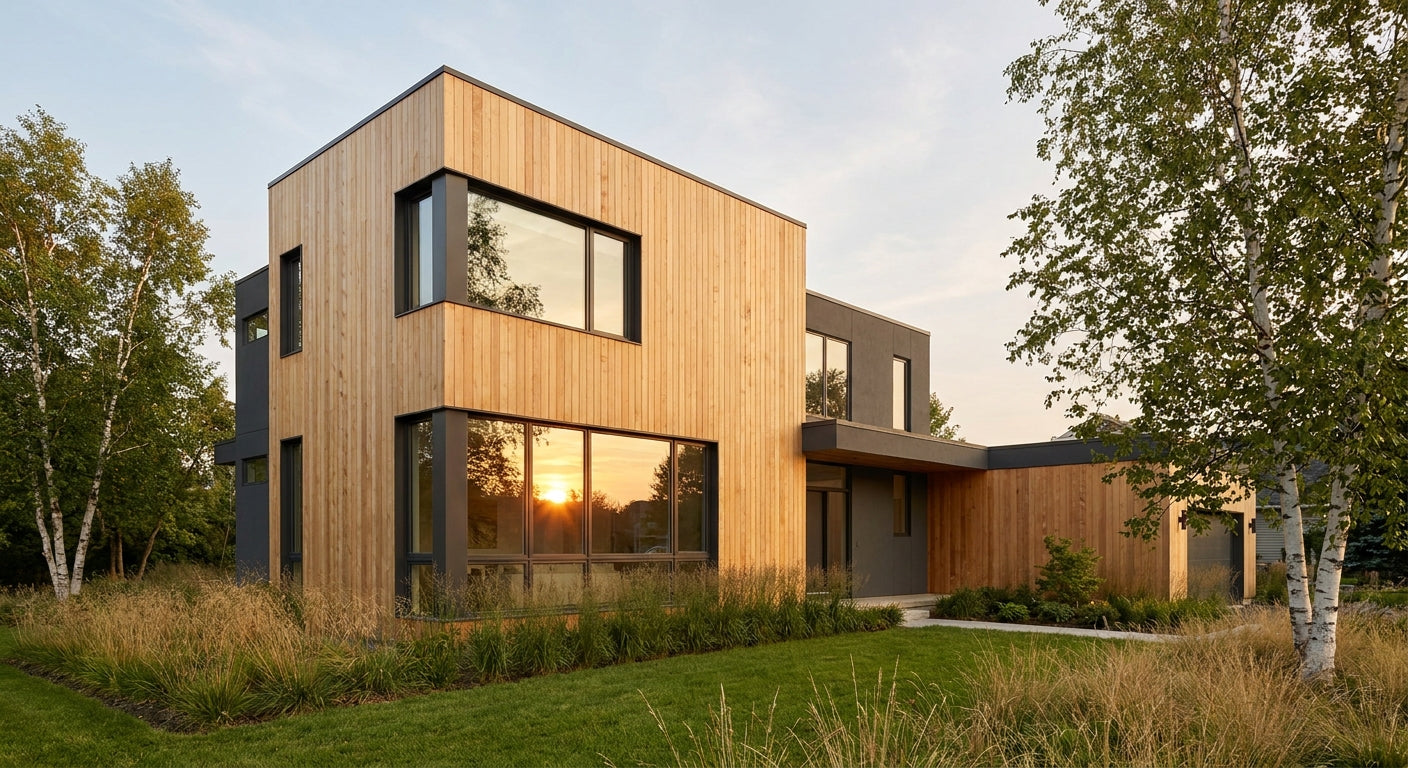
Cladding fixes two problems in one job: it protects the timber shell from the weather, and it changes how the building reads in the garden, from a flat-pack box to something that looks purpose-built rather than temporary. Akuwood Panel's Exterior Wall Cladding Panel in Oak is built for exactly this kind of retrofit over an existing timber frame rather than a new-build facade from scratch, which matters when you're cladding over a kit that's already standing.
Getting the sequence right the first time - square check, batten cavity, corner trim, then boards - saves a full re-strip later. Most of the failures seen on flat-pack office retrofits trace back to one of those four steps being skipped or done out of order.
What you'll need
Akuwood Panel stocks the boards, trim, screws and glue needed to finish a full elevation, so the list below covers what to have on site before cutting anything.
- Exterior wall cladding panels - enough m² to cover each elevation plus 10% for waste and cuts
- Treated timber battens, 25-38mm, to create a ventilated cavity behind the boards
- Corner trim for external angles - the Exterior Wall Cladding Corner Trim in Birch handles straightforward box-shaped kits without custom mitring
- Exterior-rated fixings - Exterior Wall Cladding Screws in Oak are sized for board-and-batten depth
- High-Tack Panel Glue (290ml) for trim joints, used alongside screws rather than instead of them
- Breather membrane if the kit's factory wrap has tears or gaps
- Spirit level, chalk line, tape measure, and a jigsaw or circular saw with a fine-tooth blade
- Half a day to a full weekend - a 3m x 2.5m office runs 6-8 hours for one person working steadily
The steps
1. Check the shell for square and level
Run a spirit level across each wall and check the diagonals with a tape measure before anything gets fixed. Flat-pack kits can rack slightly during self-assembly, and a wall that's out by more than 10mm over 2 metres throws off every board line that follows. Pack out any low spots behind the frame now, while it's still easy to fix - correcting it once battens are up means pulling the whole run apart and starting again. The most common complaint on retrofit cladding jobs is a crooked top course, and it almost always traces back to this step being skipped.
2. Fit a ventilated batten cavity
Screw treated battens vertically at 400-600mm centres, leaving a 20mm gap behind where the cladding will sit. That cavity is what stops moisture getting trapped against the OSB skin and rotting it from the inside, a problem that usually doesn't show up until 2-3 years after installation if the gap's been skipped entirely. Fix the battens into the kit's structural frame members, not just the thin exterior sheathing - they're carrying the full weight of the board run above them, plus wind load through 2026's storm season.
3. Mark out and cut your first course
Measure the longest unbroken wall first and mark a level chalk line at the base, roughly 40mm above ground level to keep timber clear of splashback. Cut boards with a fine-tooth blade to avoid splintering the face veneer, then dry-fit the first three boards before fixing anything permanently. This catches sizing errors while they're still cheap to correct, rather than after the glue and screws are already in place.
4. Fit corner trim before the boards
Corner trim goes on before the field boards, not after - fitting it last almost always leaves a visible gap or overlap at the angle. Fix the trim plumb first, then work outward from each corner so both walls reference the same line rather than fighting each other partway along the run.
“If the corner trim doesn't sit flush before the first board goes up, every course after it is out of true.”
5. Fix boards bottom to top
Start at the base line and work upward, fixing through the batten into structural timber with exterior-rated screws roughly every 400mm. Leave a consistent gap between boards for expansion - timber cladding typically moves 2-4mm across its width between a dry summer and a wet UK winter, and a tight-fit install now means cupped or split boards by the time 2026 turns into 2027.
6. Seal joints and finish the top edge
Run panel glue along trim joints for a belt-and-braces bond on top of the mechanical fixings, then use a finishing trim at the top edge or under the eaveline to stop water tracking behind the last board. Check the run with a level one more time before the final fixings go in - a slight lean is much harder to disguise once the boards are actually fixed in place.
7. Detail around windows, doors and services
Cut trims tight around window and door openings, and case any cable or vent penetrations with a matching trim piece rather than a raw cut. Raw cuts around openings are where most water ingress problems start on retrofit cladding jobs, more often than failures in the main board field. Check screw heads sit flush, not proud - a proud head holds water against the timber face and starts corrosion streaks within a season.
8. Final inspection
Walk the full elevation checking for consistent board gaps, flush corners, and no exposed batten or membrane showing through. Confirm every fixing point lands in structural timber rather than sheathing alone - the added boards and battens put real extra weight on the wall, and supporting the structure's load starts at the footings the kit sits on. A base that was marginal before cladding needs checking now, not after the first storm of 2026.
Troubleshooting
- Board gaps that widen over summer - the expansion gap was set too tight in a cold install; leave slightly more room in winter fits and less in high summer, since timber shifts with humidity through the seasons.
- Corner trim standing proud of the boards - usually means the trim went in after the field boards rather than before; on an existing installation, pack out the boards behind the trim rather than forcing the trim over them.
- Screw heads rusting or leaving dark streaks - happens when standard fixings are used instead of exterior-rated screws; the streak is corrosion spreading down the board face, not the timber itself, and it keeps going until the screws are swapped.
- Water pooling at the base of the wall - the base line was cut too close to ground level; boards need the 40mm clearance from step 3, or splashback keeps the bottom course permanently damp year-round.
- Colour variation between board batches - natural veneer varies batch to batch; mixing boards from more than one delivery on a single elevation shows up more than most people expect, so lay out full runs from one batch per wall face where you can.
Tools and resources
- Akuwood Panel's exterior wall cladding panels, corner trim, exterior screws and panel glue (see What you'll need above)
- A jigsaw or circular saw fitted with a fine-tooth blade for clean veneer cuts
- A spirit level and chalk line for course lines, plus packers for any out-of-square framing
- An accurate note of each wall's dimensions before ordering board quantities, so you're not short mid-run in 2026 or scrambling for a matching batch
What to do next
Order samples before committing to full board runs if this is your first cladding job - colour and grain read differently outdoors than on a screen, especially under the grey-sky light that covers most of the UK through 2026's shoulder seasons. Once the elevation is fixed, work out total board area properly, because running short mid-course means matching new stock to timber that's already started weathering against timber that's still fresh from the box.
FAQ
What's the best cladding for a flat pack garden office?
A real wood veneer exterior board fixed over a ventilated batten cavity is the safest choice for a flat pack garden office in 2026. Painted OSB or featheredge left bare tends to fail faster because it has no cavity behind it to shed moisture.
Do I need a gap behind cladding on a garden office?
Yes - a 20mm ventilated cavity behind the boards is what stops moisture getting trapped against the OSB shell. Skipping the cavity is the single most common cause of rot showing up two to three years after installation.
How much does cladding a garden office cost in 2026?
Cost scales with wall area, board finish, and whether you're fitting it yourself or hiring a joiner. Measure every elevation first and price boards, battens, trim, screws and glue together rather than boards alone, since fixings and trim add up over a full building.
Can you clad a garden office yourself?
Yes, a competent DIYer with a spirit level, saw and basic carpentry experience can clad a standard flat pack garden office in a weekend. The parts that most often go wrong are skipping the batten cavity and fitting corner trim after the boards instead of before.
Is exterior cladding necessary on a flat pack garden room?
It's necessary if the kit's factory finish is bare OSB, ply or thin featheredge, since none of those hold up long-term against UK rain without a proper exterior skin. Kits that already ship with a finished rainscreen cladding don't need it added.
How long does it take to clad a garden office?
A single elevation on a standard 3m x 2.5m garden office runs roughly 6-8 hours for one person working steadily, so a full building is a weekend project. Complex rooflines, multiple windows, or working solo all add time.
What screws should I use for exterior cladding boards?
Use stainless or powder-coated screws rated for outdoor use, sized to pass through the board and batten into structural timber. Standard interior screws corrode and leave dark streaks down the board face within a season or two.
Can you fit cladding over OSB board?
Yes, but only with a ventilated batten cavity between the OSB and the new cladding, never fixed directly to it. Direct fixing traps moisture against the OSB and defeats the purpose of adding cladding in the first place.
One last thing
The detail people skip most often isn't the board finish - it's the batten cavity gap. A 20mm cavity behind the cladding is what actually keeps the OSB dry over the next decade, not whether the finish is oak, birch or something darker. Get that one measurement right in 2026 and the finish on top becomes a matter of preference, not damage control.