

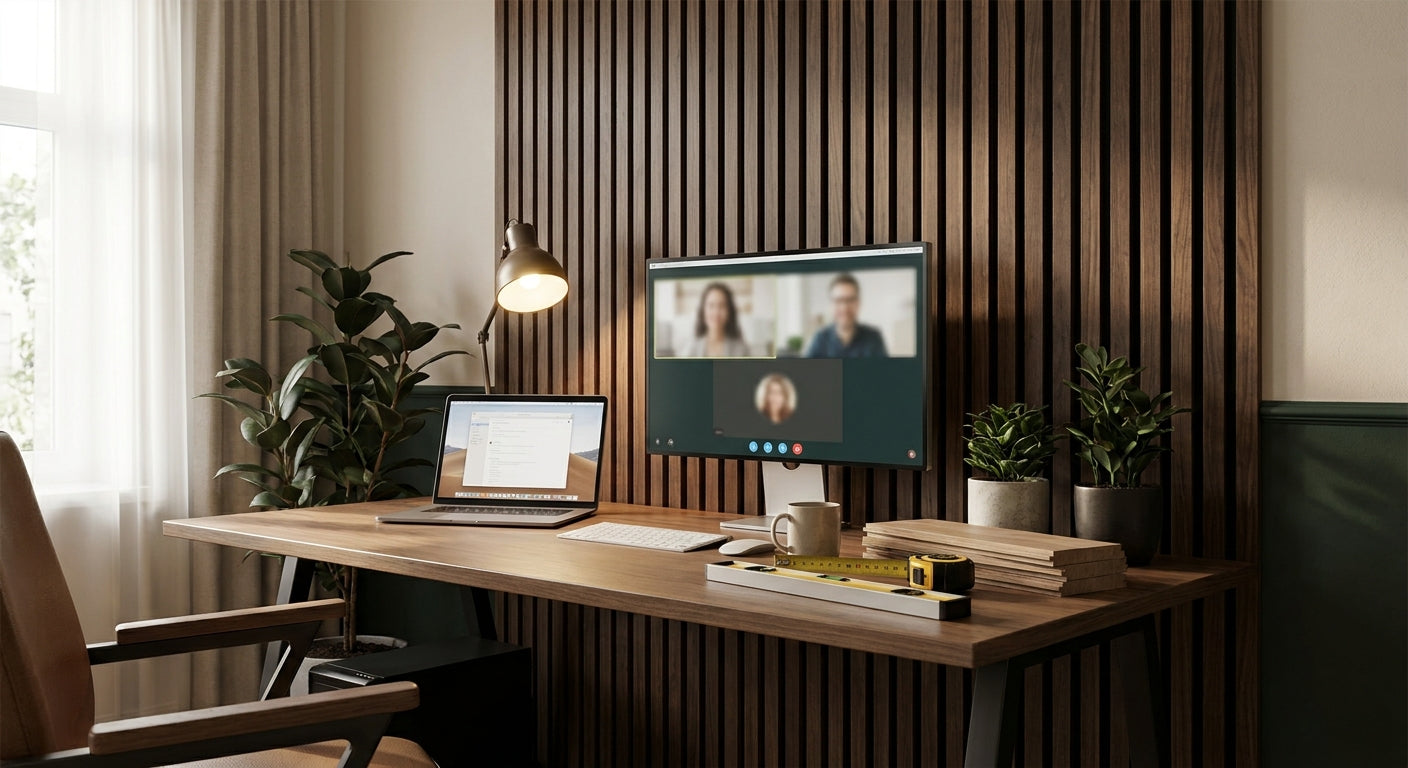
A wood panel wall for video call backdrop use turns a home office into something people actually notice on Teams and Zoom, and it cuts the flutter-echo that makes small rooms sound tinny on a call.
- Two full-height panels (60cm wide each) cover most standard webcam frames without extra cutting.
- Natural Oak and Walnut read cleanest on camera; Black Oak can crush to near-black under weak lighting.
- Order a sample panel first — screen colour and in-hand colour are rarely the same under office lighting.
- High-tack panel glue plus a straightforward stud-wall fix gets a wood panel wall for video call backdrop done in an afternoon.
Why this matters
Most home office backdrops fail for one of two reasons: the wall behind the desk is either bare plaster that bounces sound and light straight into the mic and lens, or it's dressed with a bookshelf that reads as clutter once compressed into a 1280x720 video stream.
A panelled wall solves both problems in one move. The felt backing behind the wood veneer absorbs mid and high frequencies, which is exactly the range that makes a small office sound hollow on a call. The veneer itself gives the camera texture and depth instead of a flat painted surface, and unlike a green screen or a printed backdrop, it looks the same whether you're on a call or not. In 2026, with hybrid meetings now the default rather than the exception for most desk-based roles, that permanence matters more than a one-off Zoom background image ever did.
AKU Woodpanel's home office wall panels are built for this exact brief: 3-sided real wood veneer over acoustic felt, sized to fit standard UK ceiling heights without a full-room renovation.
What you'll need
- Tape measure and a pencil
- Wooden wall panels in your chosen finish (240cm or 300cm length, 60cm width)
- High-tack panel glue, one 290ml tube covers roughly 4-5 panels
- A spirit level (laser level if you have one)
- A stud finder if you're fixing to plasterboard
- A handsaw or fine-tooth jigsaw blade for trimming to height
- Your laptop and webcam, positioned where you'll actually sit
- About 3-4 hours for a two-to-three panel run, spread over a day to let the glue cure
The steps
1. Measure your on-camera frame, not the whole wall
Don't panel wall to wall on day one — measure what the webcam actually captures first. Sit at your desk, open your camera app, and note the width and height visible in frame at your normal seating distance, usually 60-90cm from the lens.
Most laptop webcams at that distance capture roughly 1.2-1.5m of wall width and 1-1.2m of height. Two 60cm-wide panels side by side hit that width almost exactly, which is why two-panel backdrops are the most common setup homeowners order. Mark this zone lightly in pencil before you buy anything.
Common mistake: panelling the entire wall floor-to-ceiling when only the camera-visible section needed it, which doubles material cost for zero extra effect on the call.
2. Choose a finish that won't blow out on camera
Webcams compress colour and contrast hard, so what looks rich in person can go muddy or blown-out on a low-bitrate call. Lighter finishes like Natural Oak or mid-tone Walnut hold their grain detail under mixed office lighting and ring lights better than very dark finishes.
Black Oak and Smoked Oak look sharp in person but can crush to near-solid black once your webcam's auto-exposure compensates for your face being the brightest thing in frame. If your office gets strong daylight from a side window, darker finishes are fine — if you're relying on a desk lamp or ring light, stick to lighter or mid-tone veneers.
3. Order a sample before you commit
Screen colour lies. A Natural Oak sample panel costs a fraction of a full panel and lets you hold the actual veneer under your office lighting and in front of your webcam before ordering the full run.
Prop the sample where the wall will go, take a test call with a colleague, and check playback. Five minutes here saves a return shipment on a full panel order.
4. Prep the wall surface
Clean the wall with a dry cloth to remove dust, and fill any deep gouges or old screw holes with standard filler, sanded flush once dry. Panels sit flush against a flat surface — bumps under 2mm won't show, anything more will telegraph through the veneer over time.
If you're fixing to plasterboard rather than a solid masonry wall, locate the studs first with a stud finder and mark them lightly in pencil behind your panel zone. This matters more for wall stability than for the camera shot, but skipping it is the single most common reason panels come loose within the first year.
Expected outcome: a flat, dust-free surface with stud locations marked, ready for a dry-fit.
5. Dry-fit the layout for camera framing, not room symmetry
Lean the panels against the wall in your planned arrangement before any glue goes down. Step back to your desk chair and check the framing on camera, not just by eye from across the room — a layout that looks centred standing up can look off-centre once you're seated at your actual desk height.
Adjust the horizontal position so the panel joins fall outside your immediate headroom in frame, not directly behind your face. Common mistake: centring the panels on the wall itself instead of on the seated camera frame, which puts a visible seam right behind your head on every call.
6. Fix and glue the panels
Apply high-tack panel glue in a zigzag pattern across the back of each panel, working from the bottom row up. High-tack panel glue grips fast enough to hold panels in place without clamping or extra bracing, which matters when you're working solo.
Press each panel firmly for 20-30 seconds, check level with your spirit level before moving to the next, and leave a 2-3mm gap between panels for a clean shadow line. Let the full run cure for the manufacturer's stated time before leaning anything against it or fitting shelving.
7. Test the finished wall on a real call
Run an actual test call, not just a webcam preview, since compression during a live call behaves differently to local recording. Check exposure, check that panel joins don't create moiré patterns on screen, and check audio — clap once and listen for how much the room's echo has dropped compared to before.
Expected outcome: a backdrop that looks intentional at your seated distance and noticeably reduces the boxy echo of a bare-walled room.
Troubleshooting
- Glare off the veneer under a ring light — angle the light 15-20 degrees off-axis instead of pointing it straight at the wall; direct hits create hotspots on real wood grain.
- Panel colour reads darker on camera than in person — most webcams auto-expose for skin tone, pushing background wood tones down a shade; add a second light source behind you rather than swapping the panel finish.
- Visible seam behind your head — this is a framing error, not a fitting error; shift your seating position 10-15cm sideways rather than re-fitting the panels.
- Room still echoes despite the panels — a two-panel backdrop treats direct reflections behind you but not side-wall bounce; add a rug or soft chair to the side walls if the call still sounds hollow.
- Panel edges lifting after a few weeks — usually a sign the wall wasn't fully dust-free before gluing; clean and re-glue the affected edge rather than replacing the whole panel.
Tools and resources
- Natural Oak wall panels for lighter, camera-friendly backdrops
- Walnut wall panels for a warmer mid-tone finish
- High-tack panel glue for a fast, no-clamp fix
- Natural Oak sample panel to test colour under your own lighting first
“A layout that looks centred standing up can look off-centre once you're seated at your actual desk height.”
What to do next
Once the backdrop panels are fitted, work out exact panel counts for the rest of the room using the guide to calculating how many wall panels you need — useful if you're extending the treatment beyond the camera zone to tame echo across the whole office, not just the visible section.
FAQ
What's the best wood finish for a video call backdrop?
Natural Oak and Walnut hold their grain and colour best under webcam compression in 2026, since lighter and mid-tone finishes don't crush to black the way Black Oak or Smoked Oak can under weak lighting. Test with a sample panel before committing to a darker finish.
How many wood panels do I need for a webcam backdrop?
Two panels at 60cm width each cover roughly 1.2m, which matches the typical frame width most laptop webcams capture at a 60-90cm seating distance. Measure your own camera frame before ordering, since distance and lens angle vary by device.
Do wood panels actually reduce echo on video calls?
Yes — the acoustic felt backing behind the veneer absorbs mid and high frequencies, the range that makes small rooms sound hollow on a call. A two-panel backdrop won't fully treat a whole room, but it noticeably softens the direct reflection behind your seated position.
Is a wood panel wall for video call backdrop better than a printed background?
A physical panel wall looks identical on and off camera and holds up under any lighting change, where printed and virtual backgrounds can flicker or blur at hair edges during a call. It's a one-time fit rather than something to manage per meeting.
What panel sizes are available for a home office wall?
Panels come in 240cm and 300cm lengths at a standard 60cm width, which covers most UK ceiling heights without extra cutting. Choose 240cm for standard ceiling heights and 300cm for a floor-to-ceiling run.
Can I fit wood wall panels myself without a professional?
Yes — high-tack panel glue and a basic dry-fit process let most homeowners finish a two-to-three panel backdrop in an afternoon. A stud finder is worth using first if you're fixing to plasterboard rather than solid masonry.
Will dark wood panels look black on a webcam?
Under weak lighting, yes — auto-exposure on most webcams compensates for a bright face by darkening the background, which can crush Black Oak or Smoked Oak toward solid black. Add a second light source or choose a lighter finish if your office relies on a desk lamp rather than daylight.
Where should panel seams sit for the best camera framing?
Keep seams outside the area directly behind your head at seated height, not centred on the wall itself. A dry-fit test on a live call before gluing catches this before it becomes a permanent seam behind your face.
One last thing
The detail most people skip: test the layout sitting down, on an actual call, before any glue touches the wall. A wall that looks perfectly centred standing up in the room can put a seam or a join directly behind your head once you're seated at your normal desk height — and that's the one flaw a camera will show every single meeting in 2026.
Share:
Smoked Oak Veneer Panels for Hallway: 2026 Buying Guide
Exterior Cladding for Gate Pier Columns: 2026 Verdict