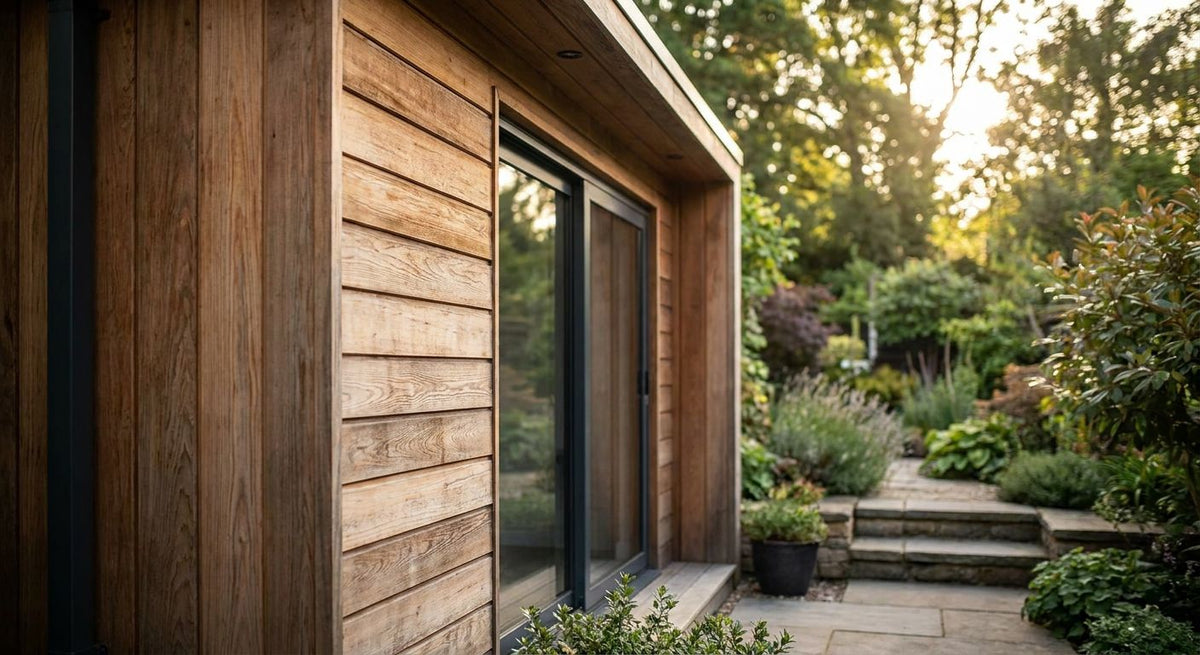
Garden studio exterior cladding is the timber or composite skin fixed to the outside walls of a garden room, chosen to survive UK weather while giving the building a finished look that either matches the house or stands apart from it. A garden studio takes more weather than a house extension because it usually sits exposed on all four sides, closer to ground level, with no overhanging eave to shield the lower courses from rain-splash.
- Wood cladding garden studio exterior projects need a breather membrane and a batten cavity behind the boards, not just a nice finish.
- Akuwood Panel's oak and black exterior wall cladding panels suit timber-frame and SIPs garden studios built or renovated in 2026.
- Cut edges are the weak point on any exterior cladding board — seal them before fixing, not after.
- Horizontal boards read as wider and lower; vertical boards make a small studio look taller.
Why wood cladding matters for garden studio exteriors
A garden studio is a small, standalone structure, so cladding does more visual work per square metre than it does on a house wall — one bad seam or a mismatched trim is far more noticeable on a 3m x 2.5m building than on a full elevation. The oak exterior cladding for garden rooms approach that suits timber-frame studios differs from what works on a rendered blockwork base, and getting that distinction wrong before you order is the single most common cause of a failed install.
Garden studios also get built fast, often over a single weekend by a contractor or a competent DIYer, which means the cladding has to go on without waiting weeks for render to cure or masonry to dry out. Timber cladding panels solve that: they fix straight to battens once the frame is weathertight, no wet trades, no drying time.
Step 1: Confirm what your garden studio wall is built from
Before anything gets ordered, work out whether you're cladding a timber frame, SIPs panel, or a rendered blockwork base — the fixing method changes completely depending on which one you have.
- Check for a vapour barrier and insulation zone behind the sheathing on timber-frame studios
- Confirm blockwork studios have a cavity or can accept a batten-and-counter-batten build-up
- Measure wall height and any window or door reveals before ordering panel quantities
- Note any areas prone to standing water at ground level — these need extra clearance
Step 2: Pick a cladding finish that suits the studio's look
The manual route is choosing a raw timber species — larch, cedar, or thermally modified softwood — and finishing it yourself with an oil or stain. This gives full control over colour but adds a maintenance cycle you'll repeat every 2-3 years.
The faster path is a pre-finished exterior wall cladding panel. Akuwood Panel's oak exterior cladding panel arrives with the finish already applied, so there's no staining stage before fitting.
- Raw larch or cedar boards, oiled on-site — most control over final colour
- Thermally modified softwood — more stable in wet UK winters than untreated timber
- Pre-finished composite or wood-effect panels — no staining stage, consistent colour batch to batch
- Match or contrast the studio cladding against the main house's brick or render tone
Step 3: Build in ventilation before you clad
Cladding fixed straight to a solid wall traps moisture behind it and rots from the inside out within a few seasons — this is the step DIYers skip most often.
- Fit a breather membrane over the sheathing or blockwork first
- Batten out at 400-600mm centres to create a drained, ventilated cavity
- Leave a 10-15mm gap at the base for airflow and drainage
- Counter-batten vertically if your cladding profile runs horizontal, and vice versa
Step 4: Fit trims and end pieces for a clean edge
Corners, window reveals and the top edge under the roofline are where cladding jobs look amateur if they're rushed. A dedicated oak finishing trim closes the cut edge cleanly instead of leaving exposed board ends open to rain.
- Start with corner trims before the field panels go up, not after
- Use a dedicated finishing trim at any exposed board end
- Seal every cut edge with end-grain sealer before fixing, even on pre-finished panels
- Leave a small expansion gap at trims — timber moves seasonally, even when treated
Step 5: Fix the cladding panels to the wall
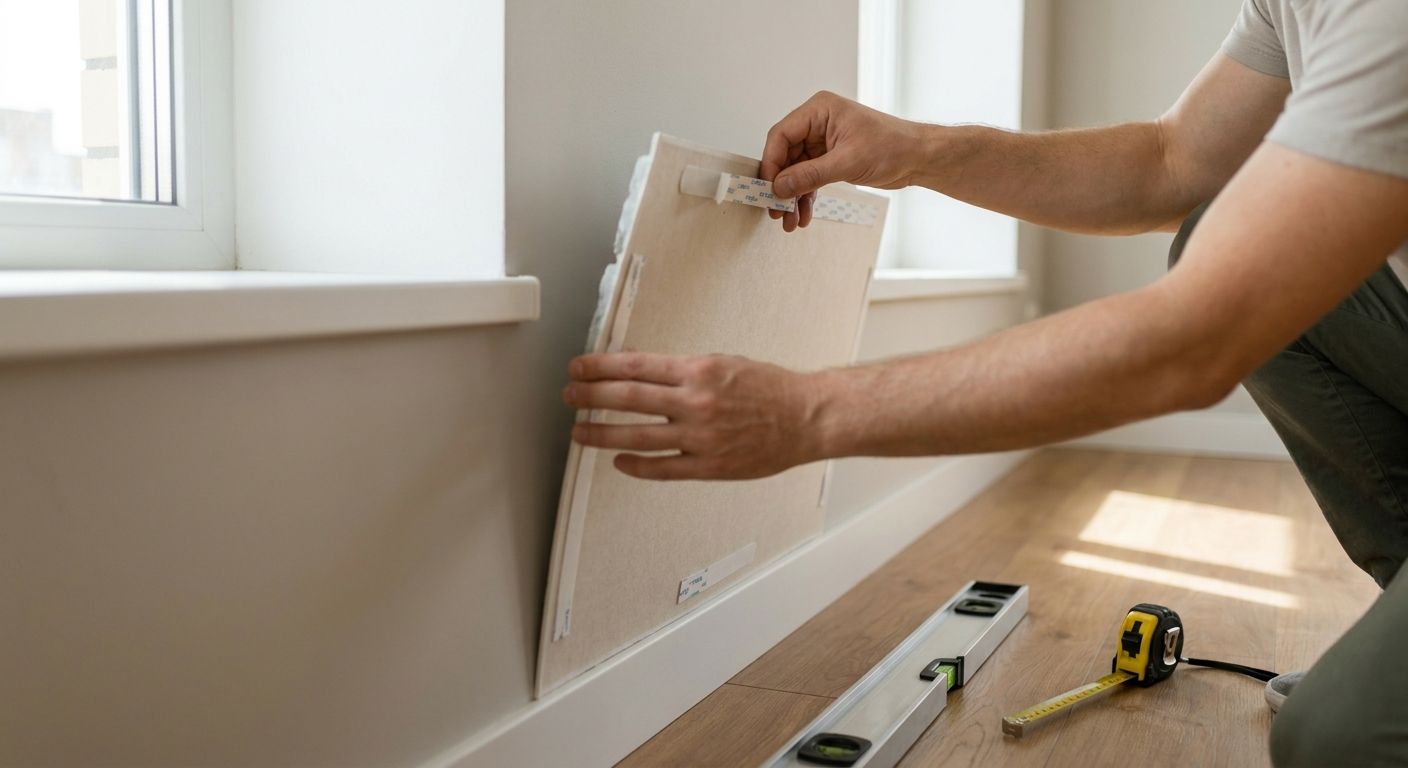
- Work bottom to top, checking level every second or third row
- Fix through the board face into battens, not through joints
- Stagger vertical joints between rows so they don't line up
- Pre-drill near board ends to stop splitting, especially in cold weather
Step 6: Maintain the cladding once it's up
Even a pre-finished exterior cladding panel benefits from a yearly check, and this is the step most garden studio owners forget once the build is finished and the studio is in use.
- Wash down with water and a soft brush once a year to clear algae and grime
- Check fixings after the first winter — timber shrinks as it dries out fully
- Re-oil raw timber cladding every 2-3 years; pre-finished panels need this far less often
- Inspect the base of the cladding each autumn for standing water or blocked drainage
Comparison: cladding options for garden studio exteriors
| Option | Best for | Key limitation | Verdict |
|---|---|---|---|
| Raw oiled larch/cedar boards | Owners who want full control over final colour | Needs re-oiling every 2-3 years | Hold — only if you're prepared for upkeep |
| Thermally modified softwood | Wet, shaded plots with limited direct sun | Costs more than untreated softwood | Buy for exposed north-facing walls |
| Akuwood Panel oak exterior cladding | Timber-frame or SIPs studios wanting a finished look with no staining stage | Still needs a ventilated cavity behind it | Buy for most 2026 garden studio builds |
| Akuwood Panel black exterior cladding | Contemporary studios matching dark window frames or roofline | Shows dust and pollen more than lighter tones | Buy for modern-style studios |
| Composite wood-effect boards | Owners who want zero maintenance | Doesn't weather or age like real timber | Hold if real wood grain matters to you |
The black exterior cladding panel from Akuwood Panel is the one contractors reach for on 2026 contemporary-style garden studios paired with anthracite window frames — it's the quotable pick if you're choosing a single finish for a modern build.
Common mistakes garden studio owners make
- Cladding straight onto a wet or unventilated wall — skipping the batten cavity is the top cause of rot within the first two winters.
- Ordering cladding before confirming the wall build-up — timber-frame and blockwork studios need different fixing details, and reordering mid-project wastes both time and boards.
- Leaving cut ends unsealed — the factory finish on a pre-finished panel doesn't extend to a site-cut edge; that's the point water gets in first.
- Matching colour to the house without checking the studio in daylight — cladding samples read differently under garden light than they do indoors or on a screen.
- Fixing panels tight with no expansion gap — timber cladding moves with humidity even when it's thermally modified, and tight joints buckle by the second summer.
FAQ
What's the best wood cladding for a garden studio exterior in 2026?
A pre-finished timber cladding panel over a ventilated batten cavity is the best option for most 2026 garden studio builds because it skips the staining stage and holds its finish consistently. Akuwood Panel's oak and black exterior wall cladding panels are built for exactly this use case.
Is timber cladding better than composite cladding for garden studios?
Real timber cladding gives an authentic wood grain and weathers naturally, while composite is closer to zero maintenance but doesn't age the same way. Choose timber if grain and warmth matter to the look; choose composite if you want to skip the maintenance cycle entirely.
How much does exterior wall cladding cost for a garden studio?
Cost depends on wall area, board profile and whether you're paying for fitting or doing it yourself, so check current pricing on individual panel product pages before budgeting a full elevation. Factor in trims, membrane and battens as separate line items, not just the cladding boards.
Do garden studios need planning permission for cladding?
Cladding an existing garden studio is usually a permitted development matter rather than a full planning application in most UK cases, but rules vary by council and by whether the studio sits within a conservation area. Check with your local planning authority before ordering materials if you're unsure.
How long does wood cladding last on a garden studio?
Properly treated timber cladding with a ventilated cavity behind it typically lasts several decades with routine maintenance, while untreated or badly ventilated boards can fail within a handful of years. The cavity and breather membrane behind the boards matter as much as the timber species itself.
Can you clad a garden studio without removing existing render?
Yes, cladding can go over existing render as long as you batten out to create a ventilated cavity rather than fixing straight to the rendered surface. Fixing directly to render traps moisture and shortens the life of both the render and the cladding.
What's the difference between horizontal and vertical cladding for garden studios?
Horizontal boards make a studio read wider and lower, while vertical boards draw the eye up and suit a taller, narrower footprint. The choice is aesthetic rather than structural, though counter-battening direction changes depending on which way the field boards run.
Does wood cladding need painting or staining every year?
Pre-finished exterior cladding panels don't need annual staining and typically only need a wash-down once a year. Raw, oiled timber cladding needs re-oiling roughly every 2-3 years to keep its colour and weather resistance.
One last thing
The detail that actually determines whether a garden studio cladding job survives its first winter isn't the timber species or the finish colour — it's whether the cut ends got sealed before fixing. A factory-applied finish stops at the factory edge, and every site cut you make exposes raw end grain that pulls in water faster than the face of the board ever will. Seal it before you screw it down, not after you notice a problem in spring 2026.