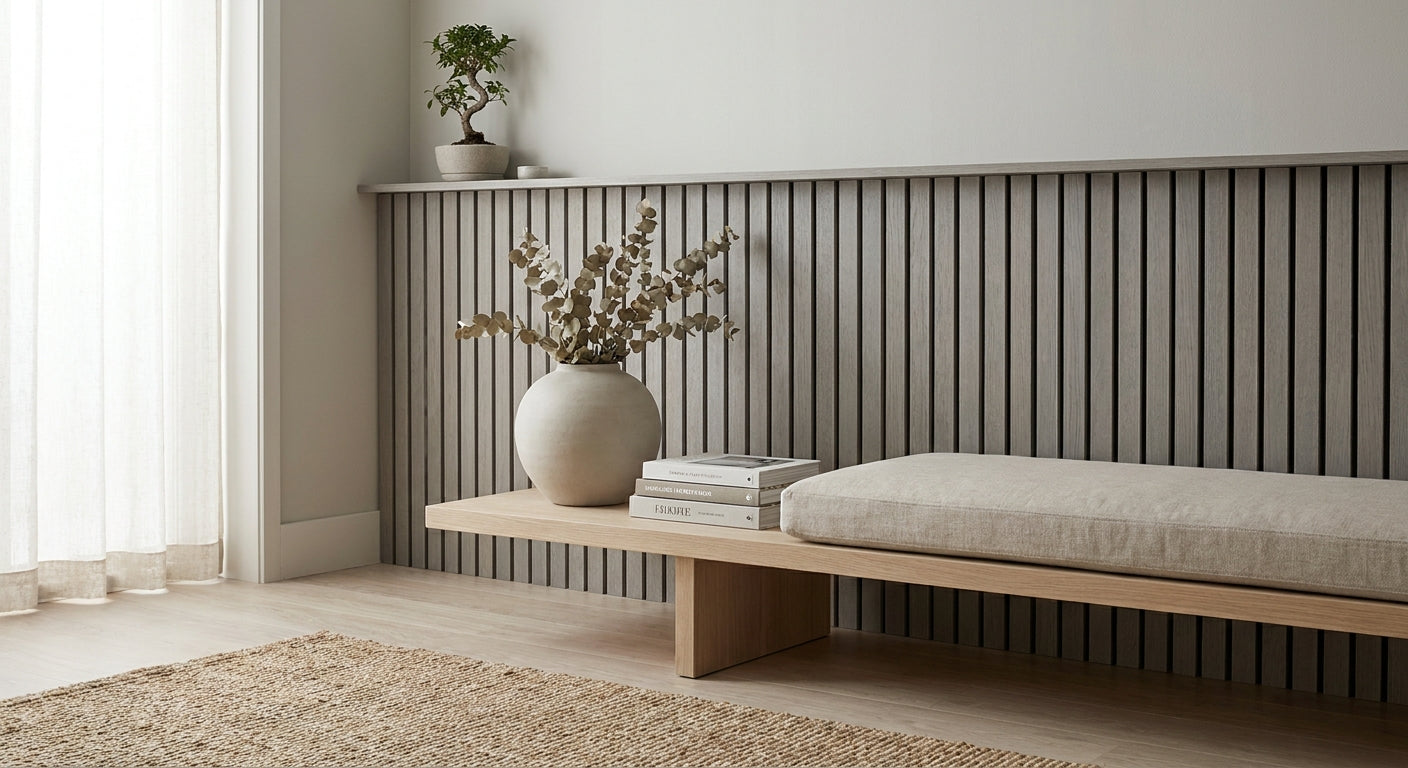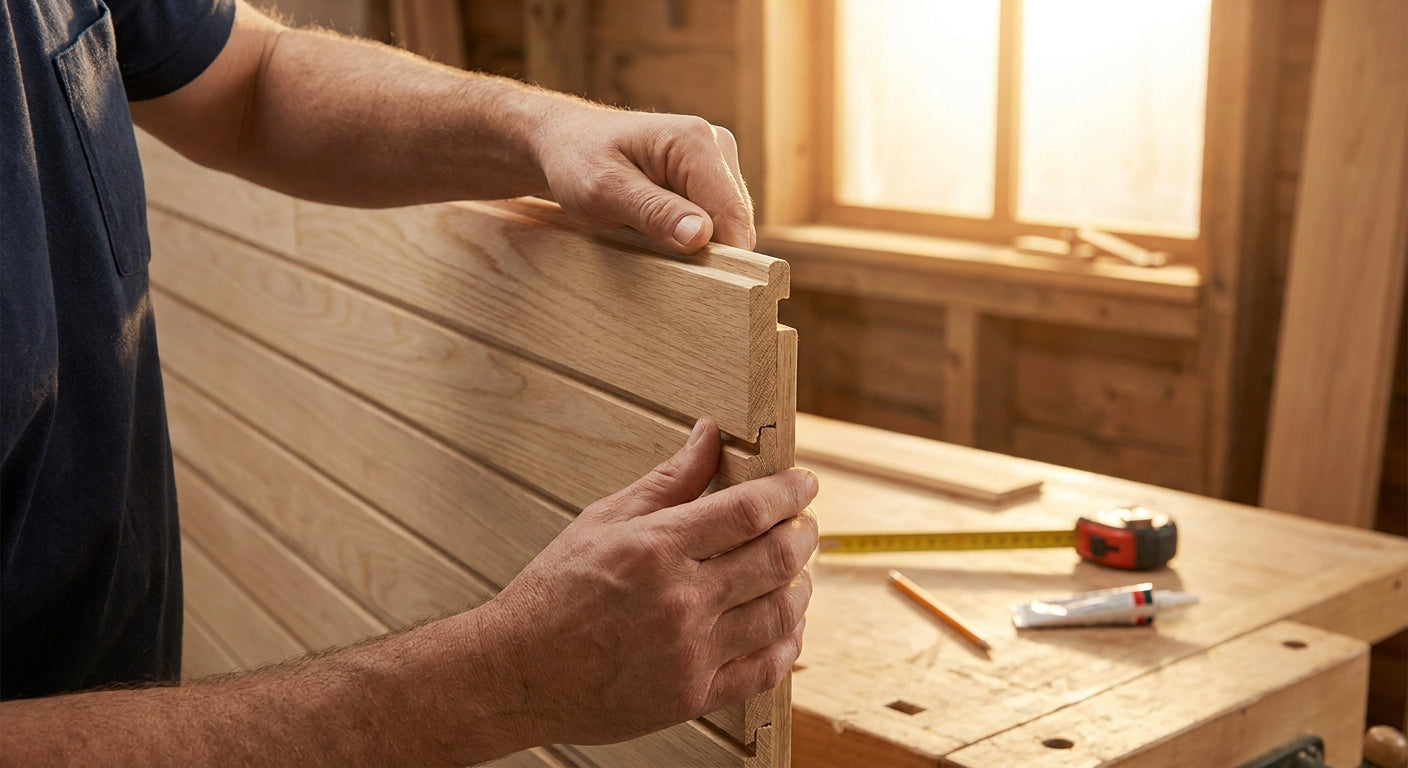
End pieces turn a raw plywood edge into a finished one, and getting them right is the difference between a wall that looks professionally fitted and one that looks like a DIY job cut short. This guide walks through fitting end pieces for wooden wall panels step by step, with the fixes for the mistakes that show up most.
TL;DR
End pieces for wooden wall panels cap the exposed plywood core at outside corners, open ends, and around openings so the slat pattern reads as finished rather than cut off. Buy matching end pieces in the same finish as your panels (Akuwood Panel stocks them in walnut, natural oak, smoked oak, black oak, grey oak, mocca and rustic oak) rather than trying to disguise a raw edge with filler or paint. Fitting takes under 15 minutes per run once the wall is dry-fitted, and the most common mistake in 2026 installs is skipping the dry-fit and gluing an end piece 3mm out of alignment with the slat gaps.
Why this matters
A cut panel edge exposes bare MDF or plywood core under the veneer, and that raw strip catches light differently to the finished slats around it. On a feature wall that's the first thing a visitor's eye lands on, not the last. End pieces close that gap with a matching profile, so the slat rhythm continues right to the edge of the wall instead of stopping dead.
This matters more on natural oak wooden wall panels and other light finishes, where a raw core edge is pale and obvious against the veneer. Dark finishes hide a rough cut a little better, but not well enough to skip the trim entirely if the wall is visible from more than one angle.
What you'll need
- End pieces matched to your panel finish (walnut, natural oak, smoked oak, black oak, grey oak, mocca or rustic oak)
- The wall panels already cut to size
- A fine-tooth handsaw or a jigsaw with a fine blade
- Panel adhesive rated for wood-to-wood bonding, such as high-tack panel glue
- A tape measure, pencil, spirit level, and masking tape
- Clamps or heavy books for holding pressure while the glue cures
- A damp cloth for wiping excess adhesive before it sets
The steps
1. Measure every exposed edge before you cut anything
Walk the wall and mark every point where a panel edge will be visible: outside corners, the ends of a run that stops short of a corner, and any opening like a window reveal or door frame. Missing an edge here means a second trip to source one more end piece later, which rarely matches the batch you already glued down.
2. Dry-fit the end piece against the panel before gluing
Hold the end piece against the cut edge without adhesive and check the slat lines align within a millimetre. A gap here is the single most common fitting fault in 2026 installs, and it's invisible until the glue has already set and you're trying to prise the piece off without damaging the veneer.
3. Cut the end piece to height, not the panel
End pieces are supplied to match standard panel heights, but ceiling heights vary. Trim the end piece itself with a fine-tooth saw rather than trimming the panel again, since the panel's slat pattern needs to stay intact for the join to look continuous. Cut from the back face to avoid splintering the visible veneer surface.
4. Apply adhesive in a bead, not a flood
Run a bead of high-tack panel glue along the back of the end piece roughly 10mm in from each edge, skipping the very outer millimetre so nothing squeezes out onto the visible face. A flood of glue across the whole back looks fine until you press it into place and adhesive oozes along the seam, which is much harder to clean off veneer than off bare wood.
5. Press and hold for the manufacturer's stated cure time
Position the end piece against the panel edge, check it's flush top to bottom, then apply firm pressure for the full cure window stated on the adhesive tube rather than judging by feel. Letting go early is the second most common cause of a visible hairline gap once the glue has fully set over the following 24 hours.
6. Wipe excess adhesive immediately with a damp cloth
Any glue that squeezes out along the seam needs removing while it's still wet. Once high-tack adhesive skins over, on veneer it lifts finish rather than wiping clean, so this step has a narrow window measured in minutes, not hours.
7. Check the join under raking light before moving to the next section
Stand a torch or lamp at a low angle across the finished seam. Raking light shows up any gap or misalignment that flat overhead light hides completely, and it's far easier to correct one join now than to notice a run of six poor joins after the whole wall is up.
Troubleshooting
- The end piece finish doesn't quite match the panel batch. Wood veneer varies slightly by batch even within the same named finish; order the end piece from the same product listing and, where possible, the same order as the panels to reduce the mismatch.
- A visible gap appears along the seam after the glue cures. This is almost always insufficient clamp time. Re-glue with fresh adhesive and hold pressure for the full stated cure period this time, using a clamp rather than hand pressure.
- The end piece sits slightly proud of the panel face. Check for a ridge of dried glue behind the piece before assuming the trim itself is the wrong depth; sand back the offending glue ridge rather than forcing the piece flatter.
- The cut edge of the end piece splinters. Score the cut line with a sharp blade before sawing, and always cut from the back face so any tear-out lands on the hidden side.
- Corners look mismatched even with end pieces fitted. For outside corners specifically, a dedicated corner trim gives a cleaner mitred look than two end pieces butted together; see the notes below on corner-specific trim.
- Adhesive shows through as a dark patch on light finishes. This points to too much glue applied too close to the edge; on natural oak and other pale finishes, keep the bead further from the visible edge than you would on darker veneers.
Tools and resources
- End piece wooden wall panel, walnut for matching walnut runs
- End piece wooden wall panel, natural oak for lighter installs
- High-tack panel glue, 290ml for the bond itself
- A fine-tooth handsaw or jigsaw for trimming end pieces to height
- A spirit level and torch for checking alignment before and after the glue sets
If your wall meets at an outside corner rather than a flat termination, the trim requirements are different again. The dedicated guide on corner trim for acoustic wall panel installations covers mitring and fitting at 90-degree returns, which end pieces alone aren't designed to handle cleanly.
What to do next
Once the trim is fitted and cured, the next job most installers underestimate is getting the panel count right before they even start cutting. Working backwards from a finished, trimmed wall is far harder than planning the layout first, so check the panel-count guide before your next run rather than after.
FAQ
What are end pieces for wooden wall panels used for? End pieces cap the exposed core of a cut panel edge so the slat pattern reads as finished rather than stopping at a raw plywood edge. They're used at open wall ends, around openings, and anywhere a panel run terminates without meeting another panel or a corner trim.
Do I need end pieces if my panels reach floor to ceiling? Yes, if either vertical edge of the run is left exposed rather than butted against another panel or a wall return. A floor-to-ceiling panel still has a left and right edge, and those edges need capping the same way a shorter run does.
Can I use the same end piece for outside corners? Not ideally. End pieces are designed for flat terminations, while outside corners at 90 degrees need a corner-specific trim to avoid a visible seam gap on one face. Check the corner trim guide above before assuming end pieces will cover both jobs.
How much does an end piece for a wooden wall panel cost? Pricing varies by finish and is listed against each individual product on the Akuwood Panel site rather than as a flat rate across all finishes, so check the current listing for your chosen wood before ordering.
Is glue enough to hold an end piece, or do I need screws too? High-tack panel adhesive alone holds an end piece if it's clamped for the full stated cure time; screws risk splitting the thin trim piece and are rarely needed on interior installs. Exterior cladding trims are a different case and typically need mechanical fixing in addition to adhesive.
Can I cut end pieces down to a custom height myself? Yes, a fine-tooth handsaw or jigsaw cuts end pieces to match non-standard ceiling heights cleanly, as long as you cut from the back face to avoid splintering the visible veneer. Score the cut line first if you're using a handsaw.
Do end pieces come in every finish Akuwood Panel sells? End pieces are available in walnut, natural oak, smoked oak, black oak, grey oak, mocca, and rustic oak as of 2026, matching the core panel range. Check the specific product listing to confirm the finish you need is in stock before ordering panels.
What's the biggest mistake people make fitting end pieces? Skipping the dry-fit and gluing an end piece straight onto the panel edge without checking slat alignment first. A 2-3mm misalignment is invisible until the adhesive has set, at which point removing the piece without damaging the veneer becomes far harder.
One last thing
The seams people notice most in 2026 aren't the ones that are slightly the wrong colour, they're the ones with a visible gap under raking light. Spend the extra two minutes checking each join with a torch held low and flat before moving to the next section of wall; it's the cheapest quality check in the entire install.