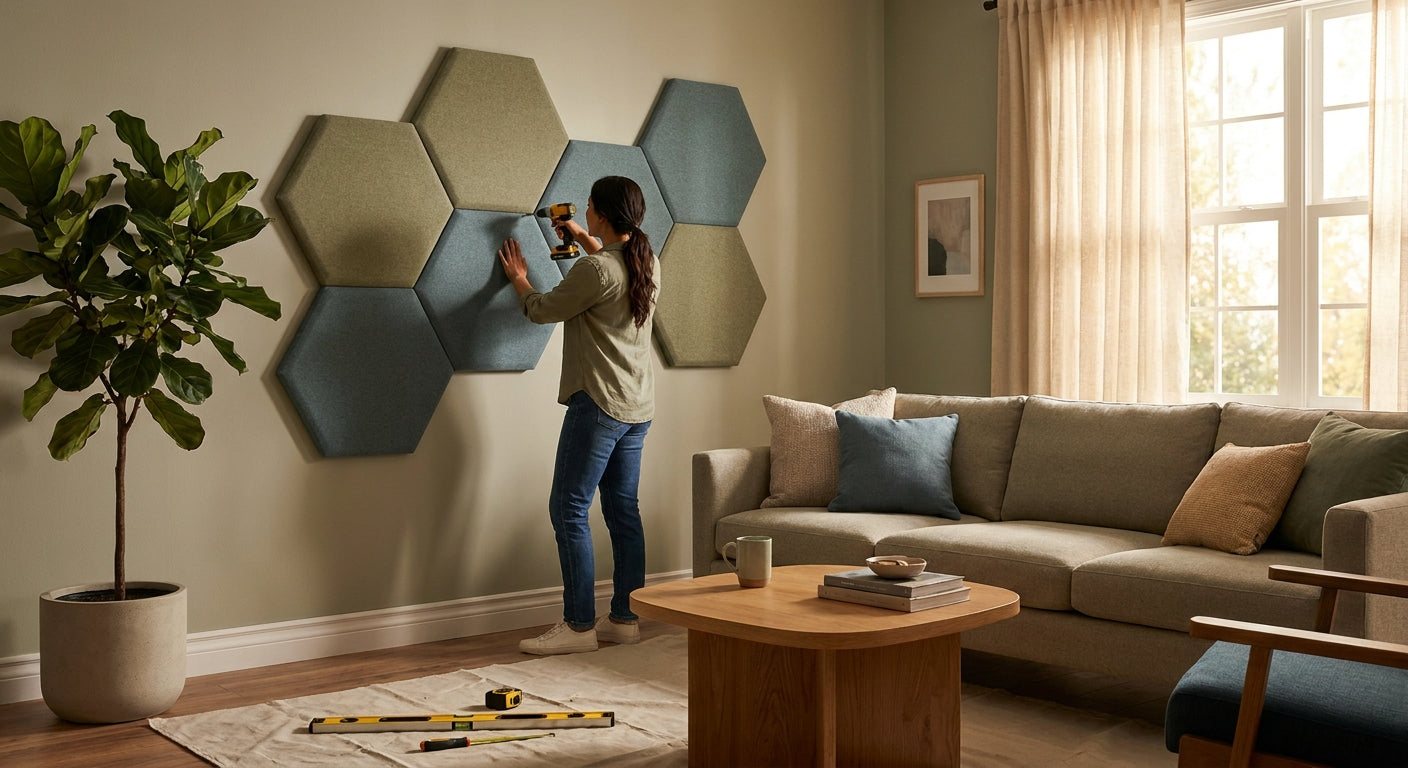
Turning a bare wall into an acoustic feature wall is one of the most satisfying weekend projects a homeowner can tackle in 2026, and it takes far less skill than most people assume.
This guide walks through a full DIY acoustic wall panels home project from measuring the wall to fixing the last end piece, with the tools, steps and mistakes that actually matter.
TL;DR
A DIY acoustic wall panels home project needs four things: accurate measurements, the right adhesive, a straight first panel, and patience while the glue cures. Akustiq UK's natural oak wall panel paired with high-tack panel glue is the Buy combination for a first-timer covering one feature wall in 2026 — the felt backing does the acoustic work while the veneer does the styling. Expect 3-4 hours for a 3m wall, including a 24-hour cure before you hang anything on it.
Why this matters
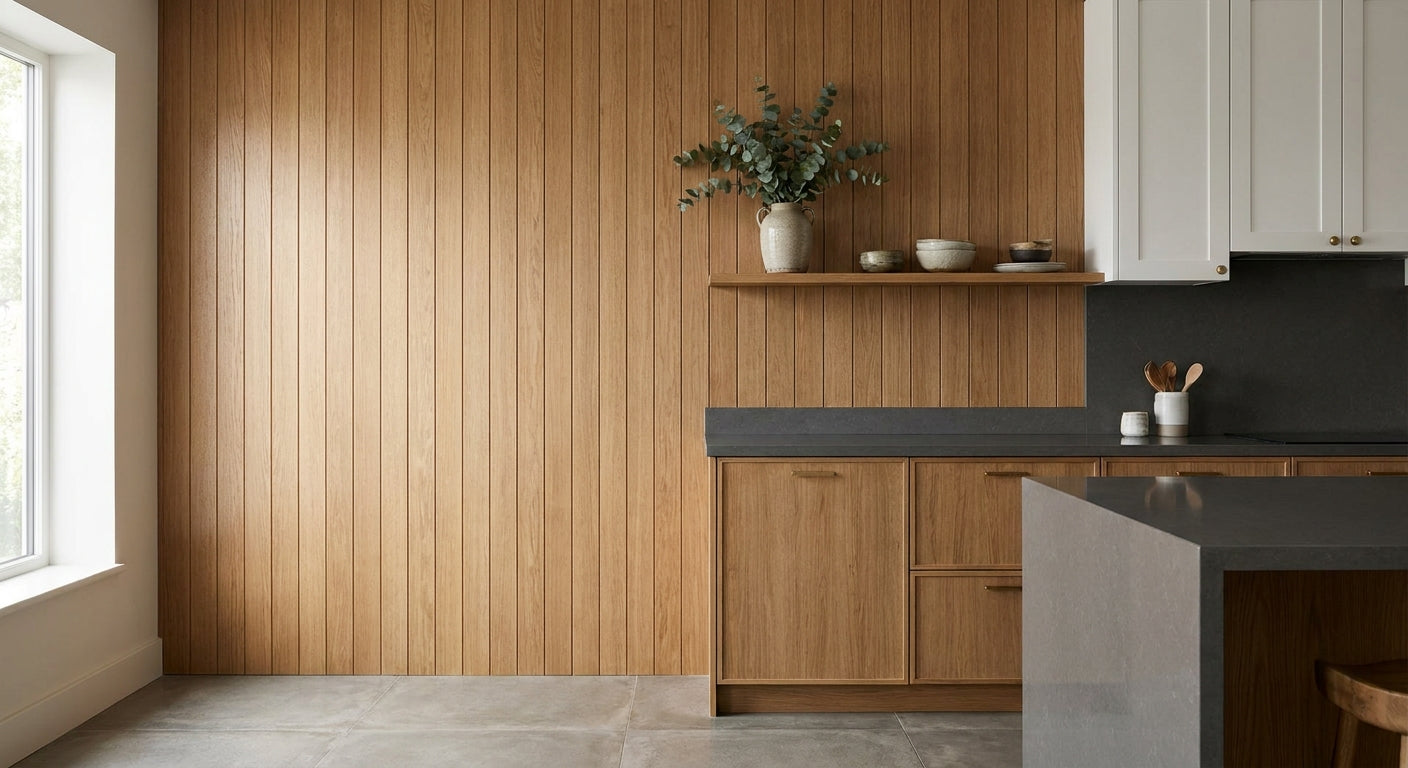
Bare plaster and glass reflect almost all the sound that hits them, which is why open-plan living rooms and echoey home offices feel exhausting by the end of the day. Acoustic wood panels break up those reflections with a slatted surface and a felt layer behind the veneer, so a wall that used to bounce sound now absorbs a chunk of it. The DIY version of this project costs a fraction of a professional acoustic fit-out and, done properly, looks identical to one. Get the wall prep and the adhesive right and the panel itself does the rest.
What you'll need
- Acoustic wood panels in your chosen finish (240cm or 300cm length) — natural oak, walnut, black oak or smoked oak are the most common picks for living rooms
- High-tack panel adhesive rated for wood-to-wall bonding
- Tape measure and a pencil
- Spirit level (a laser level speeds this up significantly)
- Fine-tooth saw or jigsaw for cutting panels to width
- Sandpaper (120-grit) for smoothing cut edges
- Caulk gun if your glue comes in a cartridge
- Safety glasses and a dust mask for cutting
- Battens, only if the wall is out of true by more than 5mm over 2 metres
If you're not sure which finish suits the room, order a sample panel before committing to full-size stock — it's the cheapest mistake-avoidance step in this entire project.
The steps
1. Measure the wall and plan your layout
Get the width and height of the wall in centimetres, then work out how many panels you need before you buy anything. A standard panel run in 2026 comes in 240cm or 300cm lengths at roughly 60cm width per unit, so a 3.6 metre wall needs six panels laid vertically with minimal waste. Mark the centre point of the wall with a vertical pencil line — this is where your first panel goes, and everything else works outward from it symmetrically. Skipping this step is the single biggest reason DIY panel walls end up looking lopsided.
2. Prep the wall surface
Clean the wall with a damp cloth to remove dust, grease and any loose paint flakes — adhesive bonds poorly to dirty plaster. If the wall has old wallpaper, strip it back to bare plaster or a sound painted surface; panel glue does not hold reliably on peeling paper. Fill any holes or cracks deeper than 3mm and let the filler cure fully, usually 2-4 hours depending on the product. A flat, clean substrate is what makes the difference between panels that sit flush and panels that show shadow gaps.
3. Cut panels to size
Measure the height of your wall and mark each panel before cutting — most rooms in UK homes run 2.3m to 2.6m floor to ceiling, so a 240cm panel often needs trimming. Use a fine-tooth saw or jigsaw with a wood-cutting blade, cutting from the back face to avoid splintering the visible veneer. Sand the cut edge lightly with 120-grit paper to remove any rough fibres before it goes near the wall. Common mistake: cutting from the front face — it tears the veneer and the damage shows the moment the panel is in place.
4. Dry-fit before gluing
Lean the first three or four panels against the wall in position, unglued, and check the joins line up cleanly with no visible gaps. This is your last chance to catch a measuring error before adhesive makes it permanent. Check plumb with the spirit level on at least two panels — a lean of even 3-4mm over 2.4 metres will be obvious once the whole wall is up. Only move to gluing once the dry run looks right.
5. Apply adhesive and fix the first panel
Run beads of high-tack panel glue vertically down the back of the panel, roughly 5cm in from each edge and one bead down the centre. Press the panel to the wall along your centre-line mark, check it's plumb, then apply firm pressure across the full surface for 30-60 seconds. Most high-tack adhesives grab within minutes but reach full cure over 24 hours, so avoid leaning anything against the wall or hanging items from it until that window passes. Common mistake: using too little adhesive at the edges — panel corners are the first place a poorly-glued board lifts.
6. Work outward and handle corners
Fit each subsequent panel tight against the last, checking plumb every second or third board since small errors compound across a wall. Where a wall ends at a corner or doorway, matching end pieces give a finished look instead of an exposed raw edge — these are sized specifically for the panel range so the veneer grain lines up. Take your time on the final panel in a run; it's usually the one that needs a rip cut down its length and a slightly narrower piece looks deliberate only if the cut is clean.
7. Clean up and let it cure
Wipe away any adhesive that's squeezed out from the joins before it sets — cured panel glue is much harder to remove from wood veneer than wet glue. Leave the wall untouched for the full 24-hour cure period stated on your adhesive before hanging shelves, TVs or artwork on or near it. Vacuum the sawdust from cutting before it gets trodden into carpet nearby. A properly cured panel wall in 2026 should hold firm for years without a single fixing screw showing.
Troubleshooting
- Visible gaps between panels — usually a measuring or plumb error from step 1 or 4; a thin bead of matching-colour wood filler in the gap disguises small ones.
- Panel won't stay flush to the wall — the substrate is uneven; batten the wall out first rather than fighting it with more glue.
- Adhesive isn't holding — check the wall wasn't damp or dusty when you glued; high-tack glue needs a clean, dry surface to bond properly.
- Echo hasn't improved much — a single feature wall reduces reflections in that zone but won't fix a whole room; pair the panel wall with a rug or curtains for a bigger drop in reverberation.
- Cut edge looks rough or fuzzy — you cut from the front face instead of the back; sand it down and, if it's bad, use it as an end piece where the edge is hidden.
- Panel warping after fitting — usually from damp behind the panel; check for condensation risk on external walls before you start.
Tools and resources
- High-tack panel glue, 290ml — the adhesive used throughout this guide
- Natural oak wall panel — the finish referenced in the TL;DR and step-by-step
- How to cut acoustic wood panels to size — a closer look at cutting technique if you're working with a jigsaw for the first time
- How to calculate how many wall panels you need — useful before you order, to avoid buying short
What to do next
Once the first wall is done, most people come back for a second room within a few months — bedrooms and home offices are the next most common DIY acoustic wall panels project in 2026. If you want a more elaborate design than a plain vertical run, look at combining finishes or building the panels into a full feature wall around a chimney breast or TV point before you start cutting.
FAQ
What's the best way to install acoustic panels yourself? Measure and mark a centre line first, dry-fit the panels before gluing, and use a high-tack adhesive rated for wood-to-wall bonding — that sequence prevents the two most common DIY errors: crooked layout and weak bonding.
Do DIY acoustic wall panels actually reduce echo? Yes — the felt backing behind the wood veneer absorbs sound reflections rather than bouncing them back, though a single wall softens a room rather than eliminating echo entirely.
Can I install acoustic wall panels on a rented flat wall? Most renters use removable adhesive strips instead of permanent glue to avoid damage, though check your tenancy agreement before fixing anything directly to plaster.
How much wall panel do I need for a standard room? A 3.6 metre wall run typically needs six panels at roughly 60cm width each; measure your exact wall width in centimetres and divide by panel width before ordering.
Is 240cm or 300cm panel better for a DIY project? 300cm suits floor-to-ceiling walls with fewer horizontal joins, while 240cm suits standard UK ceiling heights of around 2.3-2.5 metres with less cutting waste.
Do I need special tools to cut acoustic wood panels? A fine-tooth saw or jigsaw with a wood-cutting blade handles it; cut from the back face to protect the visible veneer.
How long does panel adhesive take to cure? High-tack panel glue typically grabs within minutes but needs roughly 24 hours to fully cure before the wall takes any weight or pressure.
Can acoustic panels go over existing wallpaper? Only if the paper is fully bonded and undamaged; lifting or bubbling wallpaper should be stripped back to bare plaster first for a reliable glue bond.
One last thing
The detail most first-timers miss in 2026 isn't the cutting or the gluing — it's skipping the dry-fit stage in step 4. Every panel wall that ends up crooked traces back to someone gluing the first board before checking it against the rest of the run, and there's no fixing that once the adhesive sets.