

Acoustic wall panels can crack, chip, delaminate, or lose a slat — and in 2026, most repairs take under an hour with the right materials and method. This guide covers how to repair an acoustic wall panel correctly, whether you are dealing with a surface scratch, a lifted edge, a broken slat, or a panel that needs full replacement.
TL;DR: Most acoustic wall panel damage falls into four categories: surface scratches, delaminated edges, snapped slats, and panels that have detached from the wall. Scratches fix with wood filler and a touch of stain; delamination needs panel adhesive and clamping pressure for 24 hours; broken slats often mean a single-panel swap. If you are working with Aku Wood Panel acoustic slat panels, order a matching end piece or replacement panel before you start — colour-matching after the fact is harder than it sounds in 2026.
Why this matters
Acoustic wood slat panels absorb mid-to-high frequency sound through the felt backing and the gaps between slats. Physical damage does not just look bad — a cracked or lifted slat changes the surface geometry, which reduces sound absorption at the damaged point. A repair done wrong (wrong filler, wrong adhesive, wrong finish) can close the gaps permanently or leave a patch that reads differently under raking light. Get the method right and the panel performs as intended.
What you'll need
- Fine-grit sandpaper (120 grit and 240 grit)
- Matching wood stain or touch-up marker for your panel finish (natural oak, walnut, smoked oak, etc.)
- Wood filler — solvent-free, tintable
- High Tack Panel Glue 290 ml (or equivalent panel adhesive with a grab time under 60 seconds)
- Caulking gun
- Painter's tape
- Clean cloths
- A flat timber offcut and two G-clamps (for edge delamination)
- Replacement panel or end piece in the correct finish (see below)
- Safety glasses
Time required: 20–60 minutes for surface and edge repairs; allow 24 hours curing time before touching the repaired area. Full panel replacement takes 45–90 minutes including adhesive cure.
The steps
Step 1 — Identify the damage type
Before touching anything, establish exactly what you are dealing with. Run your hand across the panel surface in 2026 daylight or under a torch held at a low angle — raking light reveals lifted edges, hairline cracks, and shallow scratches that flat-on lighting hides.
Four types:
- Surface scratch or chip — the slat face is marked but the slat is intact and fixed to the backing.
- Delaminated edge or corner — the slat or panel edge has lifted away from the felt backing or the wall substrate.
- Snapped or missing slat — one or more timber slats are broken or have detached entirely.
- Full panel detachment — the entire panel has come away from the wall, usually due to adhesive failure.
Your repair method depends entirely on which of these you have. Applying filler to a delaminated panel before re-bonding it is the most common mistake — it locks the gap open.
Step 2 — Clean the damaged area
Wipe the repair zone with a dry cloth, then a barely damp cloth. Remove dust, grease, and any loose material. If the slat edge is lifting, use a flat tool to gently clear out any old dried adhesive from the gap — fresh adhesive will not bond to a contaminated surface. Allow 10–15 minutes to dry completely before proceeding.
This step is ignored more often than any other, and it is why most home repairs fail within six months.
Step 3 — Re-bond delaminated edges or full panels
For a lifted slat edge or a panel that has partially or fully detached:
- Apply panel adhesive in a thin zigzag bead along the back of the lifted section. For a slat edge under 30 cm, one bead is enough. For a full panel re-bond, apply beads every 15–20 cm across the full back surface.
- Press firmly and hold for 30 seconds. For edge repairs, use painter's tape to pull the slat tight against the backing while the adhesive grabs.
- For a full panel, place your timber offcut flat against the panel face and clamp with G-clamps at the corners. Apply firm, even pressure.
- Leave undisturbed for a minimum of 24 hours. Most panel adhesives reach 80% of their final bond strength in the first 24 hours; full cure is typically 48–72 hours.
The High Tack Panel Glue 290 ml from Aku Wood Panel is formulated specifically for these panels and has an initial grab time that prevents slippage during clamping — standard construction adhesive is slower and more likely to let the panel sag before it sets.
Step 4 — Fill surface scratches and chips
Once any structural re-bonding is done and fully cured:
- Sand the scratched area lightly with 120-grit paper to give the filler a key. Wipe clean.
- Press wood filler into the scratch or chip with a flat knife. Overfill slightly — the filler will shrink by roughly 10–15% as it dries.
- Allow to dry fully (check the filler manufacturer's guidance; most require 30–60 minutes for small fills).
- Sand flush with 240-grit paper, working with the grain of the slat.
- Apply a matching wood stain or touch-up marker. For Aku Wood Panel finishes — natural oak, walnut, smoked oak, black oak — test the stain on a spare piece or inconspicuous edge before committing to the visible face.
Do not skip the test. Wood stains dry darker than they appear wet, and in 2026 most acoustic panel finishes are UV-treated, which affects how the repair stain takes.
Step 5 — Replace a snapped or missing slat
If the slat itself is broken beyond a surface fill, the cleanest repair is replacement. Order a matching panel or end piece in your finish. Aku Wood Panel supplies end pieces in walnut, smoked oak, black oak, natural oak, grey oak, and rustic oak — these are sized for edge finishing but can also supply individual slat material in some configurations.
To replace:
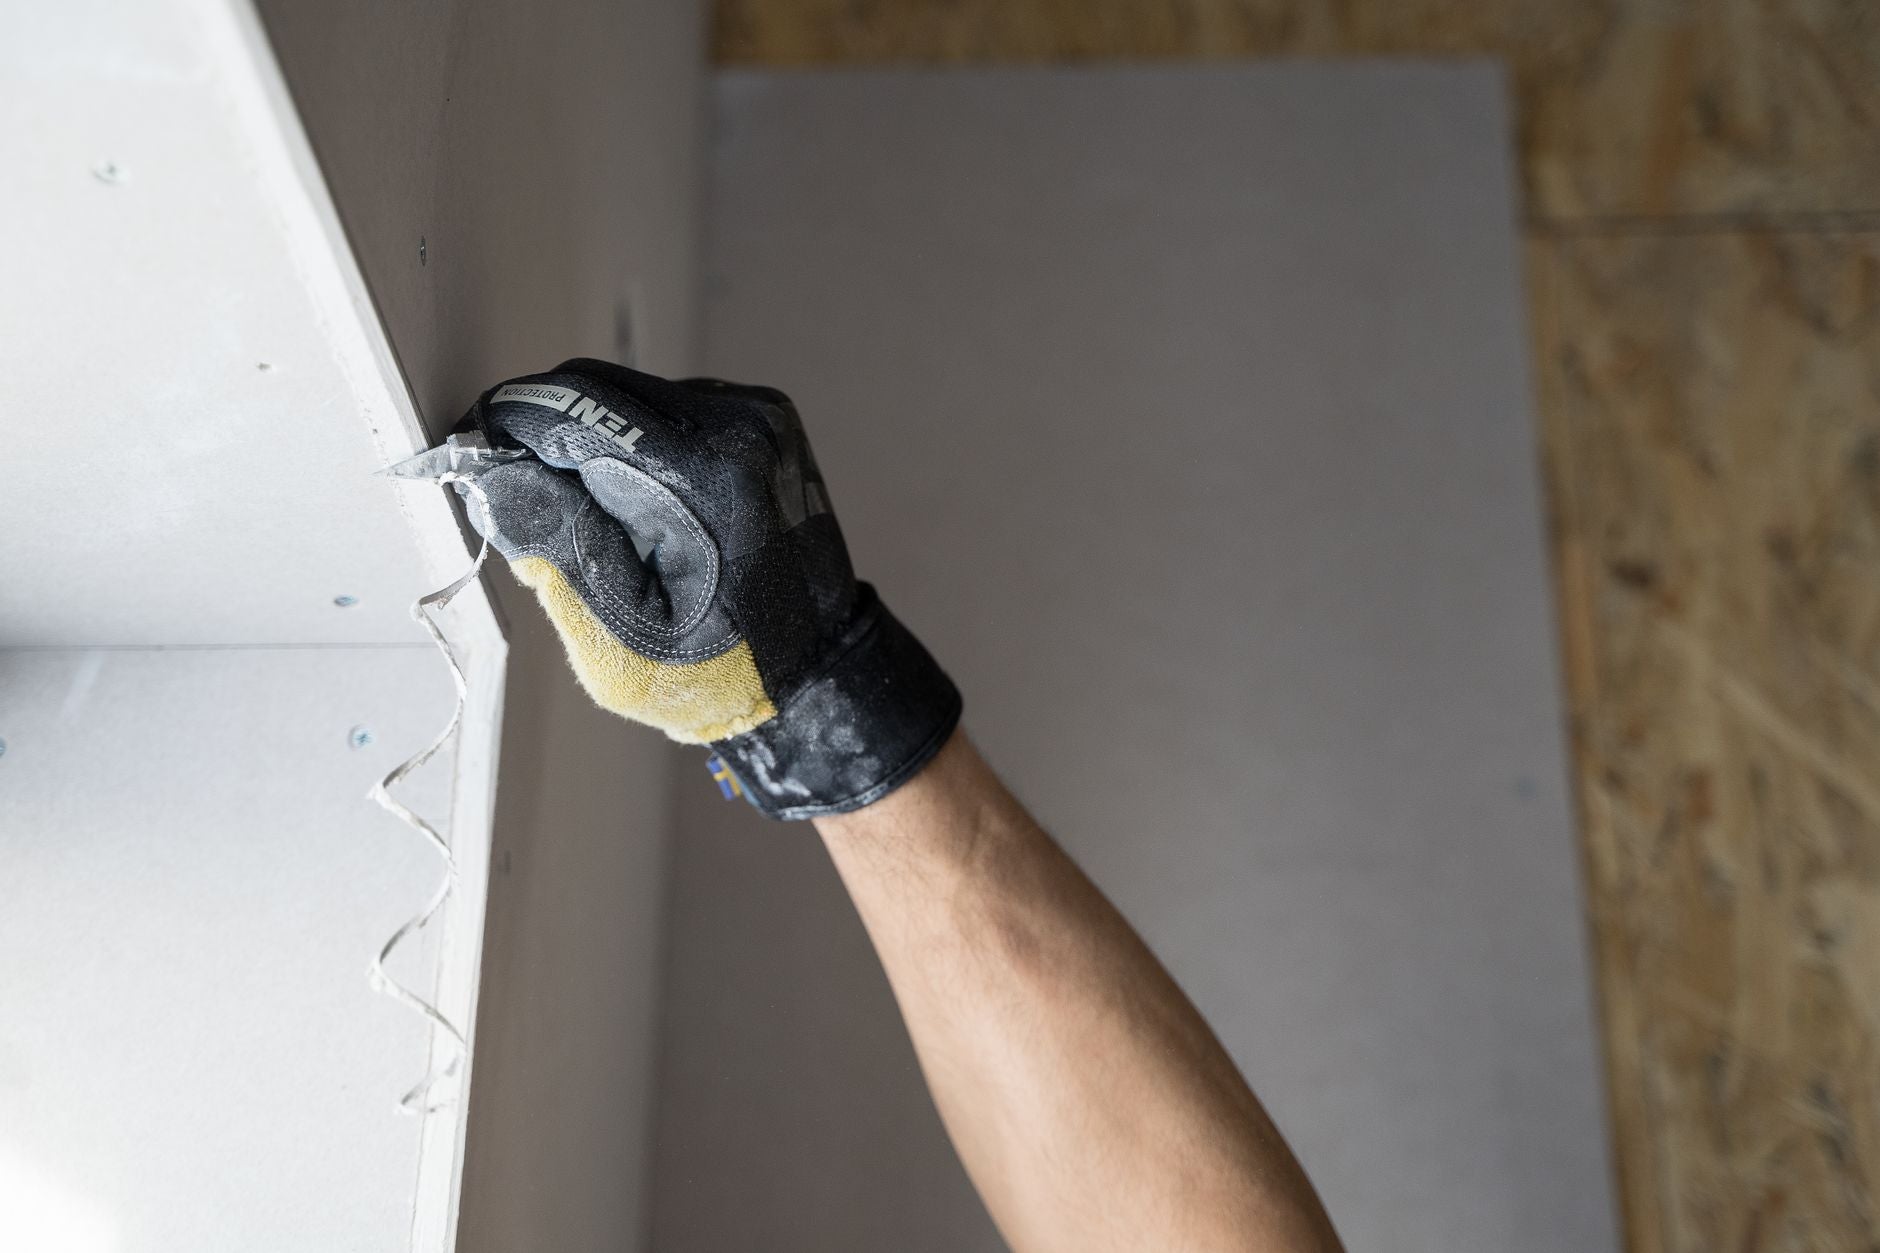
- Carefully remove the damaged slat by scoring the adhesive bond along its length with a utility knife. Work slowly — the felt backing tears easily if you rush.
- Clean the felt backing surface where the old slat sat. Remove all adhesive residue.
- Cut the replacement slat to length with a fine-tooth saw. For guidance on cutting technique, see how to cut acoustic wood panels to size.
- Apply a thin bead of panel adhesive to the back of the replacement slat, press into position, and tape in place for 24 hours.
Step 6 — Check the acoustic performance
Once the repair is fully cured, run your fingernail along the slat edges at the repair zone. There should be no movement and no lifting. The gaps between slats should be consistent — measure with a 1 mm feeler gauge or simply compare visually against an adjacent undamaged section. Any gap that is now closed or significantly narrower than its neighbours will reduce the NRC (Noise Reduction Coefficient) of that panel section. If the gap is closed, the repair will need to be redone with the slat repositioned.
Step 7 — Blend the finish
In good light, check the repaired area at multiple angles. Apply a second coat of touch-up stain if the first coat is lighter than the surrounding timber. For panels with a grey felt backing visible through the gaps, check that the felt is still intact behind the repair zone — felt that has been torn or compressed during clamping will read as a dark spot against intact felt sections.
Troubleshooting
The edge lifts again within days. The substrate behind the panel is damp or not fully flat. Test for moisture with a damp meter before re-bonding. Panels need a dry, flat surface — any bow or moisture will defeat the adhesive.
The stain does not match. Factory finishes on acoustic panels are UV-treated and often have a topcoat that raw wood stain cannot replicate exactly. Order a sample panel in your finish from Aku Wood Panel and use the sample as a test board before touching the wall.
The felt backing has torn. A small felt tear under a slat does not meaningfully affect acoustic performance. A large tear — more than 30% of one panel's backing — warrants a full panel replacement, as the felt provides most of the absorption.
The panel adhesive is squeezing out through the slat gaps. You have applied too much. Use a cocktail stick or fine implement to remove squeeze-out immediately before it cures. Cured adhesive in the slat gaps is very difficult to remove without damaging the surrounding timber face.
The replacement slat is slightly lighter in colour. This is normal — new timber is lighter and will tone down with time and UV exposure. For a faster colour match, apply a very dilute coat of stain and allow to weather for 2–4 weeks.
The panel will not stay flat during clamping. The wall behind is uneven. Pack the offcut timber with thin card shims to distribute clamping pressure evenly across the full panel face rather than concentrating it at two points.
Tools and resources
- High Tack Panel Glue 290 ml — the adhesive specified for Aku Wood Panel installations
- Fine-tooth pull saw or mitre saw for slat cutting
- 120 and 240-grit sandpaper
- Matching wood stain or touch-up pen (test on sample first)
- G-clamps and timber offcut
- How to use panel glue for wall panel fitting — technique guidance for adhesive application
FAQ
How do I repair an acoustic wall panel without replacing it? For surface scratches and chips, wood filler and a matching stain fix the damage without replacement. For lifted edges, panel adhesive and 24 hours of clamping restores the bond. Only a snapped or fully missing slat typically requires a replacement part.
Can I use standard wood filler on acoustic panels? Yes, provided it is solvent-free and tintable. Solvent-based fillers can react with the UV-treated factory finish and leave a discoloured ring around the repair.
How long does panel adhesive take to cure on acoustic panels? Initial grab is typically under 60 seconds with high-tack adhesive. Full handling strength arrives at 24 hours; full mechanical cure at 48–72 hours. Do not put load or pressure on the repair until 24 hours have passed.
Will a repaired acoustic panel still absorb sound properly? Yes, if the slat gaps are maintained at their original width. The felt backing drives most of the absorption. As long as the felt is intact and the gaps are open, the NRC of the panel is not meaningfully changed by a correctly done surface repair.
What is the best way to colour-match a repair on smoked oak or walnut panels? Order a sample panel in the matching finish from Aku Wood Panel and use it as a test surface. Apply stain to the sample, let it dry fully, and compare in daylight before touching the wall panel.
Can I repair a panel that has fully come off the wall? Yes. Clean both the panel back and the wall surface, remove all old adhesive, and re-bond with fresh panel adhesive. Apply even clamping pressure for 24 hours. If the wall surface behind was damp or crumbling, fix that first — no adhesive holds to a failing substrate.
How do I know if I need to replace the whole panel rather than repair it? Replace if: more than one slat is missing, the felt backing is torn across more than 30% of the panel area, or the panel substrate (the MDF backing board) has warped or delaminated. In all other cases, a targeted repair restores both appearance and acoustic function.
Is it worth repairing acoustic panels in 2026, or is it cheaper to replace them? For panels covering large feature walls, repair is almost always cheaper than replacement, which requires colour-matching a full run of new panels. Individual panel replacement makes sense for a single badly damaged panel in a 2026 installation where remaining stock is available.
One last thing
The most common reason acoustic panel repairs fail visually in 2026 is colour mismatch — not technique. Order a sample in your finish before you mix a single drop of stain. Aku Wood Panel's sample panels cost a fraction of the repair materials and eliminate the guesswork entirely.
Share:
Walnut Wall Panels for Dining Room Feature Walls 2026
Two-Tone Wall Panel Design: Step-by-Step Guide 2026