

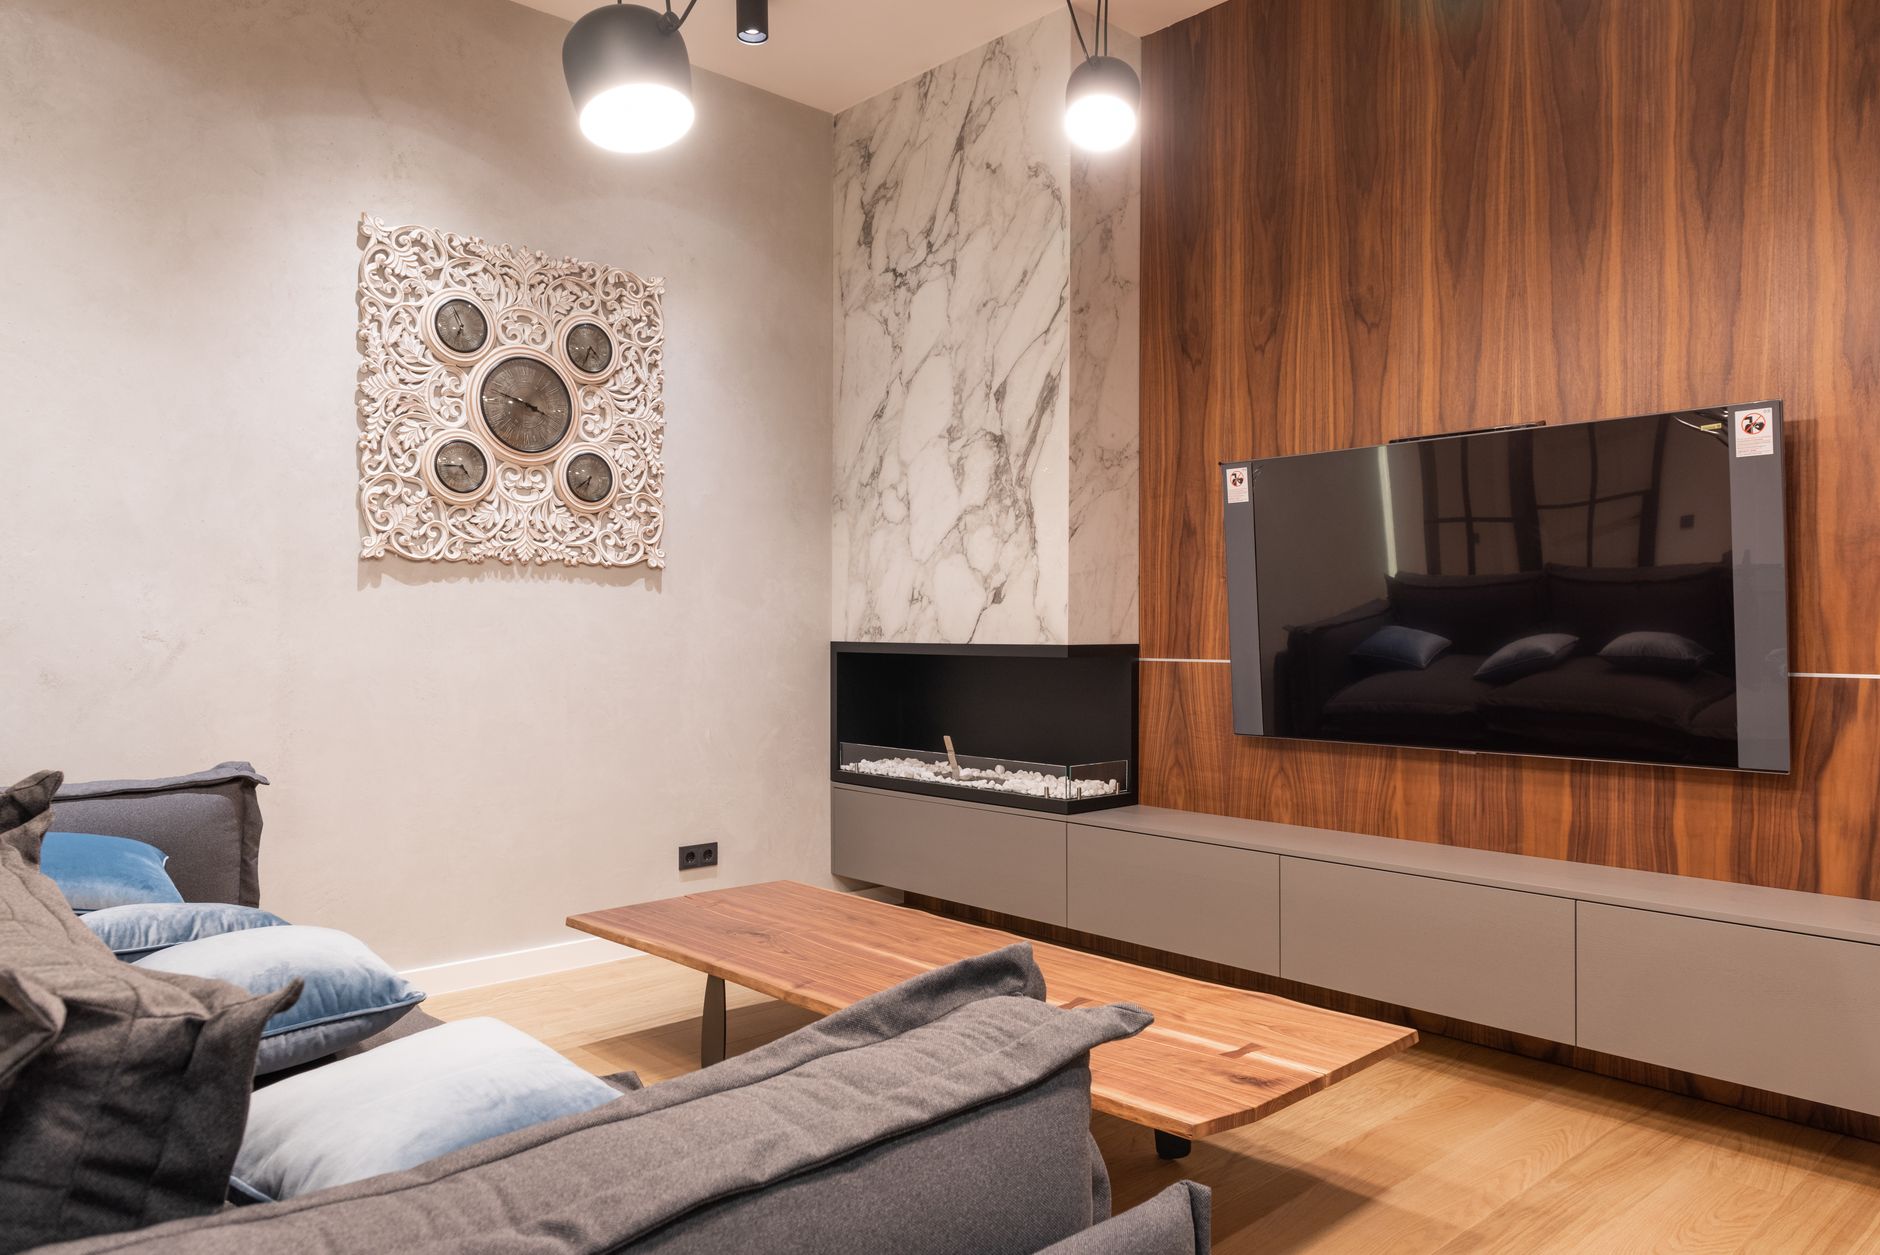
Choosing the wrong wall panels for a small room is an easy mistake — the wrong finish, scale, or installation direction can make a compact space feel even tighter. This guide covers exactly how to choose wall panels for a small room, from colour and panel direction to acoustic benefit and installation method.
TL;DR: For small rooms in 2026, light-toned acoustic wood panels installed vertically on a single feature wall are the most effective choice. Natural oak and grey oak finishes reflect light without closing the room down. Avoid dark, heavy finishes on all four walls and oversized panel profiles. Order samples before committing — Aku Wood Panel supplies free samples across its full range so you can check the tone against your lighting before buying.
Why panel choice matters more in small rooms
In a large room, a bold panel choice reads as intentional design. In a small room under roughly 10 m², the same choice can dominate every sightline. The panel's colour, profile depth, grain direction, and surface texture all affect how the room reads spatially. Get one of those variables wrong and no amount of furniture arrangement corrects it. Get them right and a 3 m x 3 m box genuinely feels considered rather than cramped.
Small rooms also tend to have harder acoustic problems — parallel walls close together create standing waves and echo faster. Acoustic wood panels solve both the visual and sound problem simultaneously, which is why they have become the go-to panel type for compact bedrooms, home offices, and box-room conversions in 2026.
What you'll need
- Accurate wall measurements (height and width of each wall)
- A sample of your chosen panel finish — tested under the room's actual lighting
- Panel adhesive rated for wall panels (290 ml cartridge covers approximately 2–3 m² per application)
- A spirit level
- A fine-tooth saw or oscillating multi-tool for trimming to length
- End pieces or finishing trim if any panel edge will be exposed
- Approximately 2–3 hours per wall for a standard room height of 2.4 m
The steps
Step 1 — Measure the room and identify the feature wall
What it accomplishes: Defines your scope before you order, preventing waste and visual overload.
Measure each wall in metres: height x width. For a small room, plan to panel one wall only — the wall you face when you enter, or the wall behind a bed or desk. Panelling all four walls in a room under 10 m² adds visual mass from every angle and makes the ceiling feel lower.
Note any sockets, light switches, or radiators on the chosen wall. These are obstacles you'll cut around, not reasons to choose a different wall.
Expected outcome: A single wall dimension (e.g. 2.4 m x 3.6 m = 8.64 m²) and a clear list of obstructions.
Common mistake: Choosing the wall with the most natural light. Light-facing walls often have windows, which means fewer panel rows and less visual impact. Choose the wall opposite the window — it catches reflected light and the panels read better.
Step 2 — Choose the finish based on the room's light level
What it accomplishes: Prevents the most common error — installing a finish that looked good on screen but darkens the room in real conditions.
Light-toned finishes — natural oak, grey oak, forest oak — reflect ambient light and read as neutral. They work in north-facing rooms with limited daylight. Darker finishes — smoked oak, black oak, walnut, mocca — absorb light and create contrast. They work in south-facing rooms or rooms with strong artificial lighting, but they need at least one pale surface (ceiling, adjacent wall) to prevent the room feeling closed.
Concrete rule: If your room has a single window under 1.2 m wide, default to a light or mid-tone finish. Order a physical sample and hold it against the wall at the time of day you use the room most. The grain and felt backing read very differently under warm LED versus cool daylight. Sample wooden wall panel natural oak and sample wooden wall panel grey oak are low-cost ways to check tone before committing to full panels.
Expected outcome: A confirmed finish that you have tested on the actual wall surface in real light.
Common mistake: Ordering based on a product photo without testing a sample. Screen calibration and photography lighting rarely match a north-facing bedroom at 7 am.
Step 3 — Decide on panel orientation: vertical or horizontal
What it accomplishes: Changes the perceived proportions of the room without altering a single dimension.
Vertical installation (slats running top to bottom) draws the eye upward and makes a room feel taller. This is the right default for small rooms with standard 2.4 m ceilings — it adds perceived height at no cost. Horizontal installation draws the eye sideways, which widens a narrow room visually but compresses ceiling height.
For most compact rooms — box bedrooms, small home offices, narrow hallways — vertical is the correct default in 2026. The only exception is a room that is noticeably narrow and tall (e.g. a converted terraced-house room where the ceiling is 3 m but the room is only 2 m wide), where horizontal can balance the proportions.
Expected outcome: A confirmed orientation that you have visualised against your room's actual proportions.
Common mistake: Installing horizontally because it looked good in a showroom. Showrooms are large. Your room is not.
For a detailed breakdown of both approaches, horizontal vs vertical wall panel installation covers the trade-offs with specific room dimensions.
Step 4 — Calculate panel quantity and plan the layout
What it accomplishes: Avoids under-ordering (visible mid-wall joins) and over-ordering (unnecessary cost).
Aku Wood Panel's standard slat panels are 270 cm tall x 60 cm wide. For a wall that is 2.4 m high, you trim 30 cm from the top of each panel. For a wall that is 3.6 m wide, you need 6 full-width panels. Add 10% for cuts and waste — 7 panels in this example.
Plan the layout starting from the centre of the wall. Mark a centre line with a pencil, then work outward in both directions. This ensures that any trimmed panels at the edges are symmetrical. Nothing reads worse in a small room than a panel layout that is obviously off-centre.
Expected outcome: An exact panel count with a 10% waste allowance, and a centre-out layout plan marked on the wall.
Common mistake: Starting from one corner and working across. The final panel is always an awkward cut, and it draws the eye.
Step 5 — Prepare the wall surface
What it accomplishes: Ensures adhesion holds long-term and the finished surface sits flat.
The wall must be dry, dust-free, and structurally sound. Plasterboard walls are the easiest substrate — panels bond directly with adhesive. Painted walls need a light sanding (80-grit is sufficient) to break the gloss and improve adhesion. Tiled or highly textured walls need mechanical fixings in addition to adhesive.
Check for level. If the floor-to-ceiling height varies by more than 5 mm across the wall width (common in older UK properties), account for this in your cuts rather than assuming panels will compensate.
Expected outcome: A clean, level-checked, lightly abraded surface ready for adhesive.
Common mistake: Skipping the sanding step on painted walls. Panel adhesive bonds to the paint surface, not the plaster — if the paint layers are loose, the panel will eventually pull away from the wall.
Step 6 — Install the panels using panel adhesive
What it accomplishes: Fixes panels permanently without drilling, visible fixings, or damage to the wall structure.
Apply the adhesive in vertical beads approximately 20 cm apart across the back of the panel — not a solid coverage. Solid coverage traps air and reduces the working time before the adhesive skins. Press each panel firmly into position for 30 seconds. Use a spirit level to confirm vertical alignment before the adhesive grips. Most panel adhesives allow a 10–15 minute repositioning window.
Work from your centre-line outward. Butt each panel directly against the previous one — no gap, no overlap. The tongue-and-groove profile on Aku Wood Panel slat panels self-aligns once the first panel is plumb.
Expected outcome: A flat, plumb, consistently spaced panel surface with no adhesive bleed on the face.
Common mistake: Pressing the first panel against a corner rather than a plumb centre line. Walls are rarely perfectly square — if you reference the corner, the misalignment compounds across every subsequent panel.
Step 7 — Fit end pieces and finishing trim
What it accomplishes: Closes exposed panel edges cleanly and prevents the raw MDF edge from being visible.
Any panel edge that is visible — at a corner, a door reveal, or where the panel meets an adjacent surface — needs an end piece. Aku Wood Panel supplies matching end pieces in every finish. Cut them to the panel height, apply adhesive to the back, and press firmly into position over the exposed edge.
For rooms where the panel meets a ceiling cornice or skirting, a matching finishing trim prevents the gap from collecting dust or looking unfinished.
Expected outcome: A finished installation with no raw edges visible from any normal viewing angle.
Common mistake: Leaving the panel edge raw at a door reveal on the assumption it will not be noticed. It will be noticed — it is at eye level every time someone enters the room.
Troubleshooting
Panels are not sitting flat — one edge lifts off the wall. The wall surface is not flat, or the adhesive was applied too close to the panel edge and is pushing the panel away. Remove the panel within the repositioning window, add adhesive beads further from the edges, and refit.
The panel layout looks off-centre from the doorway. You started from a corner rather than a centre line. If adhesive has not fully cured (within 24 hours), panels can be removed and repositioned. After full cure, the only fix is to remove and refit.
The finish looks darker than the sample. Room lighting is the variable. Add a warmer or higher-output bulb, or reposition the light source. The panel finish itself does not change — perceived tone is entirely a function of the light hitting it.
Panels are creating an echo in the room. A single feature wall of acoustic panels reduces mid-to-high frequency reflection but does not eliminate echo entirely. Add a rug, soft furnishings, or consider extending the panelled area to a second wall to increase the absorptive surface area.
End pieces do not align perfectly at an internal corner. Corner trim resolves this — it covers both panel edges at the corner and creates a clean mitred look without requiring precise panel cuts.
Panel adhesive is visible on the face of the panel. Wipe immediately with a dry cloth. Once cured, panel adhesive cannot be removed without risk of surface damage. Always work with clean hands and keep the adhesive cartridge tip clear of the panel face.
Tools and resources
- Panel adhesive: high tack panel glue 290 ml white — rated for MDF-backed panels on plasterboard and painted surfaces
- Spirit level, pencil, tape measure
- Fine-tooth hand saw or oscillating multi-tool
- Aku Wood Panel finish samples (available for all colourways) — order before buying full panels
- Matching end pieces (available per finish across the full panel range)
What to do next
Once the feature wall is complete, the natural next step is deciding whether to extend the treatment to an adjacent surface — ceiling or a second wall — for a more immersive acoustic result. Acoustic ceiling panels for living rooms covers how the same panel system applies overhead and what ceiling-specific installation considerations apply.
FAQ
What is the best wall panel finish for a small dark room? Natural oak or grey oak. Both are light-toned finishes that reflect ambient light rather than absorbing it. Avoid smoked oak, black oak, or walnut on the primary feature wall in a room with limited natural light.
Should I panel all four walls in a small room? No. Panel one wall — the wall you face when entering or the wall behind the main piece of furniture. Panelling all four walls in a room under 10 m² adds bulk from every sightline and makes the ceiling feel lower.
Do acoustic wall panels actually make a small room quieter? Yes, within limits. Acoustic wood panels with felt backing absorb mid-to-high frequency reflections, which reduces echo and makes speech clearer. They do not provide structural soundproofing. For rooms where airborne noise transmission is the problem, combine panels with additional acoustic treatment.
How many wall panels do I need for a standard small bedroom? A single feature wall in a 3 m x 3 m bedroom is typically 2.4 m tall x 3 m wide = 7.2 m². Aku Wood Panel's standard slat panel is 270 cm x 60 cm. You need 5 full panels plus a 10% waste allowance — so 6 panels in total.
Can I fit wall panels myself without professional help? Yes, for a flat plasterboard wall. The adhesive-only installation method requires no drilling, no specialist tools beyond a spirit level and a saw, and takes 2–3 hours for a standard feature wall. If the wall is tiled, uneven, or load-bearing masonry, a professional installer is the safer choice.
Are vertical or horizontal panels better for a small room? Vertical installation is better for most small rooms. It draws the eye upward, adds perceived ceiling height, and works with standard 2.4 m ceilings. Horizontal installation is only preferable in rooms that are unusually narrow and tall.
Do I need to order samples before buying full panels? Yes. Panel tone varies significantly depending on the room's light source and wall colour. Aku Wood Panel supplies samples for every finish in the range — order at least 2–3 finish options and test them on the actual wall before placing a full order.
What is the lead time for Aku Wood Panel orders in 2026? Check the current product pages directly — lead times vary by finish and stock level. Samples typically dispatch within 1–2 working days.
One last thing
The single most effective thing you can do before ordering panels for a small room in 2026 is tape a sheet of paper the same width as the panel profile to the wall and live with it for a day. Walk in and out of the room several times. Check it at night under artificial light. A 60 cm wide slat panel reads very differently at 7 am versus 10 pm — and that test costs nothing.
Share:
How to Layer Acoustic Panels for Maximum Effect 2026
How to Paint Over Wooden Wall Panels (2026 Guide)