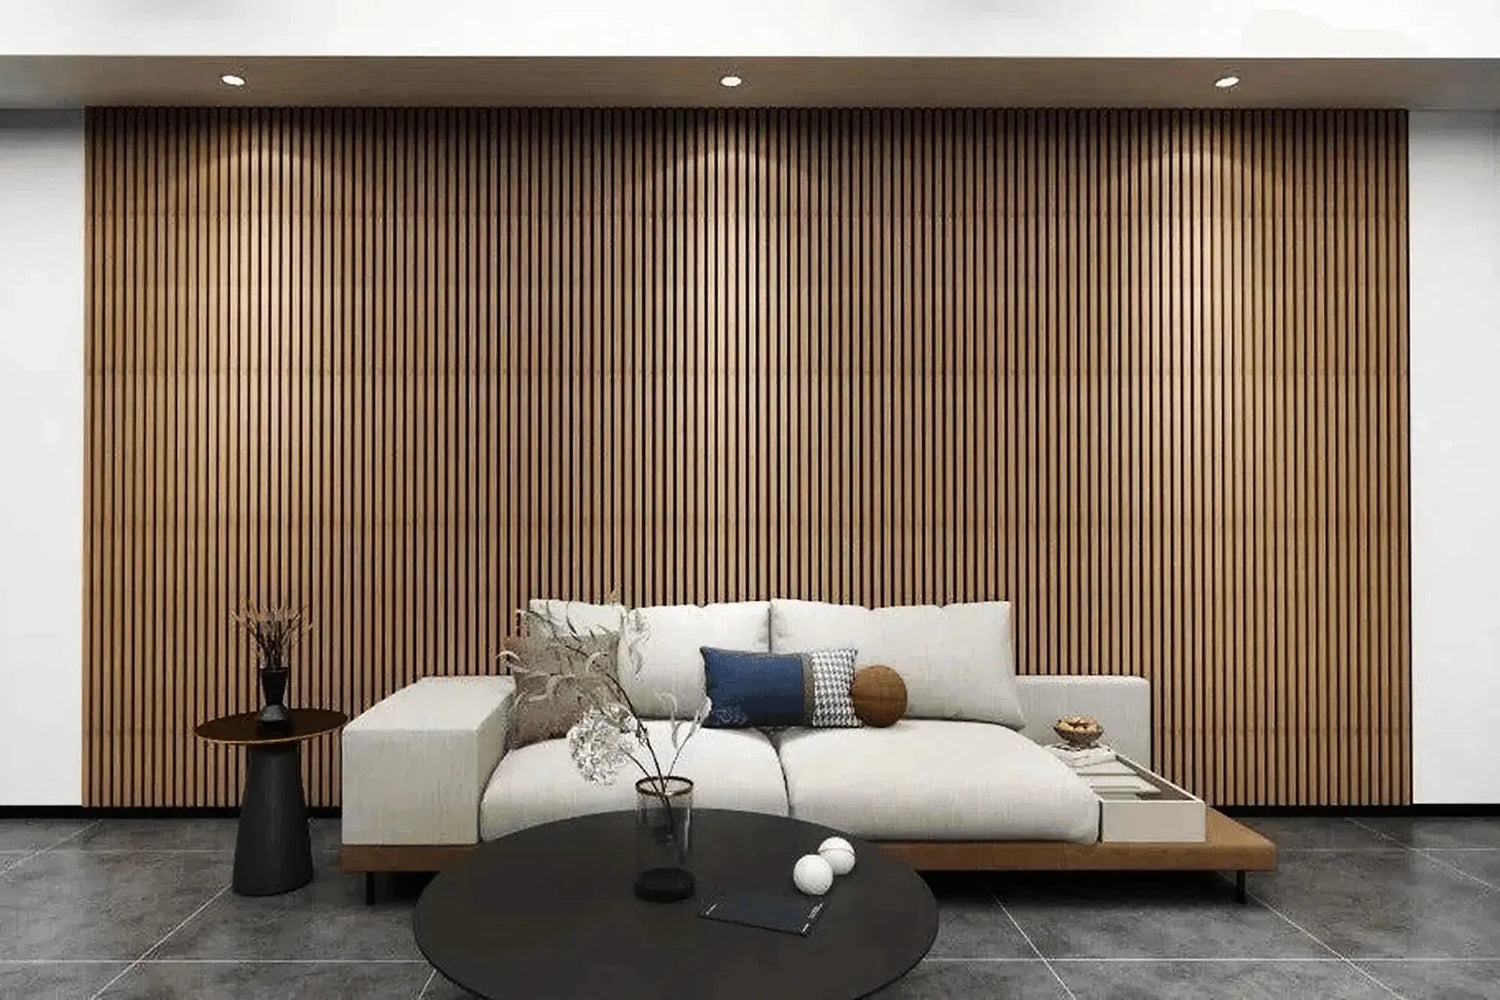
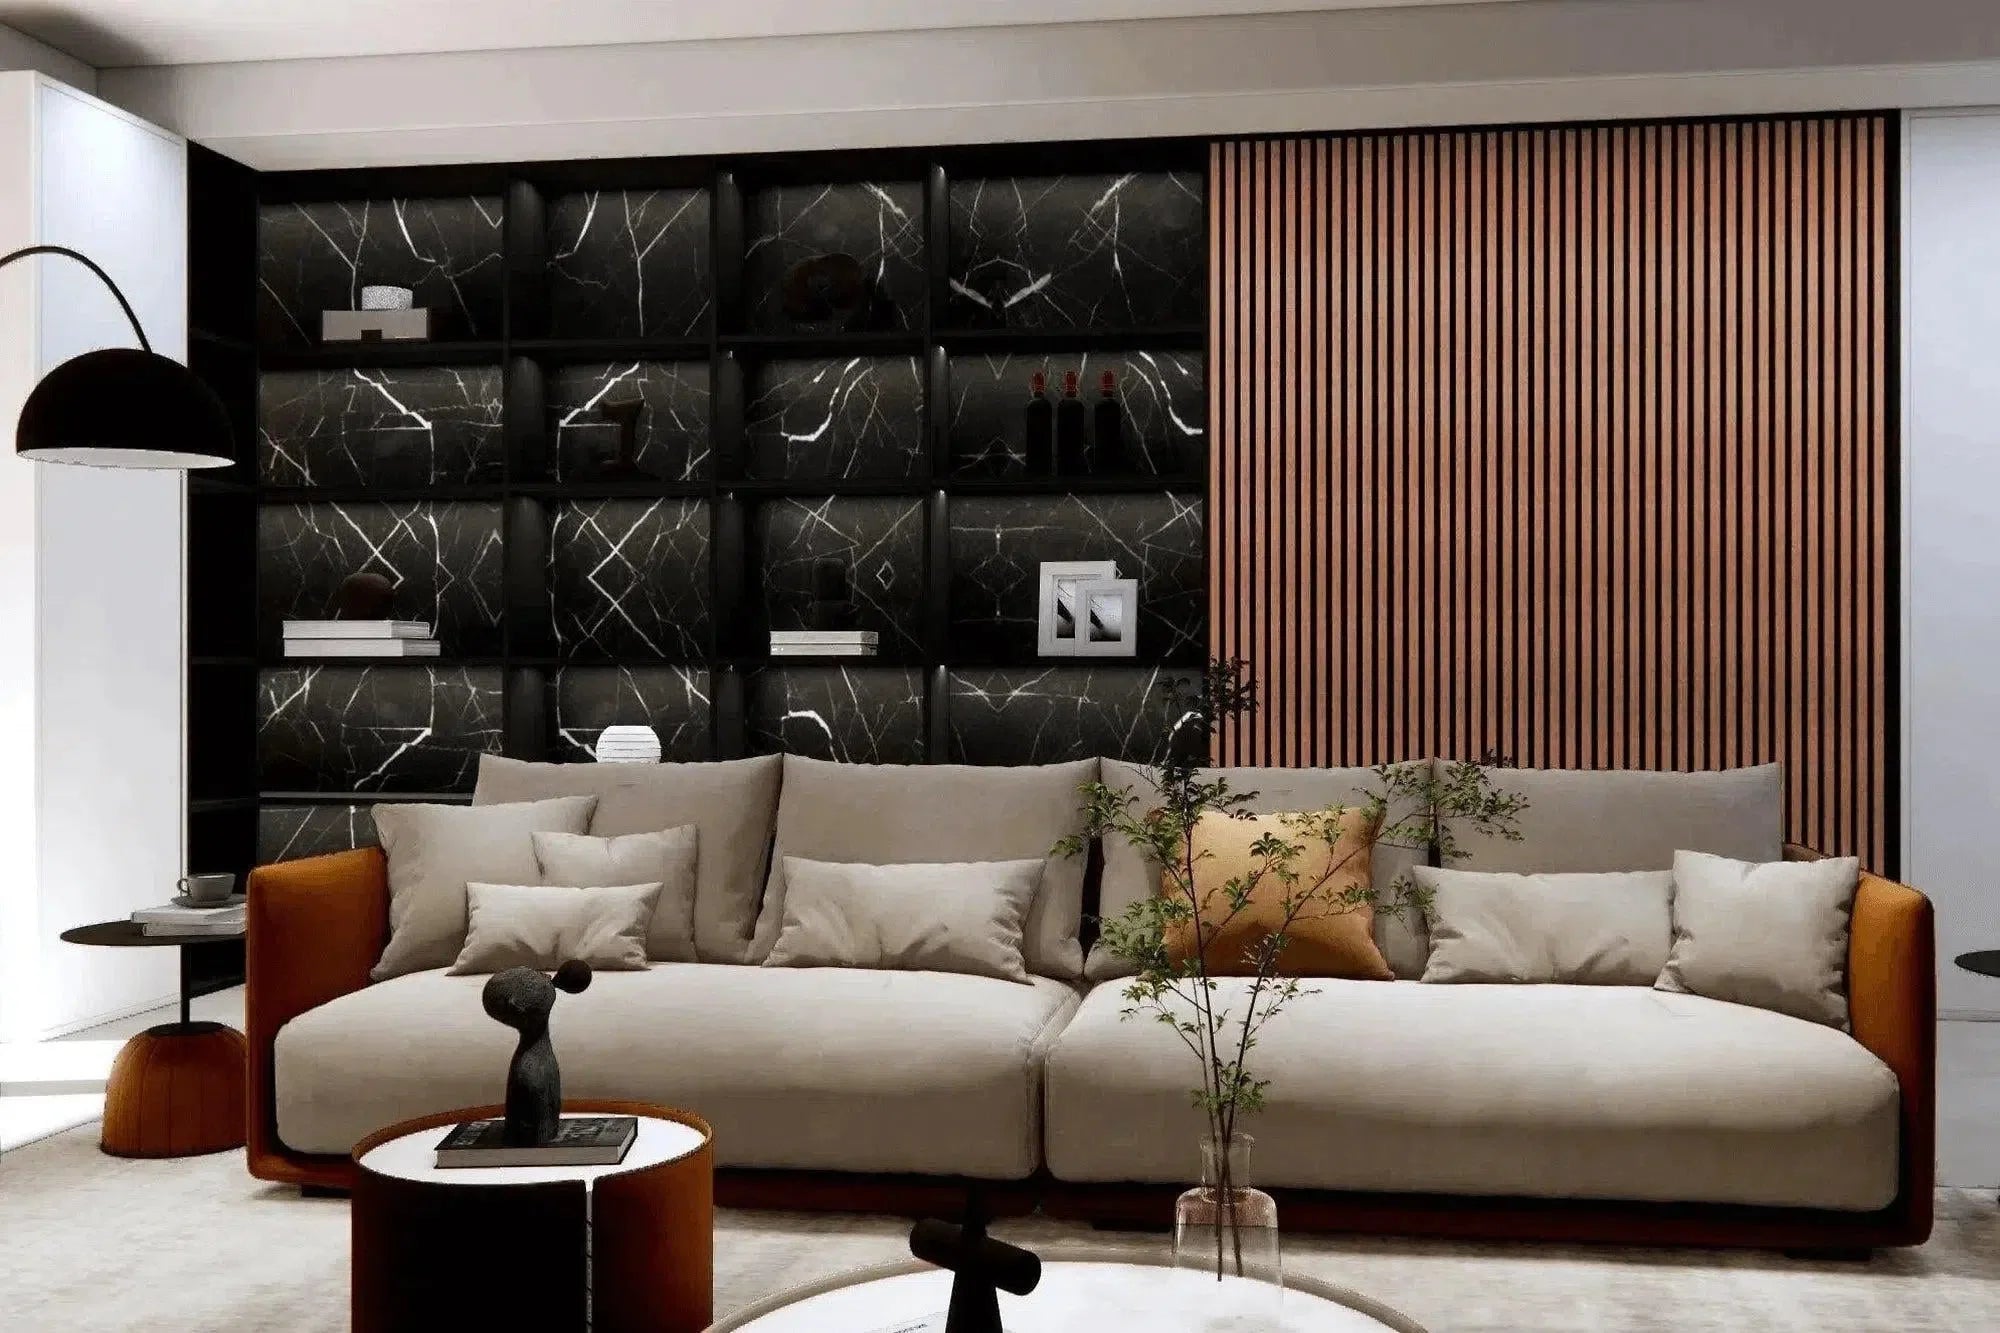
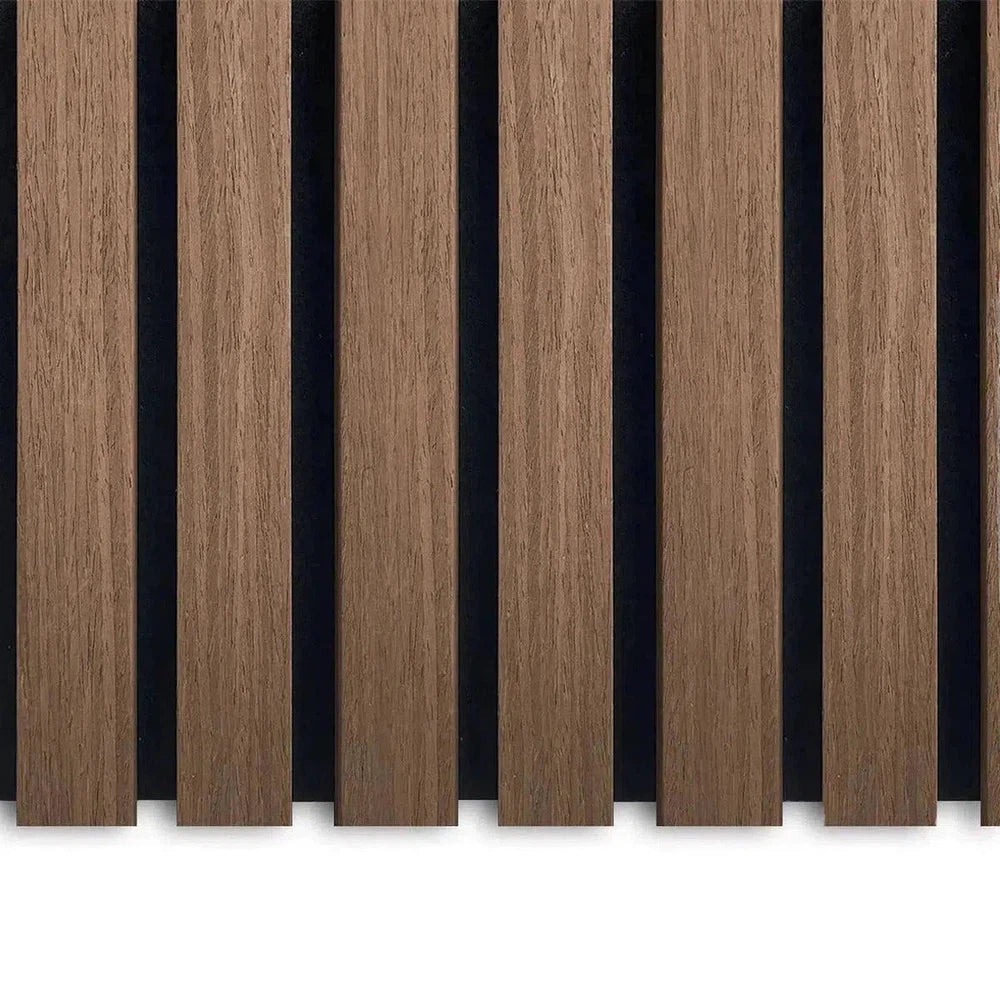
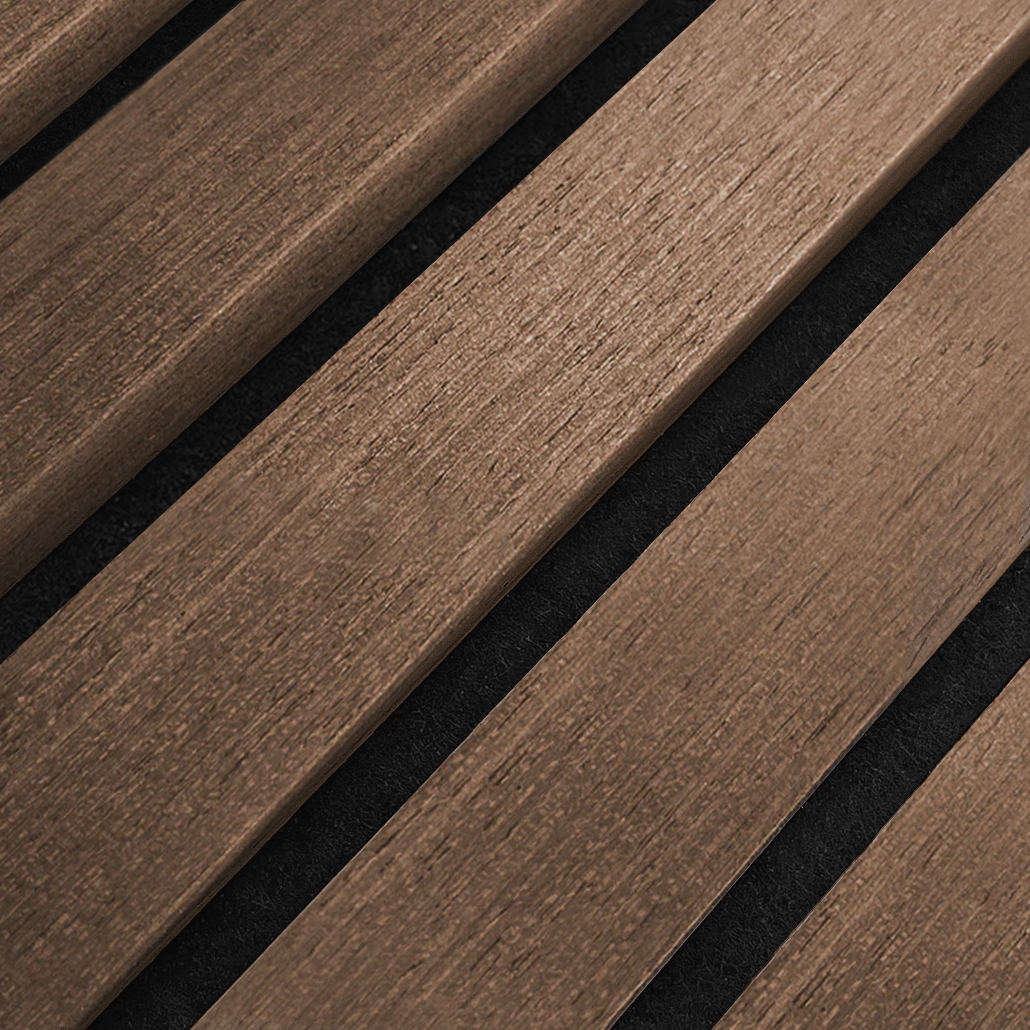
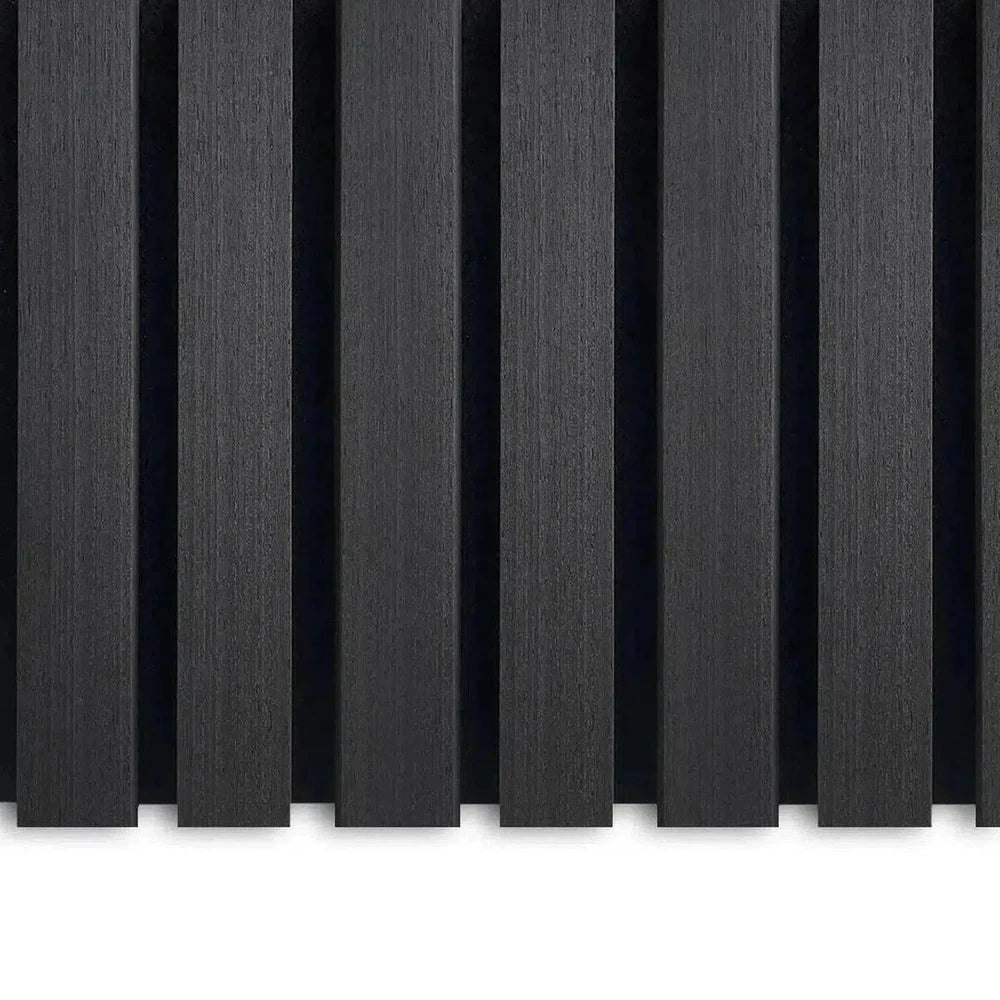
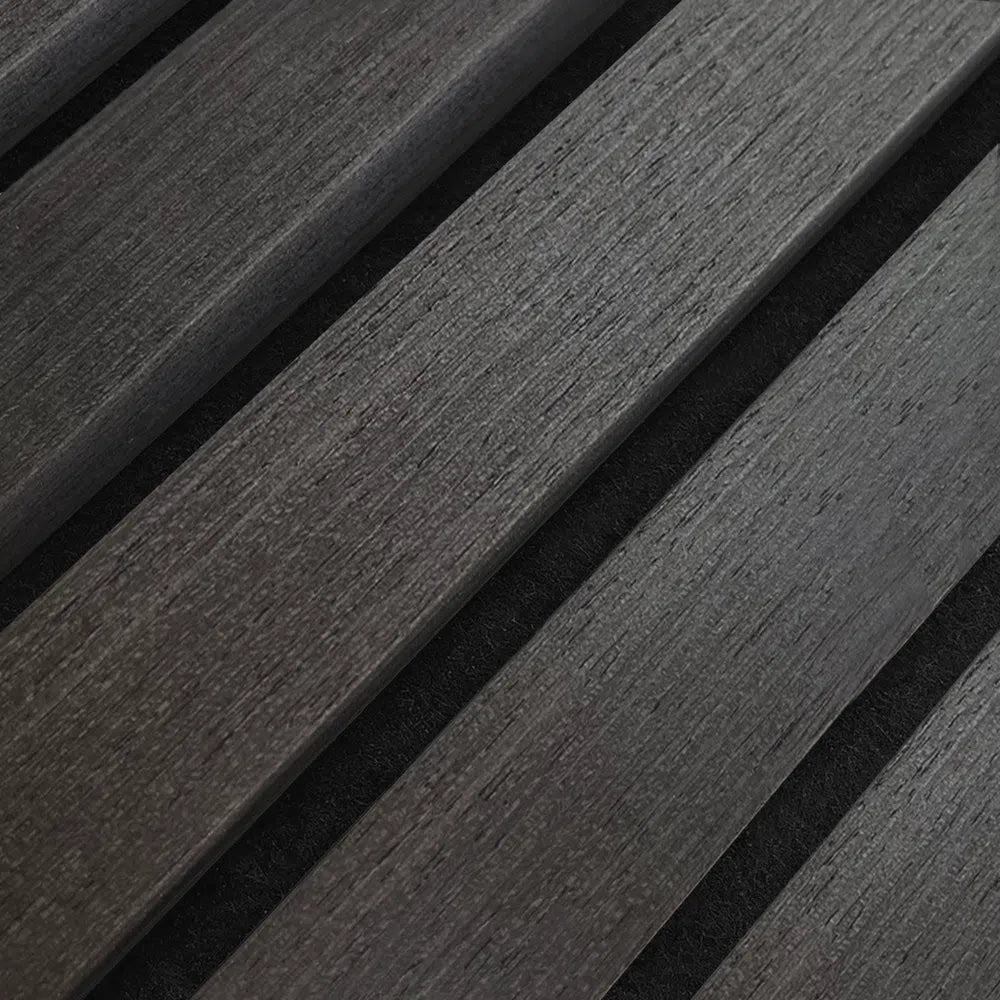
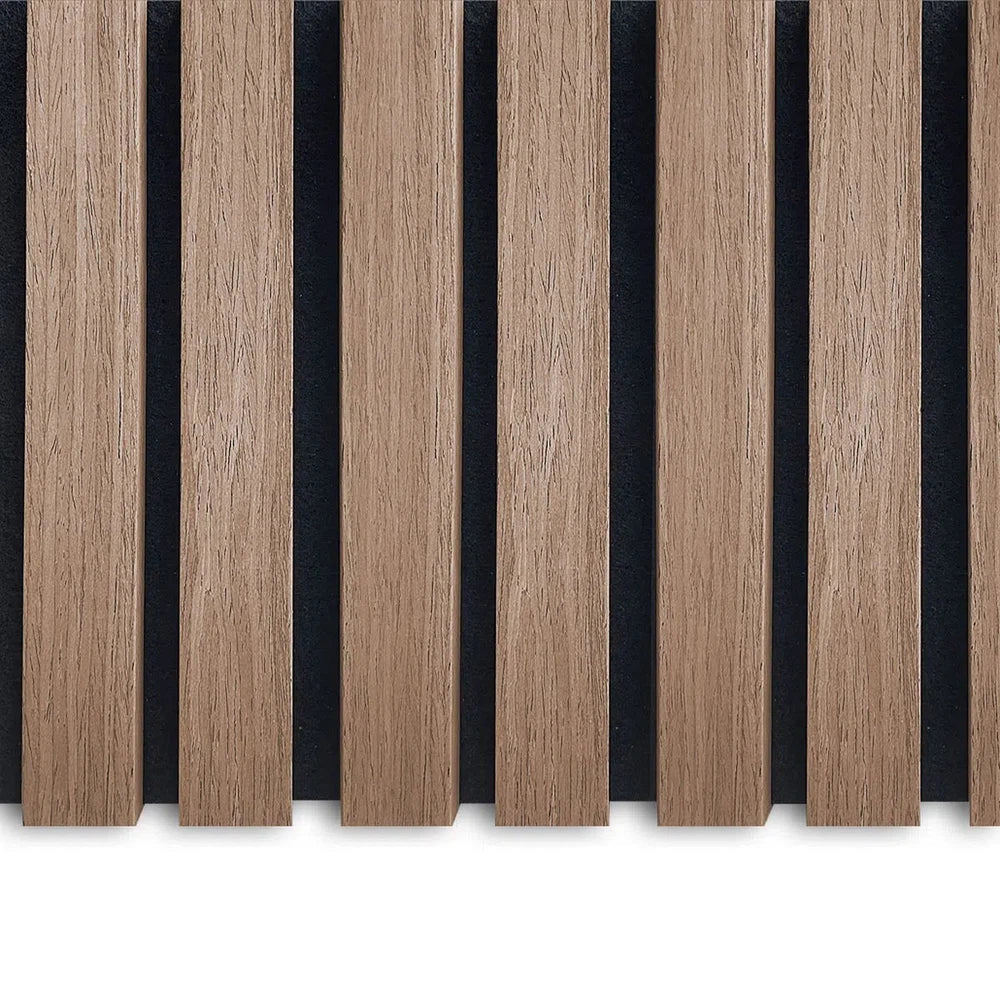
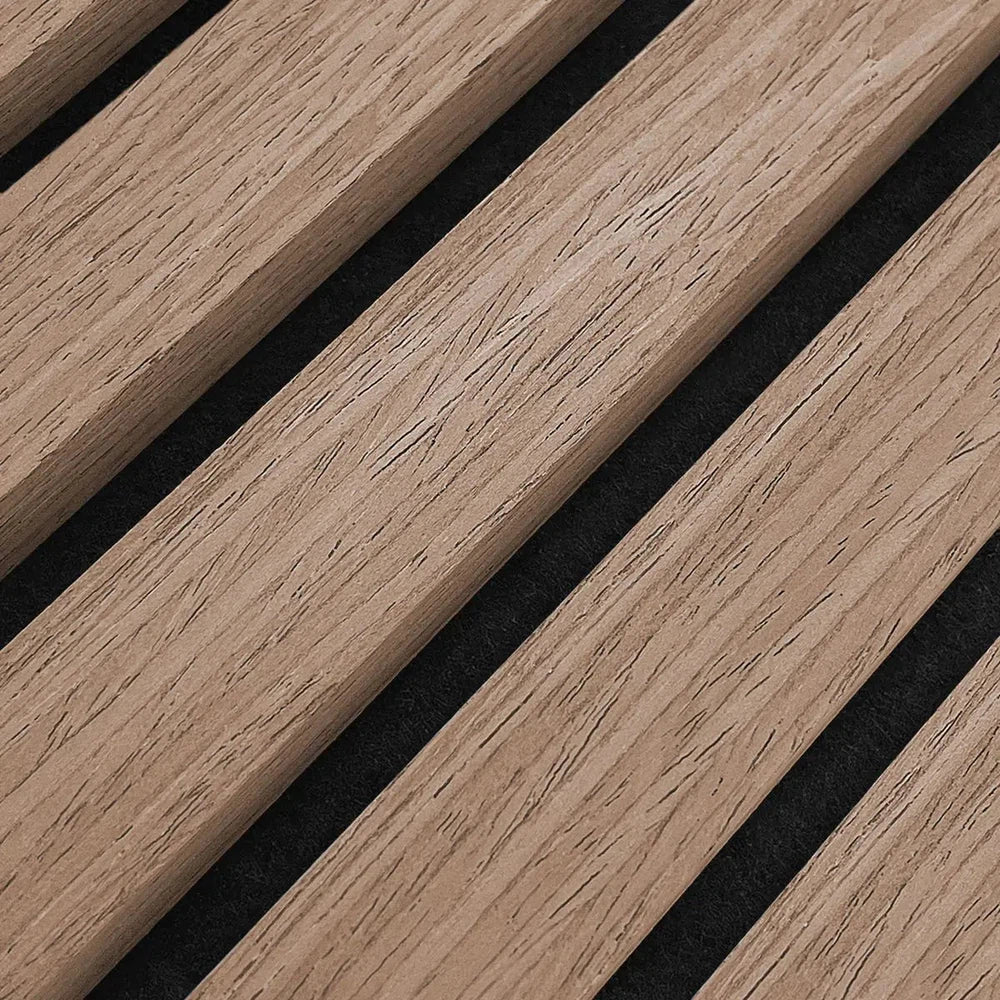
Want to install acoustic wall panels in your living room, kitchen, or office but find standard paneling a bit dull? There are many more options available! Create stunning artwork, a beautiful headboard for your bed, or an elegant radiator cover. In this article, we'll guide you through the process.
Gathering Materials
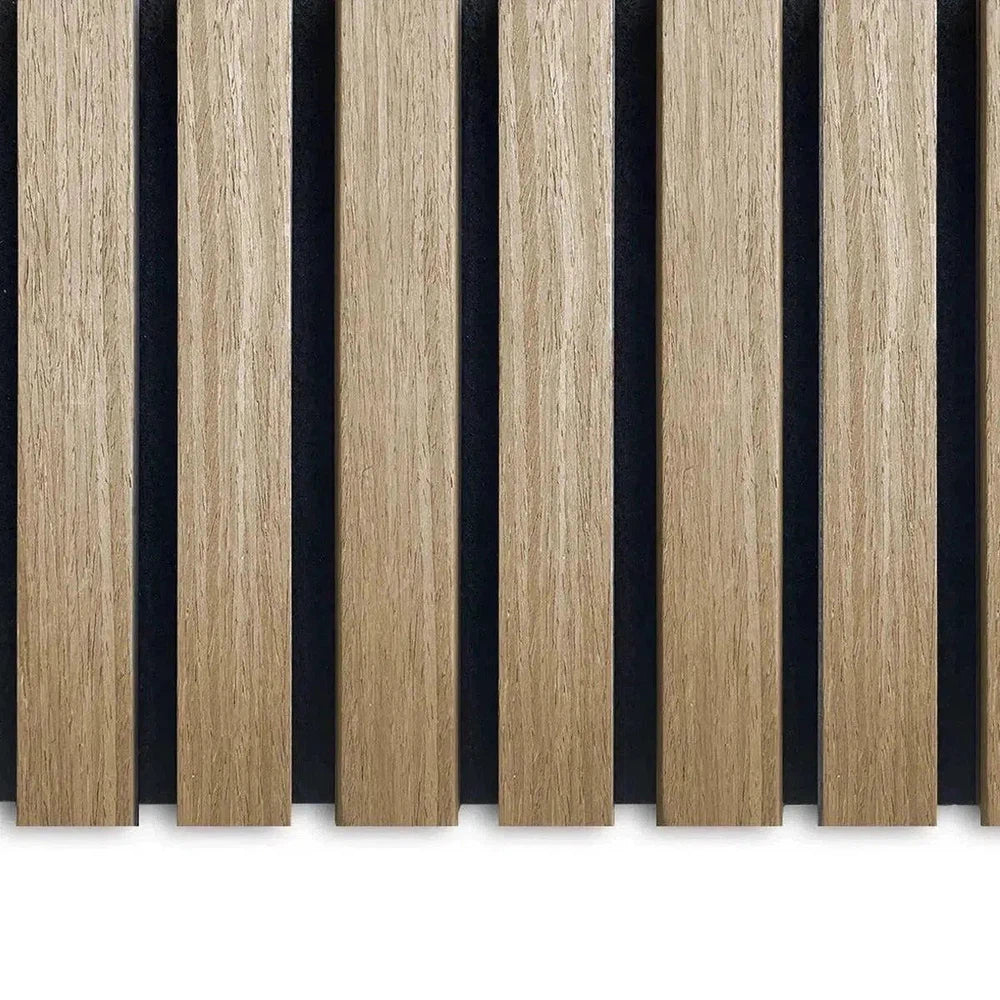
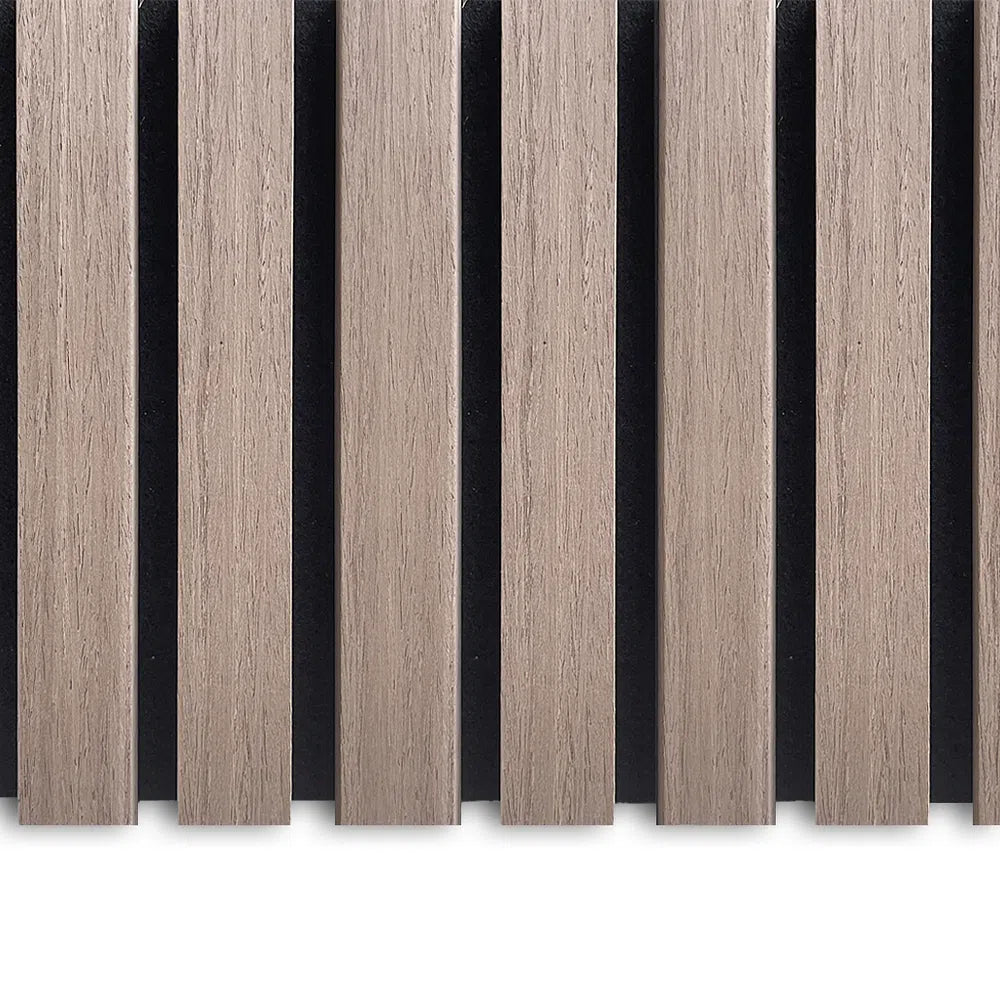
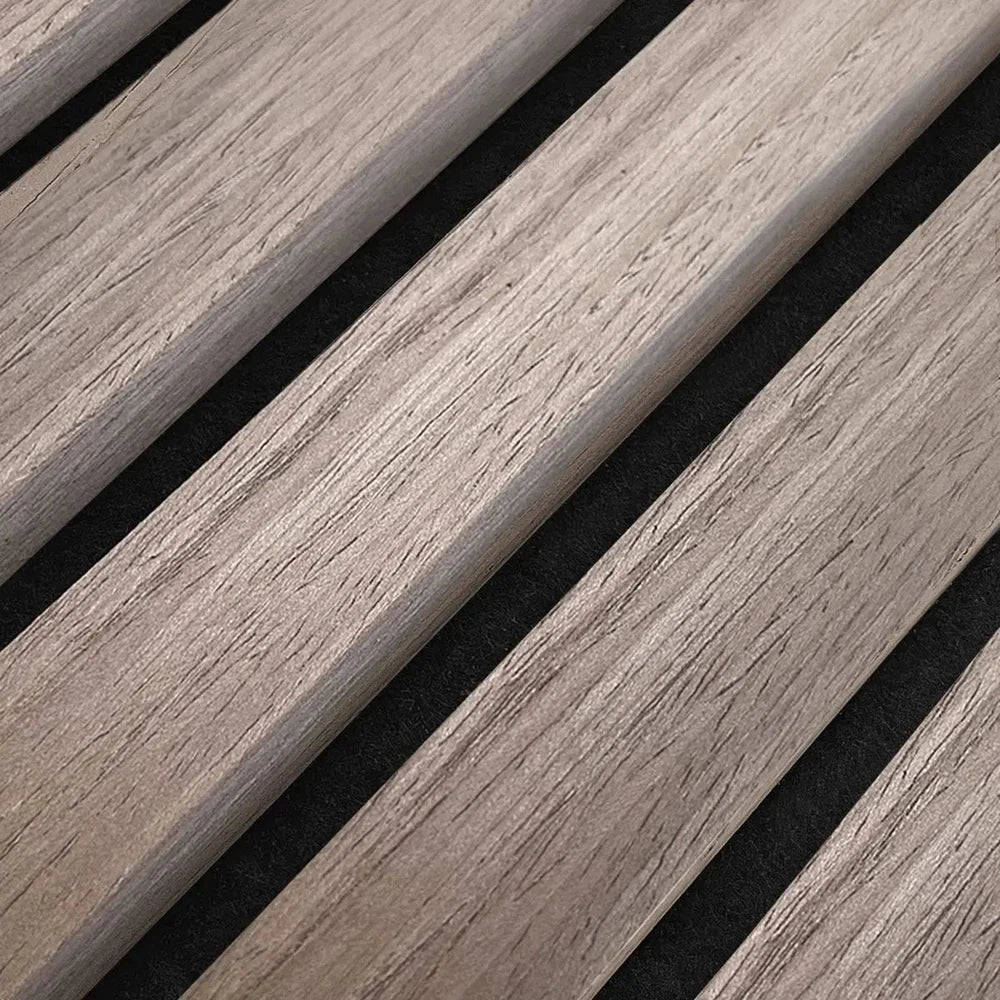
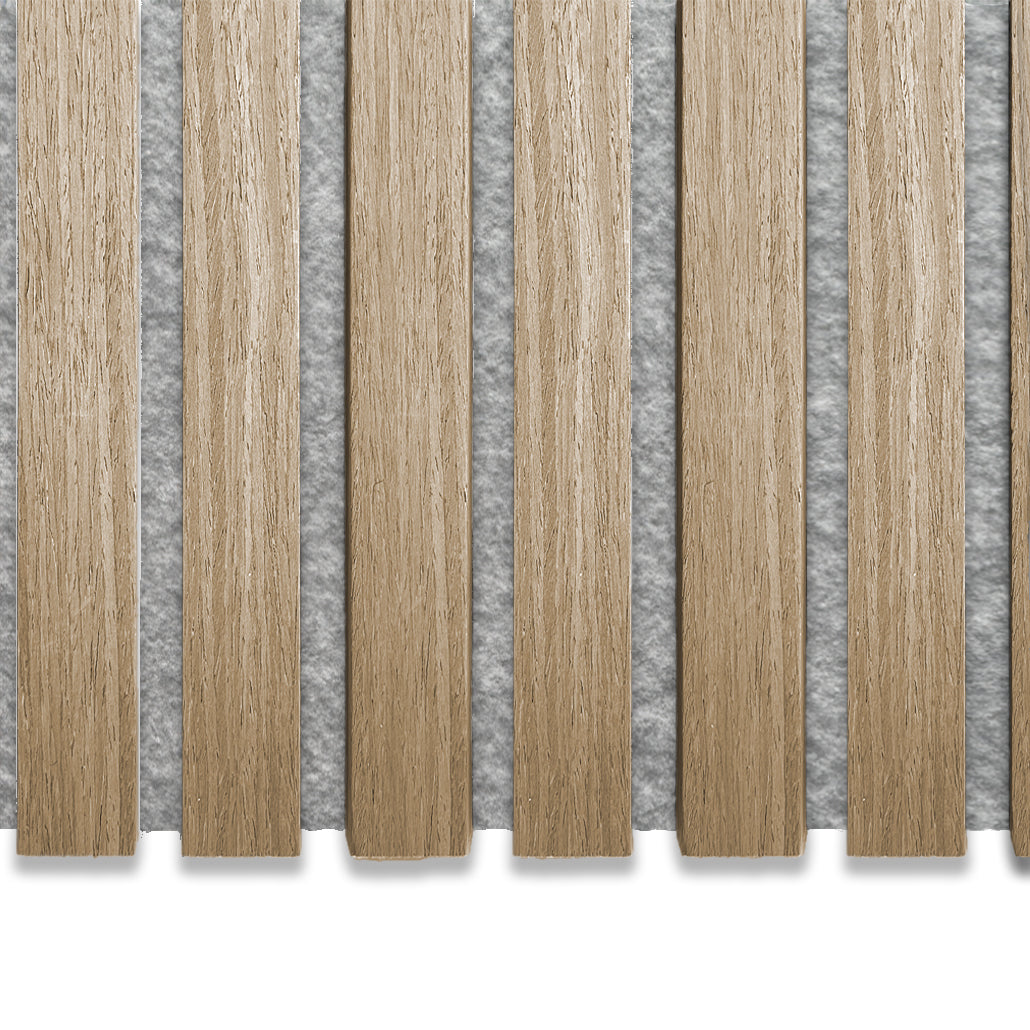
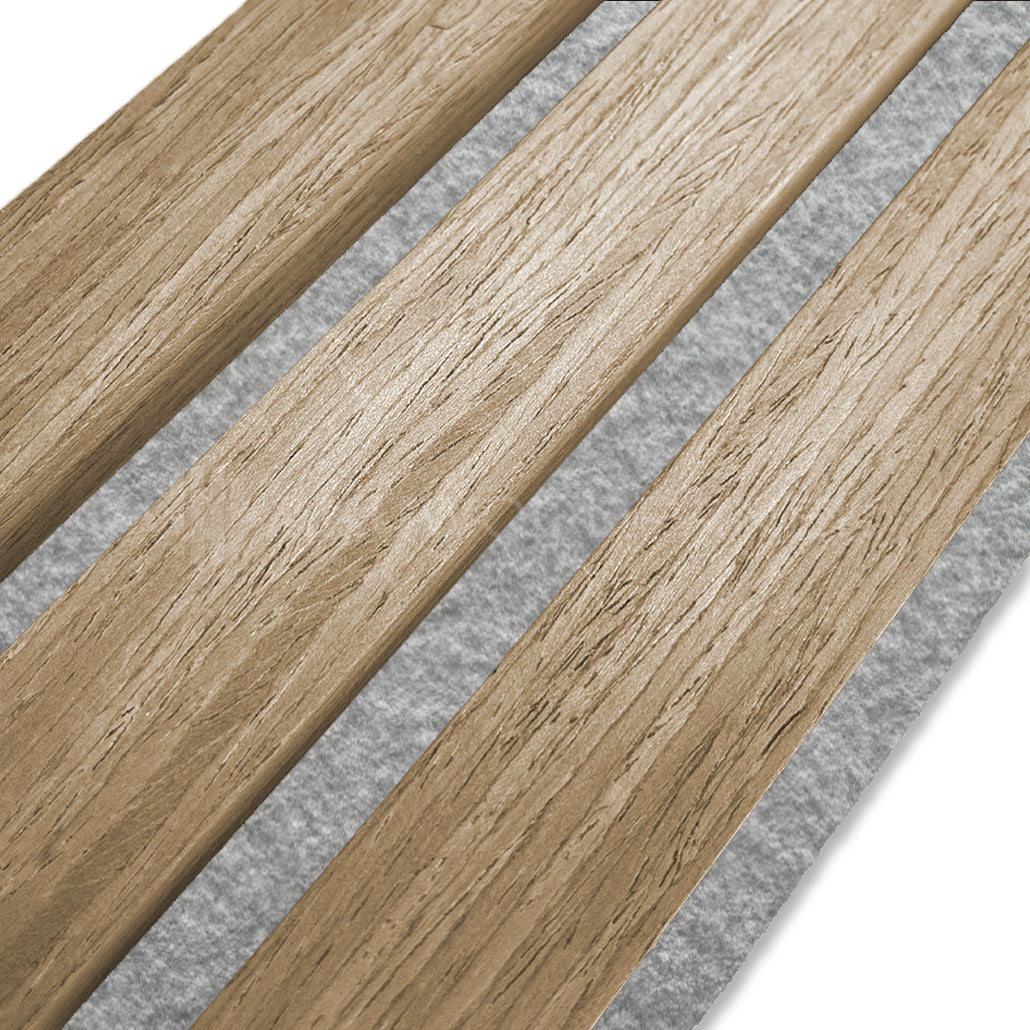
First, gather the necessary tools and materials and consider what to keep in mind during your project. Panels typically come in a standard size of 2400mm x 600mm x 22mm. For smaller sizes, carefully measure and cut the panels; for larger sizes, you'll need several panels.
- Tape measure
- Saw
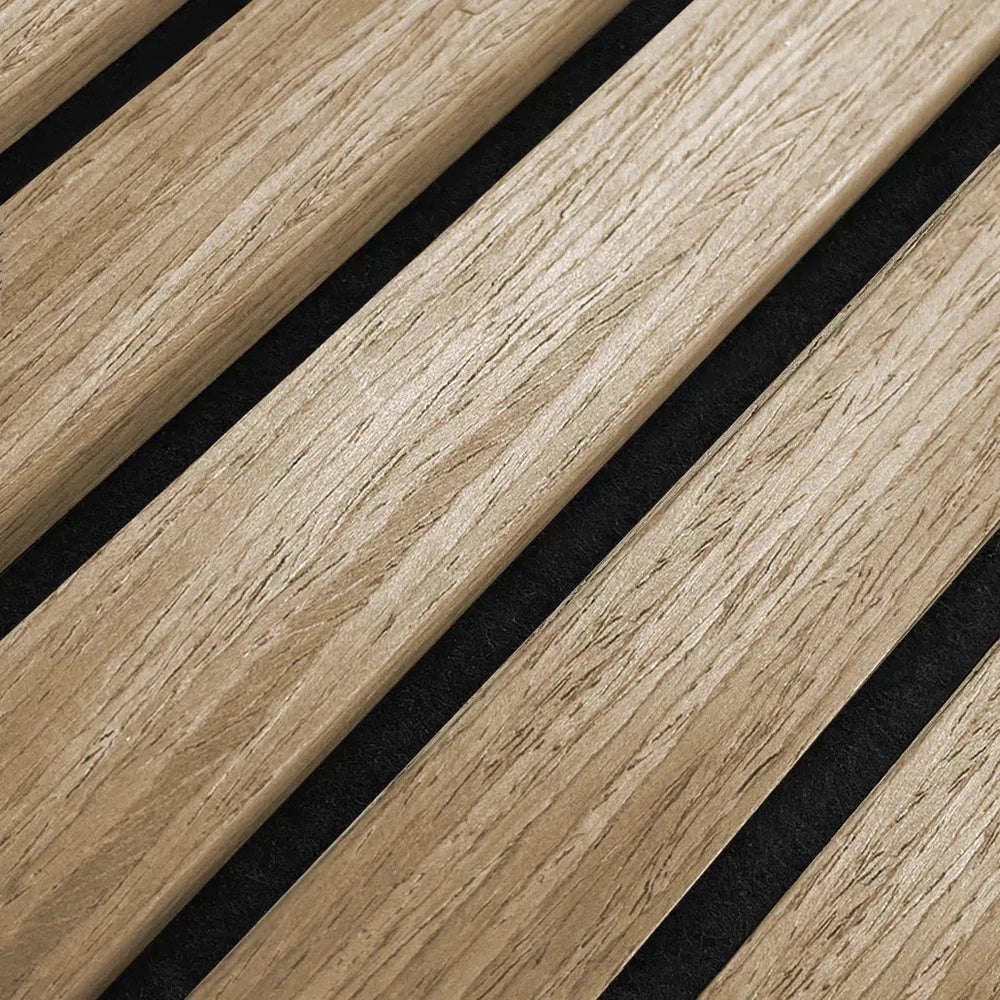
- Screws or putty (use black screws with black felt)
- Plumb rule
- Pencil
- Steel square
Custom Artwork Panels
Would you prefer a unique painting instead of standard acoustic wall panels? No problem! All you need are the panels and a painting of your choice. Measure the painting, mark its dimensions on the panel, and cut along those lines. Next, install the panels on the wall (ensuring they're level), following the assembly instructions. Place the painting face down on a soft surface, apply glue, and press it firmly onto the wooden wall panels. That's it!
DIY Headboard
Want to upgrade your bedroom without breaking the bank? Make your own headboard. This small change can give your bedroom an entirely new look. Before you start, decide whether you want vertical or horizontal paneling on your headboard. Pro tip: horizontal paneling can make your room appear wider. Attach the panels to the wall behind the bed using screws or putty. If you chose black felt, use black screws. Position the bed against the wall, and you're done!
Radiator Cover
Another idea that also improves living room acoustics is covering your radiator with acoustic paneling. First, measure the radiator's dimensions. If you want to create a frame first, you'll need additional slats. Ensure the frame provides both vertical and horizontal support. Cut the paneling to the appropriate measurements and position them at a right angle. Attach the panels using putty or screws.
If you have other DIY projects or are trying one of our ideas, send us some photos! We might feature your project on our website!
